Wind Me Up

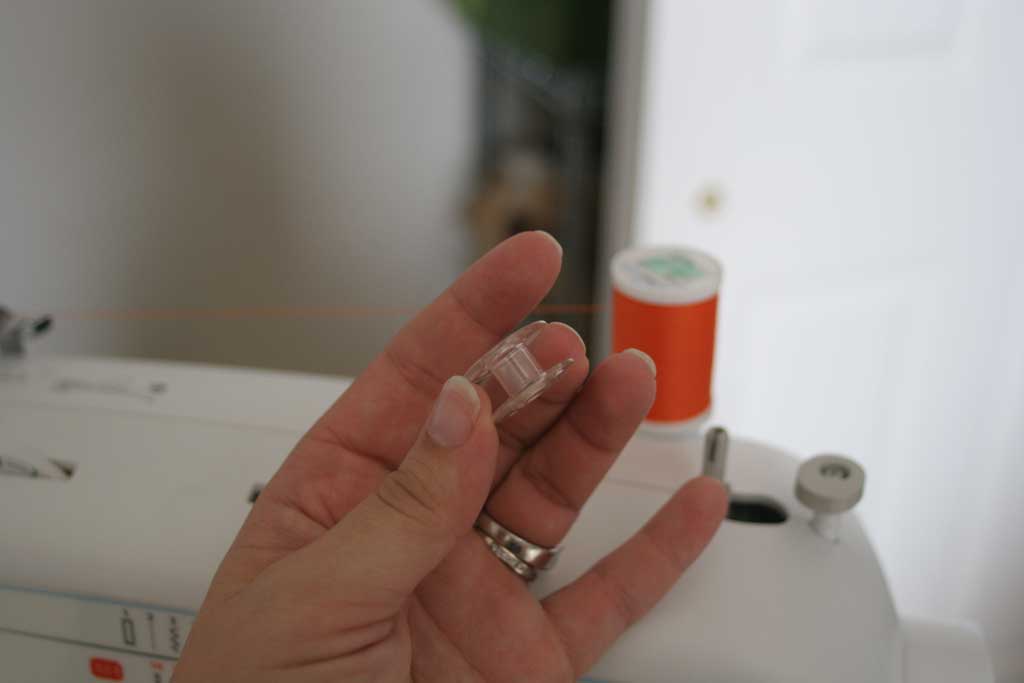
Bobbins… that word always reminds me of bobbin’ for apples, but low and behold a bobbin is actually a crucial part of sewing.  Most bobbins look like short and stumpy spools for thread and are either plastic or metal.  The ones for my machine are plastic. When a sewing machine sews it uses two different threads to wind through the fabric… one that goes on the top of the fabric and one that goes on the bottom. The machine takes the thread for the top off of the spool of thread you purchase from your craft/fabric store.  The bottom thread though has to be wound onto the “bobbin” from the same spool.

bobbin1

So the first thing you need to do is to pick your fabric and a thread color for your project and wind your bobbin from the spool of thread.  The tradition is to find a thread color similar to your fabric color (or just white if it won’t show) but sometimes it is fun to pick a contrasting color to spice it up a bit.  But whatever color you pick you’ll need to wind thread onto a bobbin.  One of my secrets? Buy a package of extra bobbins that fit your machine (AND YES you have to check to make sure they are the right ones… the wrong ones either won’t fit or won’t work right… they are usually listed by model number).  It is almost impossible to guess correctly the right amount of thread for your piece and if you have extra bobbins you don’t have to unwind and waste thread if you want a new color, you can just grab a new empty bobbin.  Since all my extra bobbins were rolling around my sewing cart and getting all tangled up, I decided I needed some way to contain them so I bought an extra little plastic container where I leave my bobbins that have thread in them.

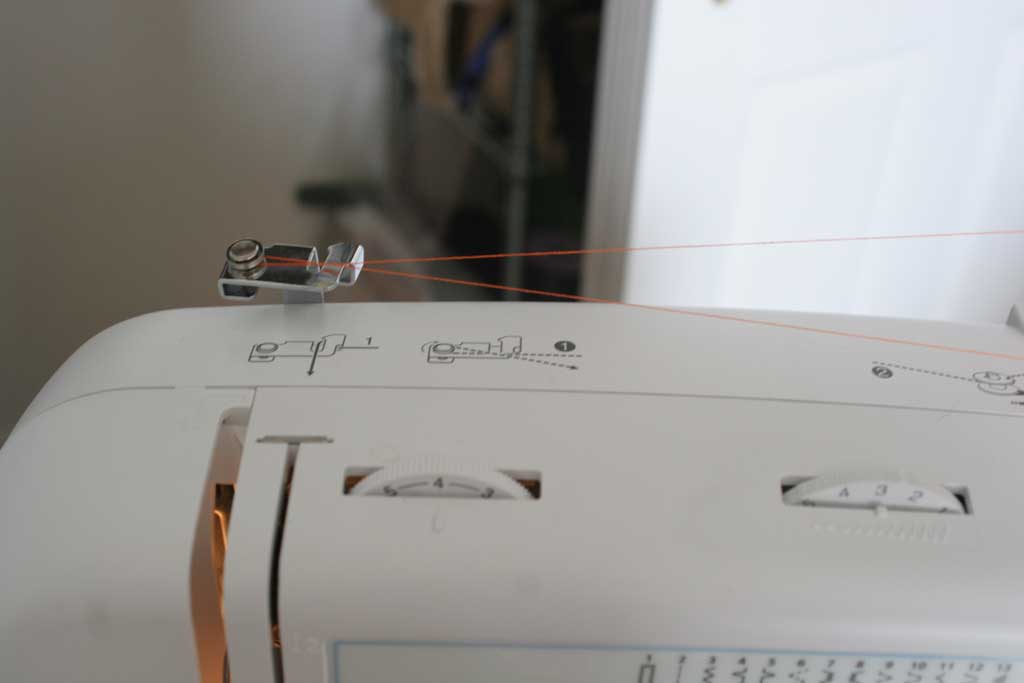
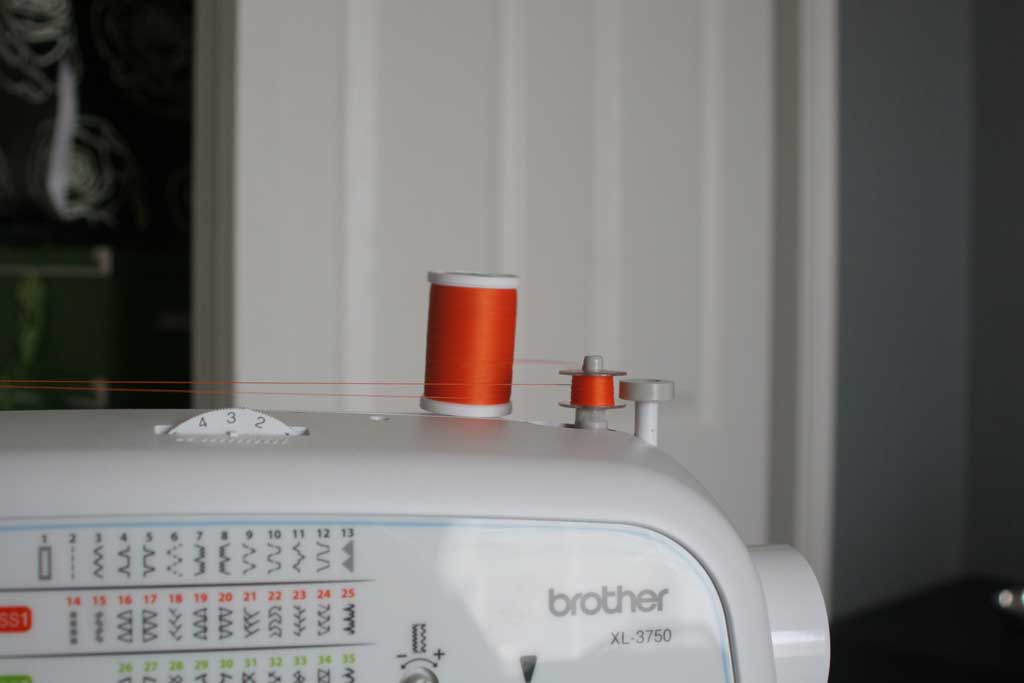
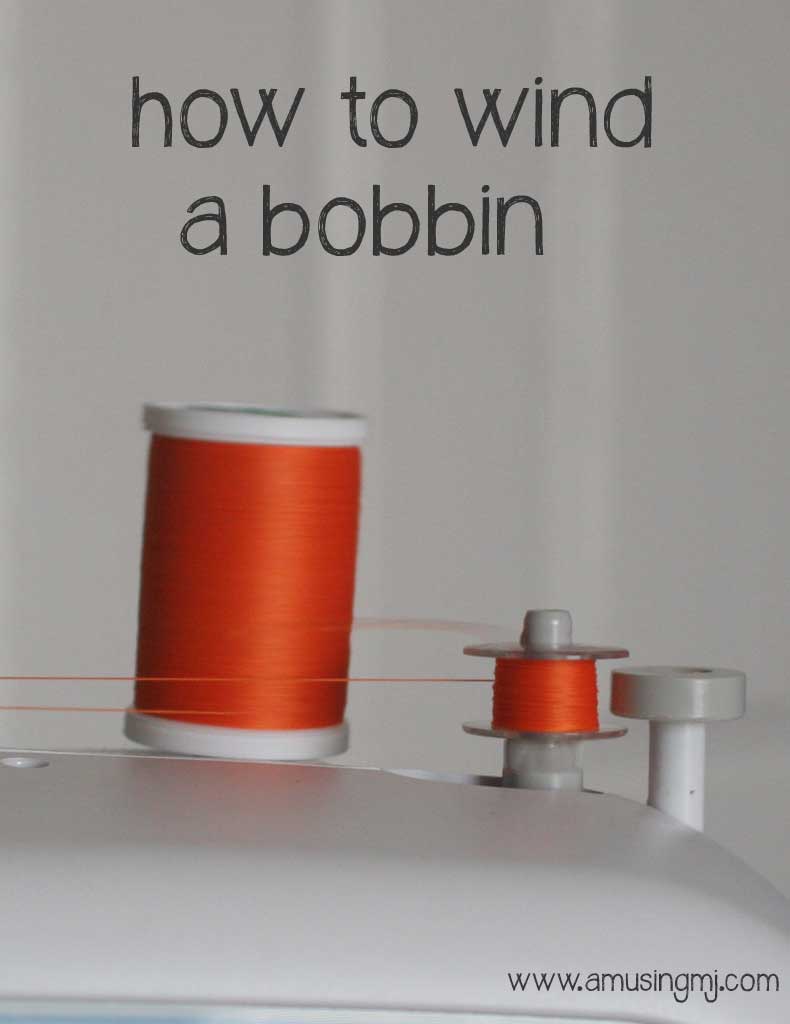
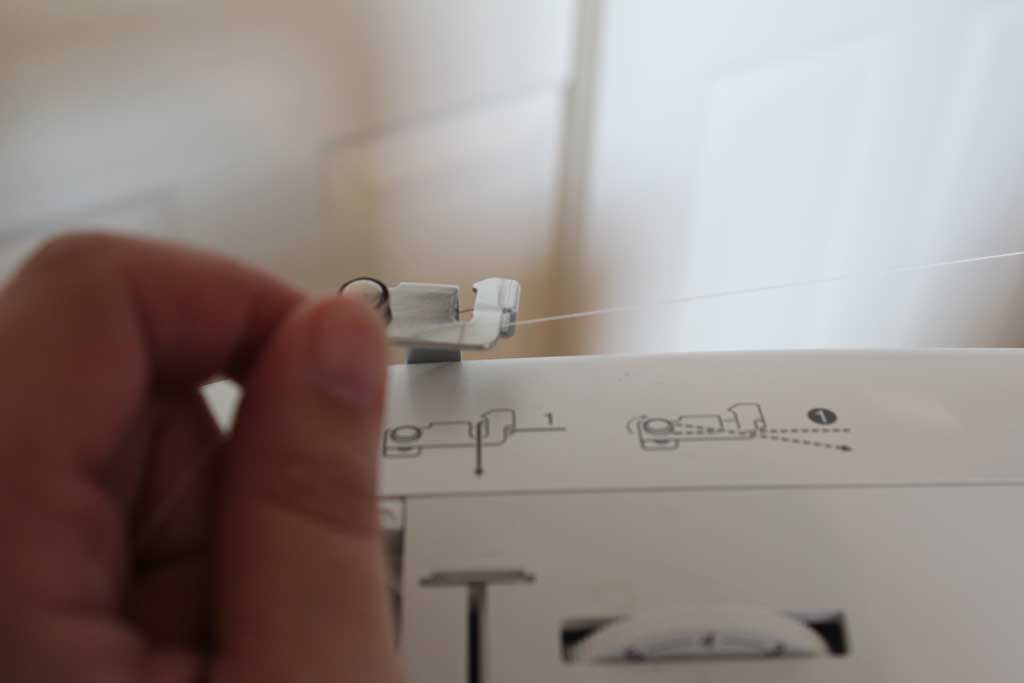
Okay so to wind your bobbin, first put your spool of thread on the top of the machine on the metal rod.  Then take the thread and wrap it around the little circle in the same direction as the picture with the dotted line shows you, mine goes on the bottom side of the circle and then winds around it clockwise coming out at about 4 o’clock just like in the picture below:

bobbin6

Now wind your thread through the tiny little hole on the top of the bobbin and then drop your bobbin onto the plastic piece on top of your machine.  Slide the bobbin to the right, which tells your machine its winding the bobbin not sewing a piece of fabric.  bobbin2
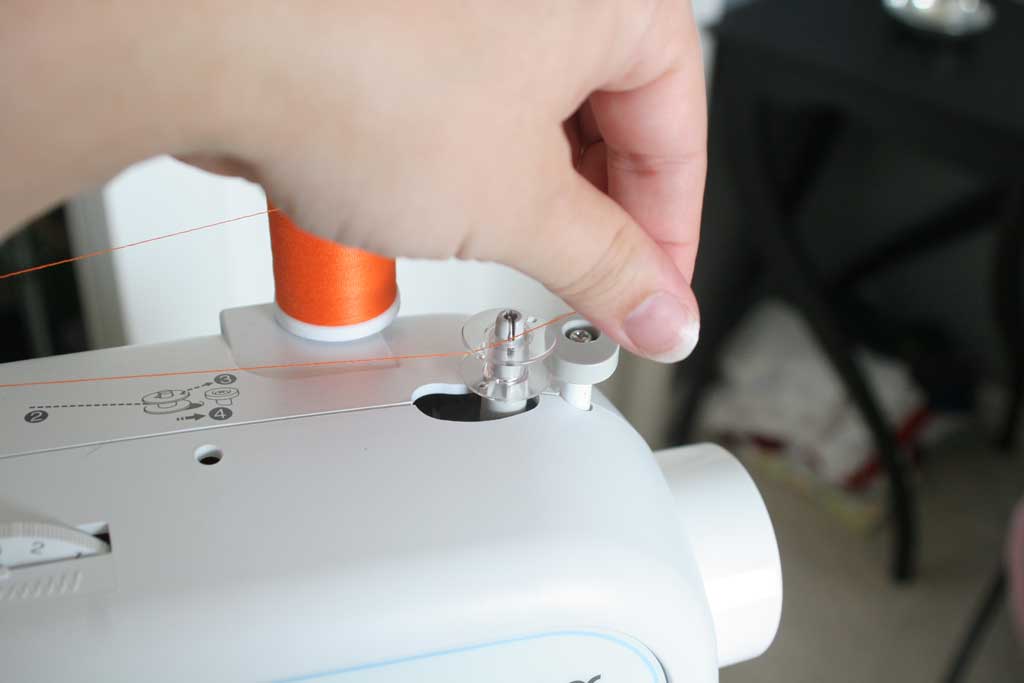
From here hold the edge of that piece of thread while pushing down on your pedal and you’ll see the thread start to stack up on your bobbin.  Once it has been wrapped a couple of times you can let go of the thread and just let it wind up on its own.  Once it is done, cut your thread, remove your bobbin and slide that little plastic piece back over to the left for sewing your project.

bobbin4

If I’m using a common thread color like white, black or even navy I will fill up the bobbin most of the way, but if I’m doing a specialty project with something like hot pink or teal, I’ll just wind it up half or 3/4s of the way.  One of the lessons my mom taught me though is that thread is cheap… so don’t worry if you waste a little here and there.

Now that your bobbin is wound… go here if you missed yesterday’s post on how to thread the rest of your machine and stay tuned for tomorrow to see a very easy beginner project that I love to make!

  bobbinfeat

So you want to sew…

You want to learn to sew, but never picked up a machine (although they definitely work better if you leave them sitting on the table…)?  Well pull up a chair and I’ll show you how. Let me start with a disclaimer… I am NOT AN EXPERT SEAMSTRESS.  However, I am very good at being a novice sewer.  I picked up sewing a few years ago and am still pretty new at the whole shebang. But that gives me a distinct advantage… I know exactly where the “I’ve never sewn a thing but think maybe I want to learn” sewer is coming from.  (yes I know the word is supposed to be seamstress… but seriously? that is way too formal for what I do!)

Anyway, here’s the secret… you can do a lot of cool sewing things with just a few minor skills.  BUT first you have to know how to run a machine. I have this one and it has worked PERFECTLY for the two years I’ve been playing with it.  Its easy to use and pretty dummy proof… perfect for a beginner.  I’m sure there are cheaper options out there that work just fine if $100 feels like a pretty big commitment to you.  I’m also sure you can spend a small fortune on fancy schmancy ones, but this has just about all you’ll need.

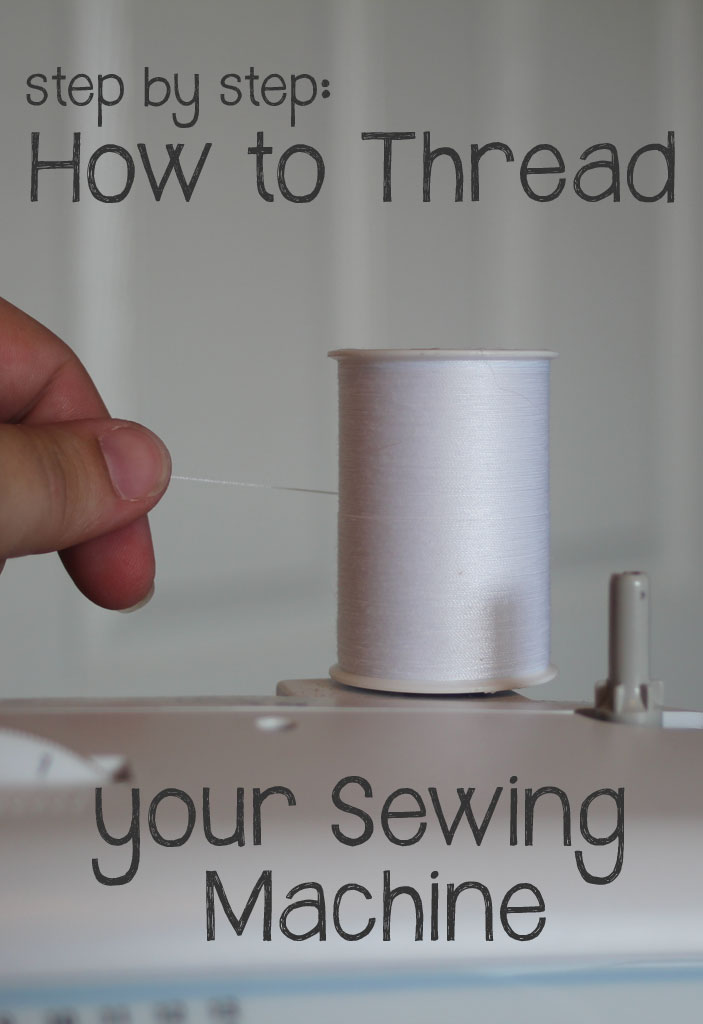
First things first you’ll have to wind your bobbin (the little round plastic piece that comes with your machine), which I’ll show you how to do tomorrow! (A little backwards, but hey… that’s how I roll).  Once you’ve done that, take your thing of thread and stick it on the metal rod on the top of your machine. Mine always seems to work better when I have the thread coming out the back of the spool like this:

sewing

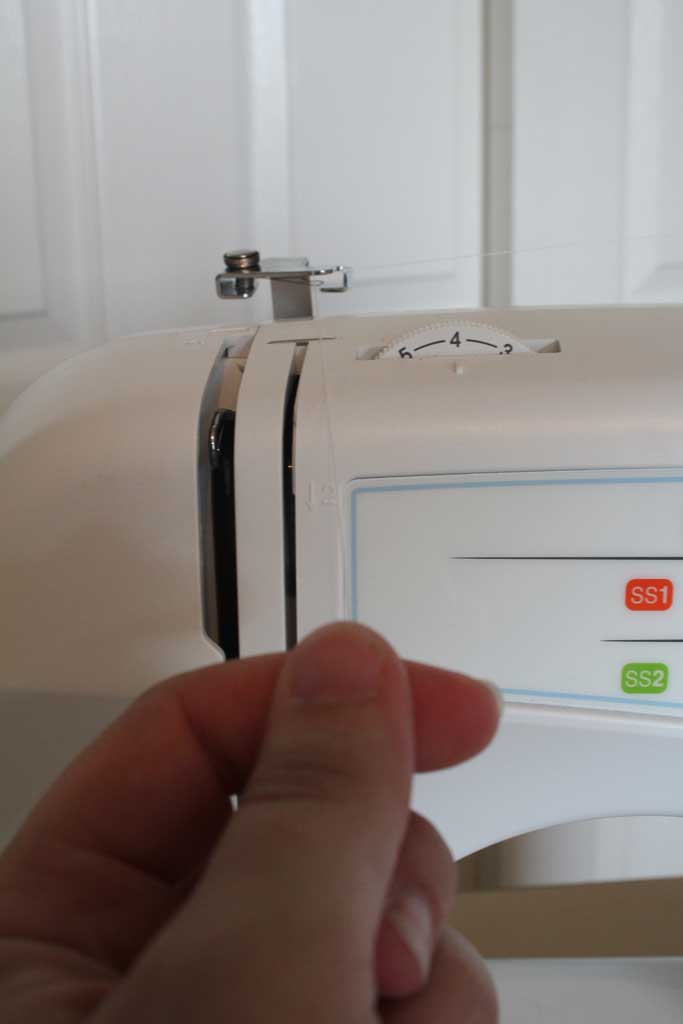
Each machine is going to be a little different, but mine has pretty simple instructions for how to thread it. The solid line is for sewing and the dotted line is for winding your bobbin.  So since we are setting up the thread here, follow the picture 1 with your thread and put it through the metal U and pull it down towards the machine (mine has a little tiny metal spring that holds the thread in it’s little U.

sewing0

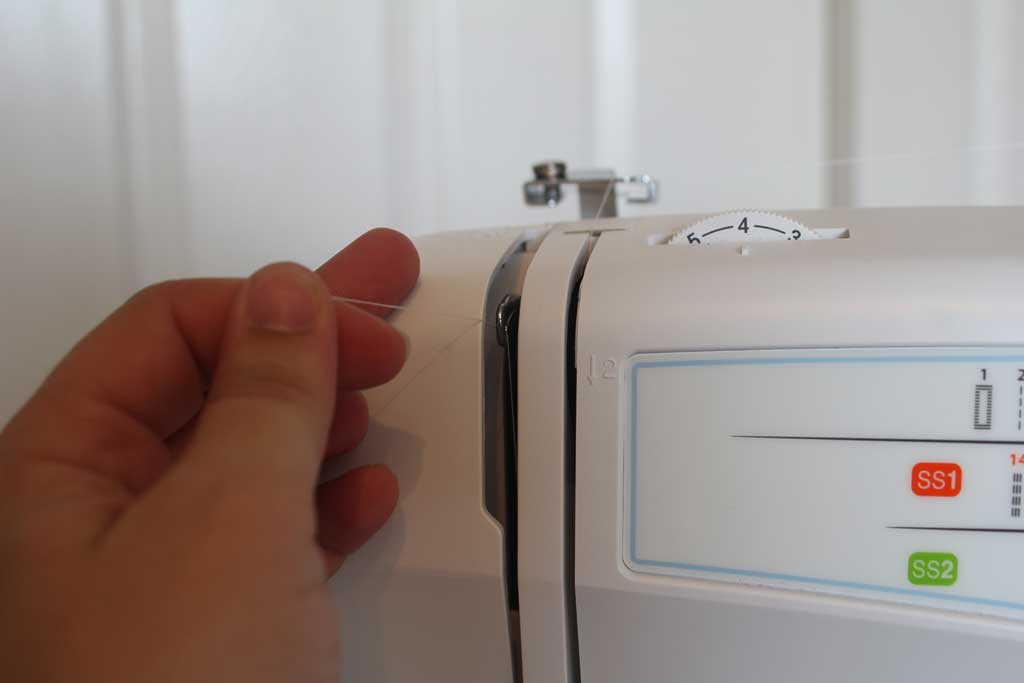
Next pull it down through the slit on the right (see the number 2?)

sewing1

Then 3 and 4 kind of happen at the same time, loop it down around the bottom and up to the metal piece you see at the top of the picture below.  If your metal piece isn’t at the top of that slit turn the wheel on the right side of your machine until it gets to the top.

sewing2

Make sure your thread goes over the metal piece from right to left and then pull it back down to where your needle is.  sewing3

When you bring it down thread it through the eye of the needle… if you are struggling with this I find it helps to trim off the edge of your thread to give you a clean edge.  sewing5

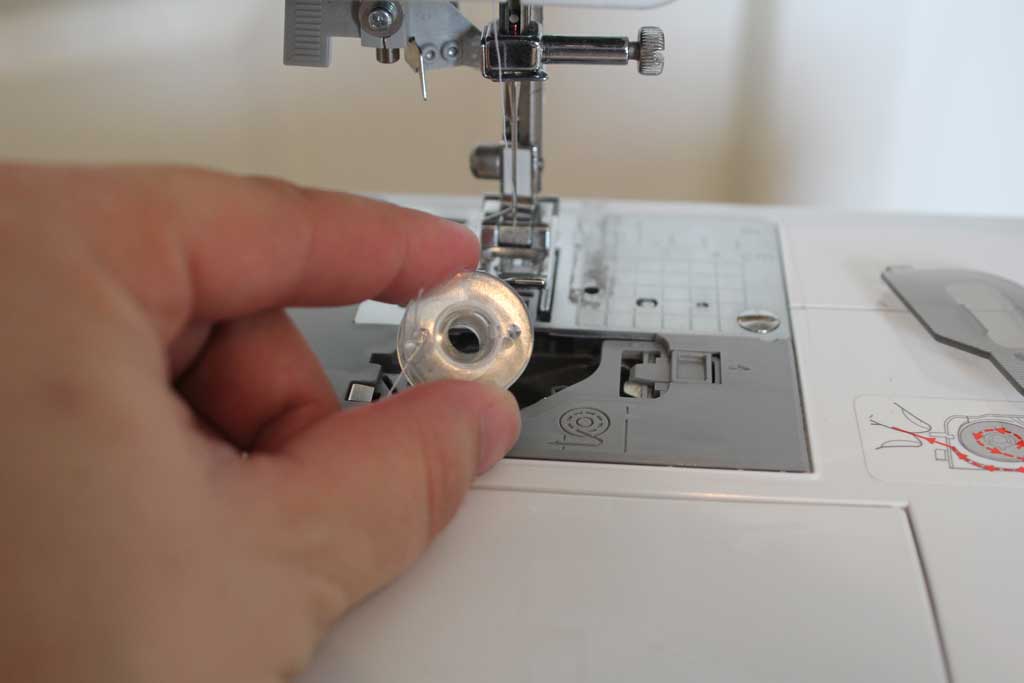
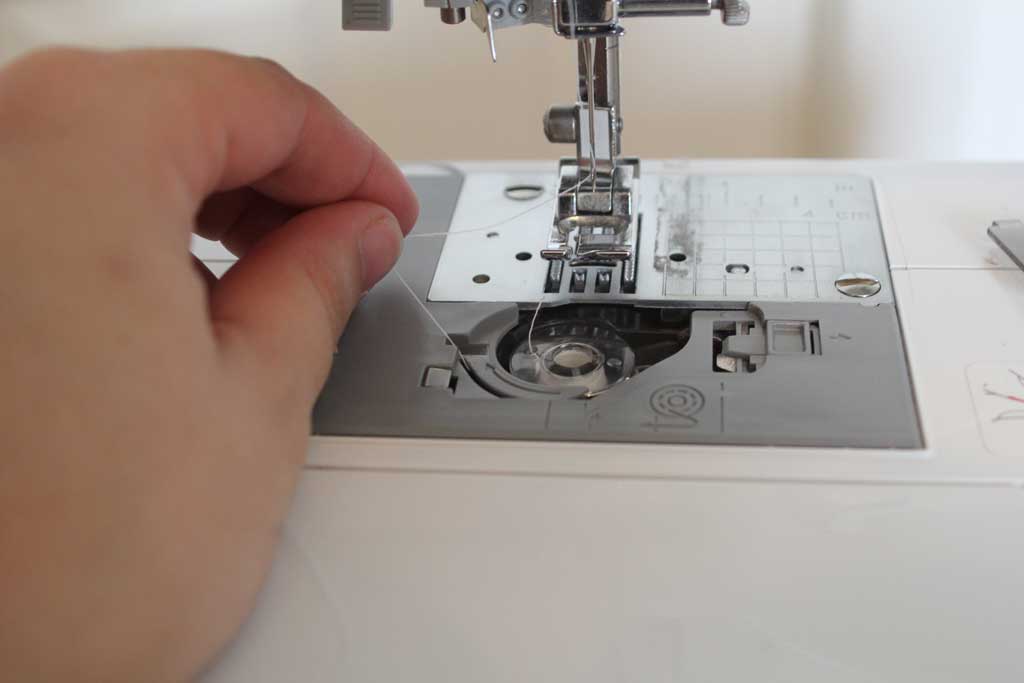
Now its time to drop your bobbin in.  This machine has a super simple drop in slot. Release the plastic cover to your bobbin slot (on mine its that little gray square you see in the picture above and then the cover just slides out.  From there just follow the picture to make sure your thread is coming out the right way from the bobbin.  (FYI this is really important… if you don’t do it right it will all get tangled and you’ll get frustrated, not that I would know anything about that…)  sewing6

The thread comes out from the top of the bobbin to the left and then hooks around the plastic piece and then comes out on the left side of the bobbin holder. Ignore the pieces of thread in the picture below that I am not holding. The one on the top is coming through the needle and is attached to your spool of thread, the other one coming out of the bobbin is because I didn’t trim the other end of the bobbin… my bad! sewing7

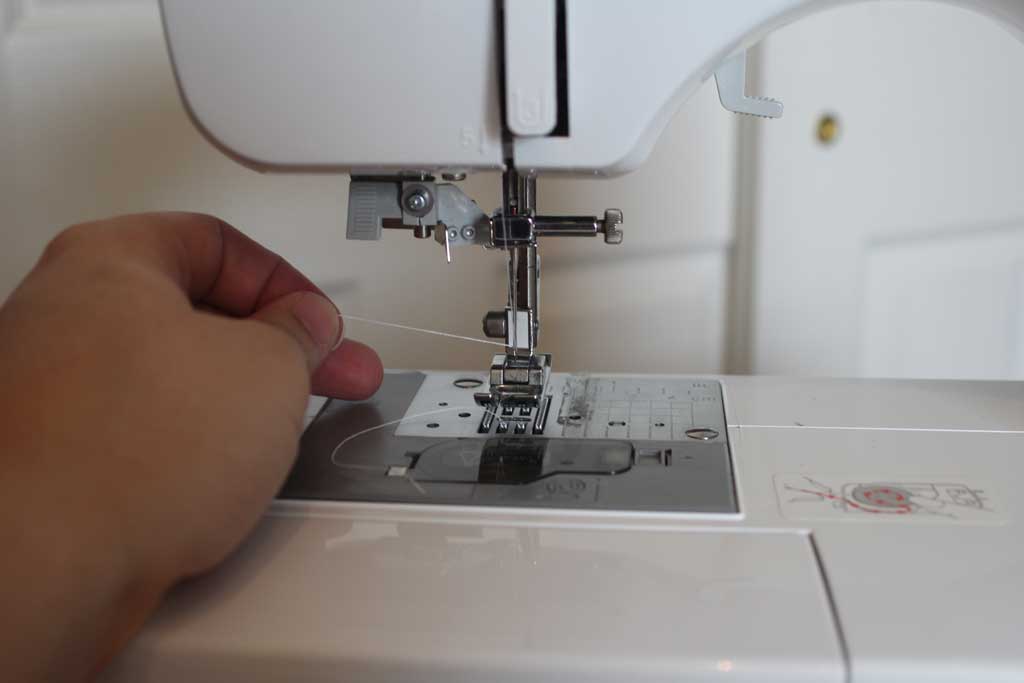
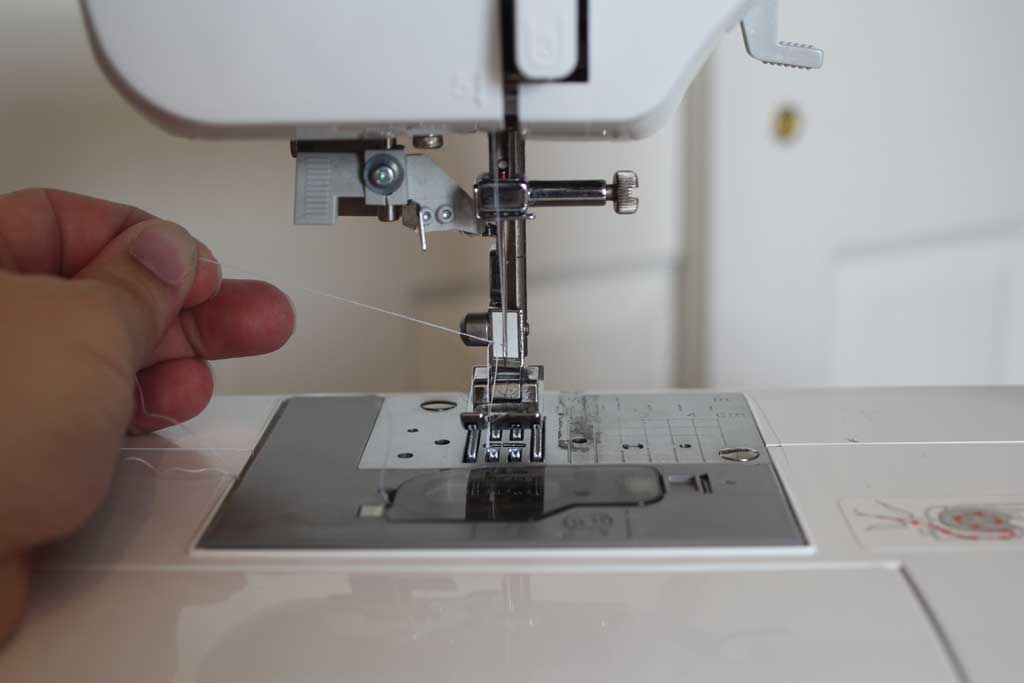
Then put the cover back on your bobbin and now comes the hardest part (but its not that hard… you can do it!) Hold the end of the thread that is coming through your needle taught to the left of the machine.  Now with your right hand turn the wheel on the right of your machine towards you until the needle drops down into the hole and comes back up with the second thread.  It should look like this:  sewing4

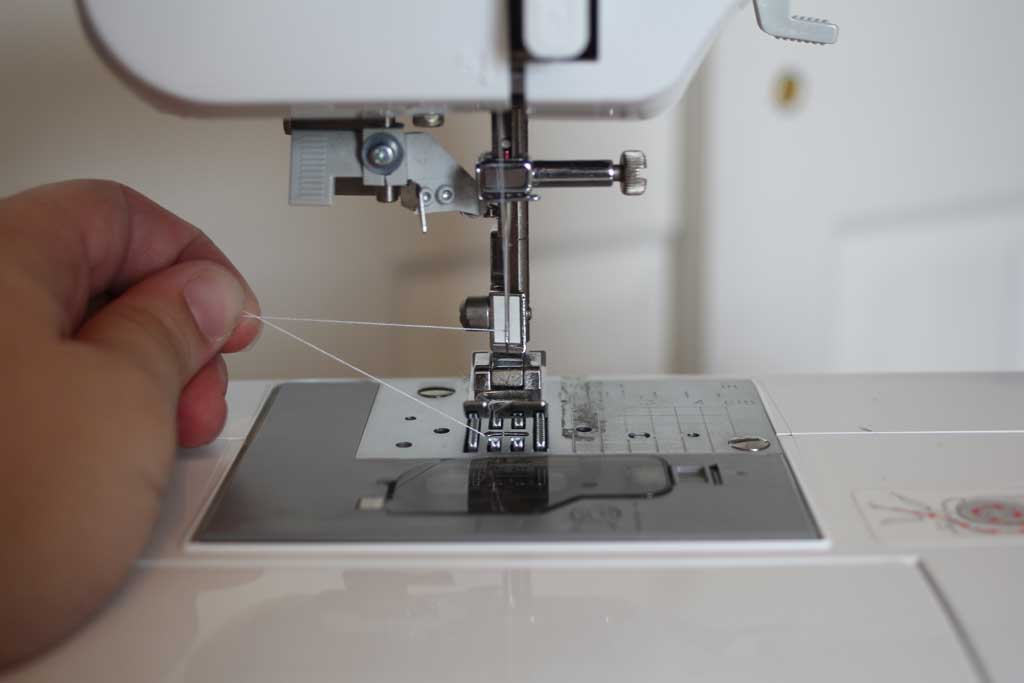
From here I always swipe a pair of scissors underneath the presser foot (the flat metal thing) so that both my threads are coming out to the left of the machine like so:

sewing8

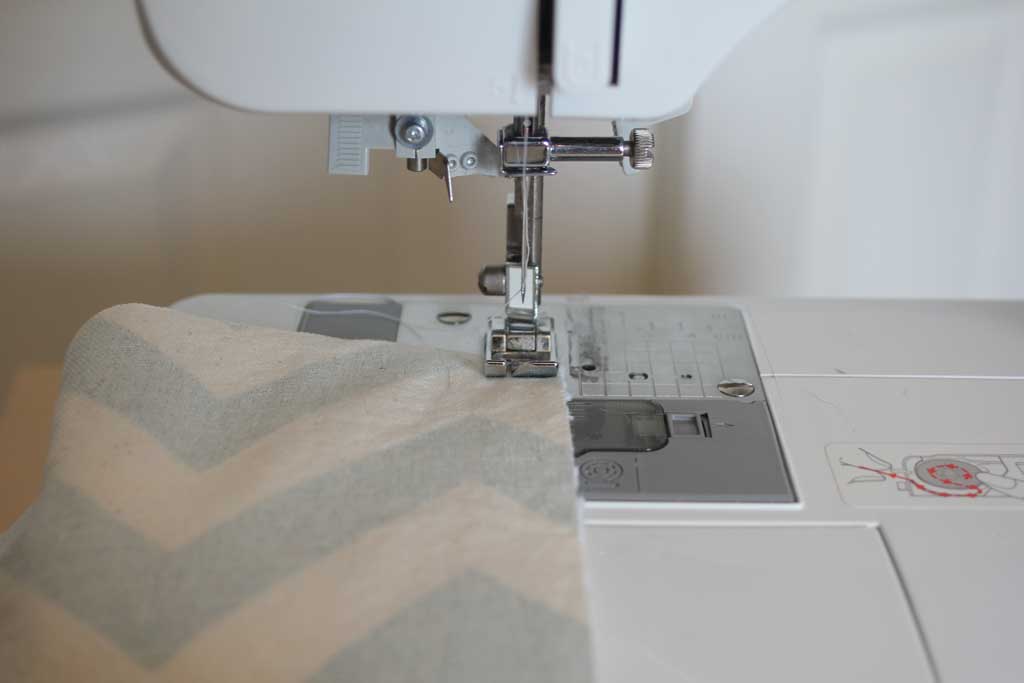
Make sure you have plenty of spare thread pulled out so that your needle doesn’t un-thread itself (it is one of the more frustrating things when you realize you’ve sewn a few inches without the thread…) Now its time to start sewing! Line your fabric up with the right hand side being however long you want your “seam allowance”.  Your seam allowance is however much space you want between your line of thread and the edge of your fabric.  I usually line mine up like you see below with the edge of my fabric at the edge of the presser foot or I line it up on the left hand side of that grid they printed there for you.   sewing-fabric Stick with me this week… Friday I’ll show you  (I posted it here!) what I’m making in the picture above… its a super easy project that is great for beginners!

howtothread

Reception Events

I had such a blast at our reception.  I loved getting to see and talk to all the people in my life and Reese’s.  It was so fun to see everyone together and I felt like all night long I wanted to ‘jump into’ conversations I could see going on all around the room.  Everyone warned me that it would go by too fast  and they were right! There were people I wish I’d been able to talk to longer and friends who traveled a long way that I didn’t really get to catch up on their lives.  But that being said we had an EXCELLENT time.

One little hiccup in our planning was our DJ.  We had gone with a DJ company that was great to work with and assigned us a DJ who was very us, low key, but knew what kind of music we wanted to play.  We had worked out all the details for the reception (including first dances, etc) with her a week before and she was fantastic. The day before the wedding, her father died unexpectedly, so obviously she couldn’t DJ. The company called and told us they would send a very qualified replacement who had been doing this for 15 years.  So during our rehearsal dinner Reese and I snuck away for a few minutes to go over all of the details again. This guy was great, but didn’t fit our personality AT ALL.  When we met him in person right before the reception he said to Reese… are you ready?  We are going to ROCK OUT. Reese said… I don’t think you get us, we want it to be very low key… his response? Yeah man… we’re going to Rock! And then walks away.  He had a few things he did that were completely bizarre, like giving his own toast… receptiondj

But overall it was no big deal, and he provided something a little crazy and memorable for the night.

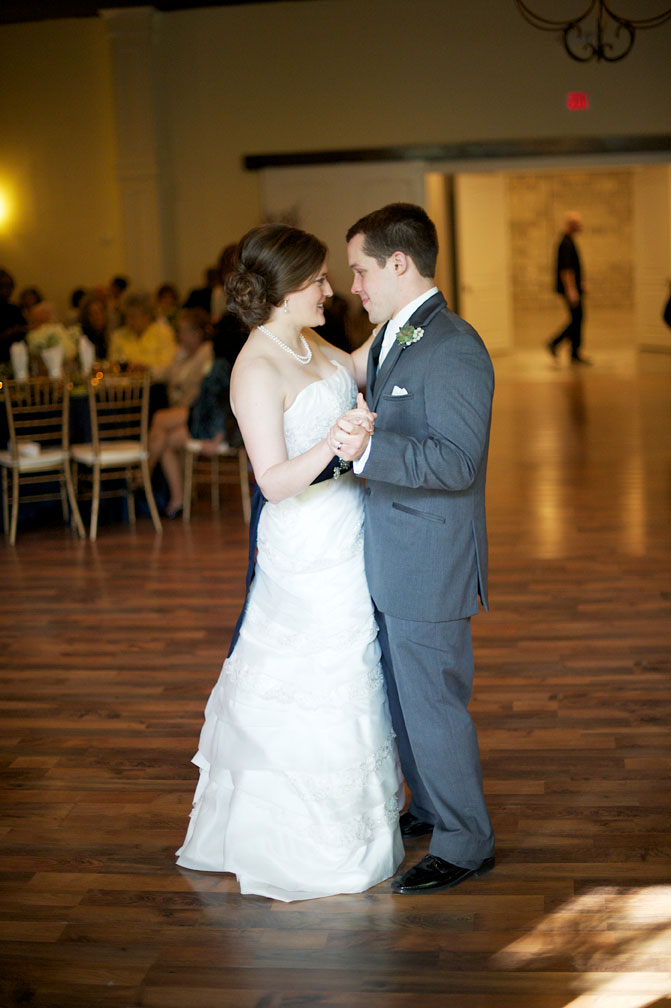
Right when we got in Reese and I did our first dance so that people could go ahead and get up and dance whenever they wanted to. Our first dance was to a song by Jimmy Needham called If I Ever Needed Grace, and is a song he wrote for his wife and talks about their journey through life together and how important it is to have grace through it all.

receptionfirstdance Then my dad and I danced to “Sunrise, Sunset” from Fiddler on the Roof.  My dad has always really loved this musical and regularly quotes Tevye’s “Tradition” song as an answer for why we do certain things in our family.  This is a perfect father daughter dance and I loved dancing with my father (who by the way is a terrific dancer!) For those of you who don’t know the song, it’s a father reflecting on his daughters as they go off and get married, the first lyrics are:  “Is this the little girl I carried? Is this the little boy at play? I don’t remember growing older, When did they?”  I love this picture of my dad and I:

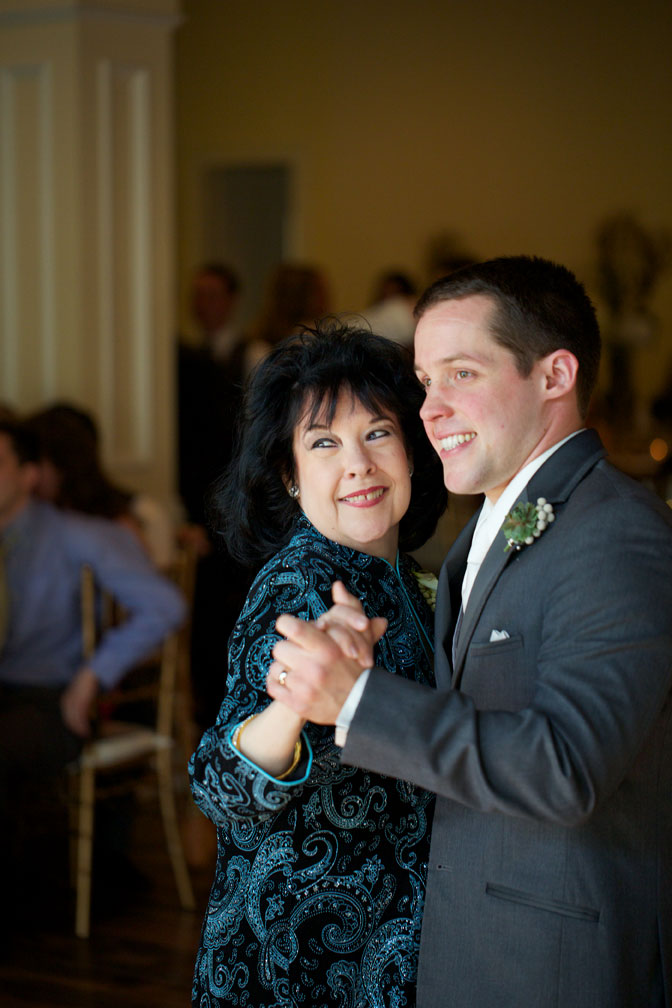
receptionfatherofbride Reese and his mother danced to Rascal Flatt’s My Wish.  I love it as a first dance song too:

My wish for you
Is that this life becomes all that you want it to
Your dreams stay big, your worries stay small
You never need to carry more than you can hold

receptionmotherofgrom Then we moved into cutting the cake, which I showed you how gorgeous it was on Friday. What I didn’t share was our ‘groom’s cake’.  One of Reese and I’s favorite things to do is to go get ice cream.  (healthy, right?) So when we found out that Paciugo Italian Gelato catered events for a not very outrageous price, we jumped on the chance, and it was a huge hit!

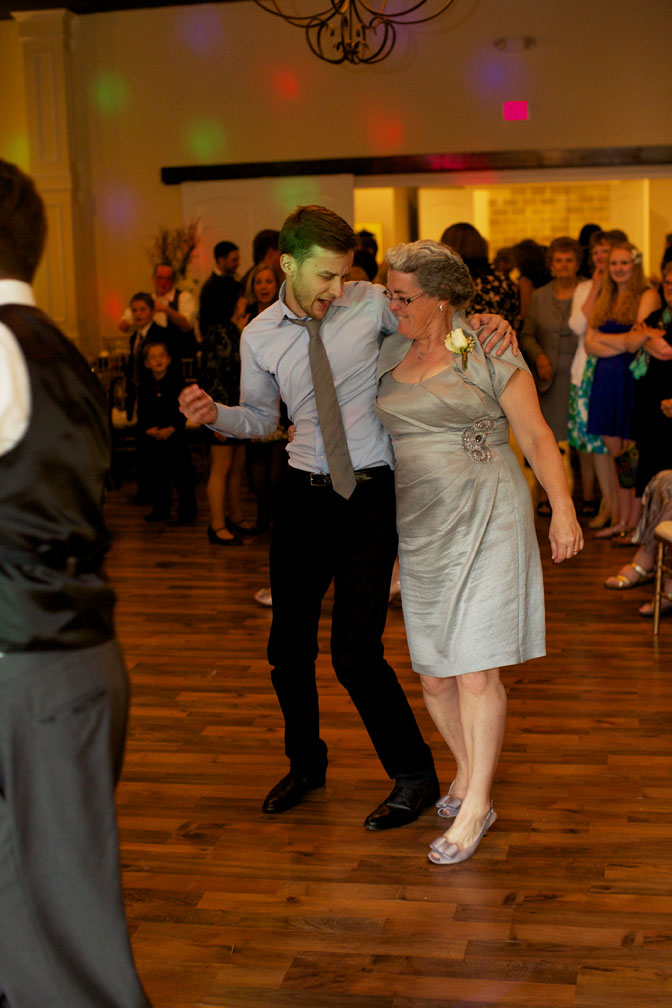
receptionicecream They bring it in coolers and we could choose 5 flavors for the number that we ordered  (shown above is chocolate chip cookie dough, chocolate chocolate chip, and mint chocolate chip… can you tell we like chocolate?… we also served strawberry sorbet and an amaretto).  Then for the rest of the night we danced the night away.  receptiondancing2 Our groomsmen and ushers were awesome and spent most of their night on the dance floor! And check out the picture below… easily one of my favorites from the day! Our musician and good friend Micah was getting my mom into the dancing game!
receptiondancing1

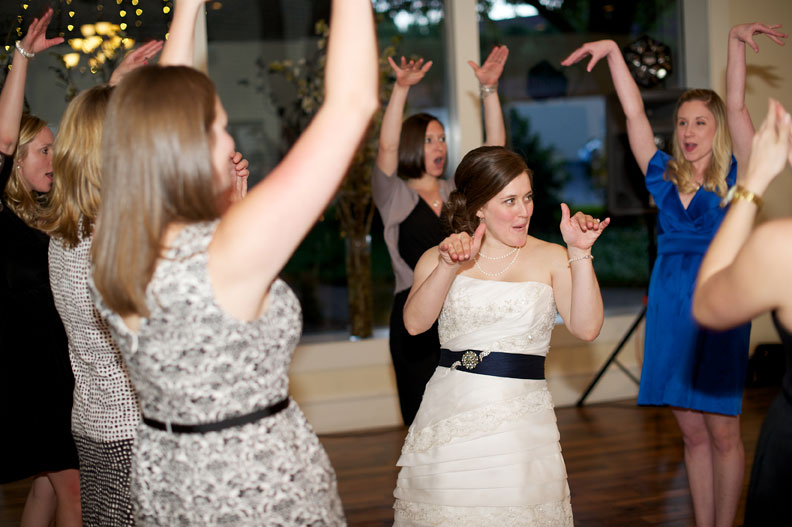
Later that evening my sorority sisters and I fulfilled one of our wedding traditions and sang “She’s a Theta” and like all good sorority songs… it has hand motions. I love that so many of my wonderful sorority sisters made the trek down to Dallas.  I loved getting to see all of them!  receptiontheta

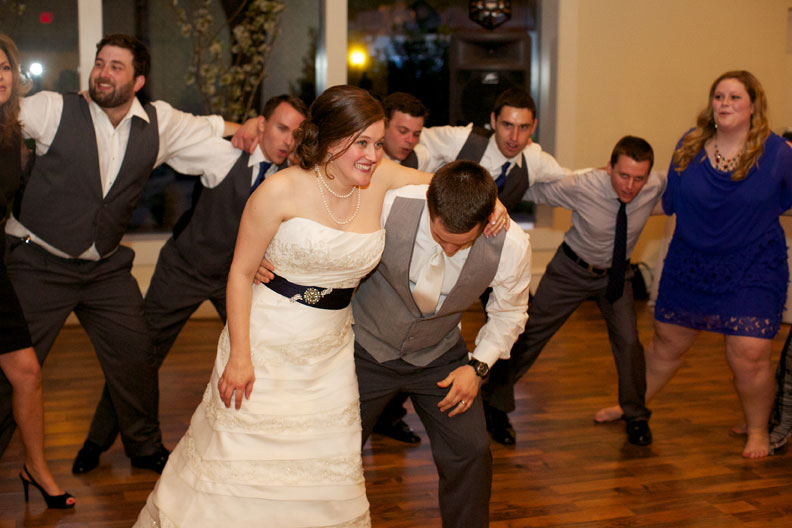
Reese is a Texas A&M grad and the Aggies have their own wedding tradition.  The groom stands in the center of a half circle and they sing the A&M Fight song… also complete with hand (and body?) motions.  As a Jayhawk I clearly have a lot to learn.  Reese is trying to make a deal that our (future!) children grow up with as much Maroon and White as they do Crimson and Blue.  I’ve assured him they can only have Maroon and White during football season… basketball season is all mine!  receptionaandm

Then our crazy DJ (see above) had all the guests circle around us in a congo-esque line and then on his command run and give us a giant group hug… it was very strange and claustrophobic, but made for some excellent pictures.  receptioncircle And to sign off for the night we walked through a tunnel of our remaining guests and into our car so we could head of for Hawaii the next day!  receptionleaving

Want to see the other parts of our wedding? Check them out here:

Ceremony

Reception Part 1

The Dress

Rehearsal Dinner

The Proposal

All pictures courtesy of Lauren Guy Photography