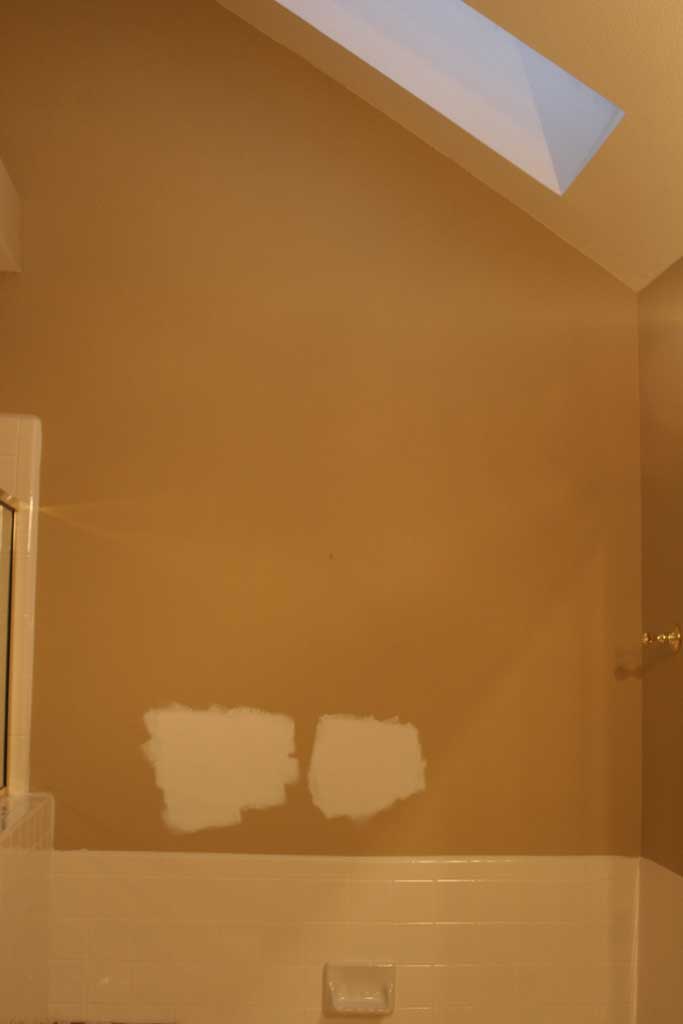
My twin brother has been painting some rooms in his house, so I’ve had quite a few conversations about paint colors lately. I’m one of those people who goes to the store, looks at the paint colors, picks a color and paints a whole room with it. THEN I decide if I like that color. For the most part that process has worked out for me. Sometimes the colors don’t work out exactly like I had in my head, but it usually looks pretty good and ends up fine. With that said, I’m not sure what prompted me to break tradition in the master bathroom. My original room plan had me painting the cabinets a dark gray and the walls a crisp white. So I picked out two different color whites, and painted test swatches in 3 places around the room.
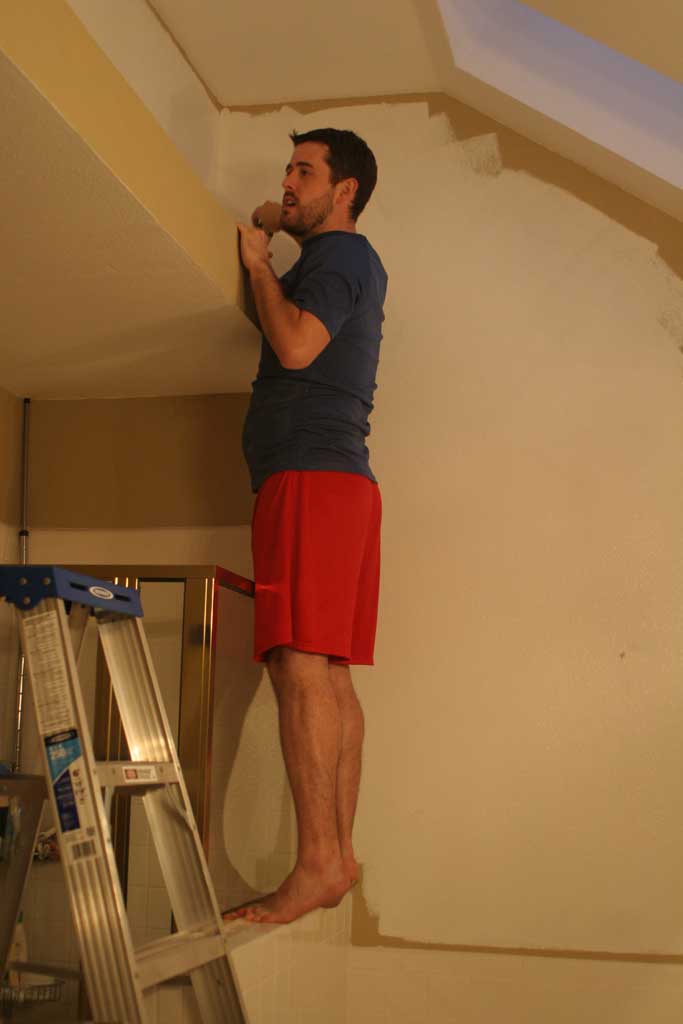
After a week, I still couldn’t figure out what the difference was, so I just picked one and went with it. My husband was busy and I had a free night so I invited my brother to come over and help me paint the bathroom. In one evening we got about 3/4’s of the room painted before calling it quits.
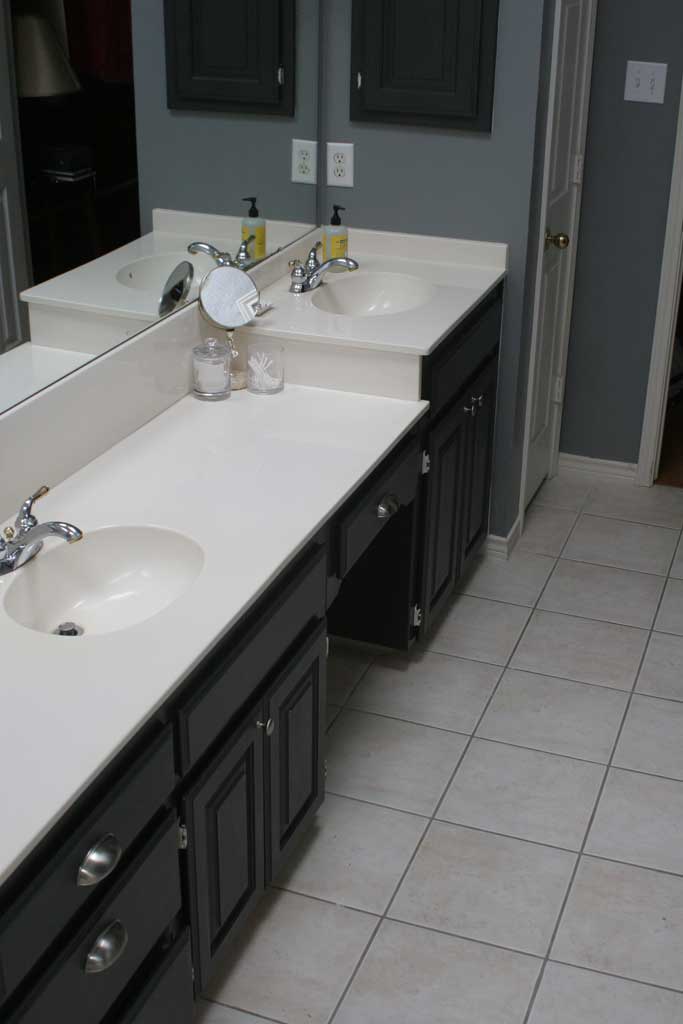
But the white didn’t turn out like I wanted it to. It made our previously seeming white bathtub and countertop look yellowish. Since I was busy the next few nights two weeks, we just lived with a mostly-painted-in-a-color-I-don’t-really-like state. Once I settled on the fact that I wanted something different I decided a light gray would be better. So I went back to my tried and true just pick one method at the store and came home with a gallon of Behr’s Gray Area paint and primer in one. I was planning on painting it Saturday afternoon and Sunday, but Reese had a few free hours so volunteered to get it started for me, while my BFF and I did an owl craft project upstairs. After spending several hours in my office/makeshift craft room we went downstairs to see his progress.
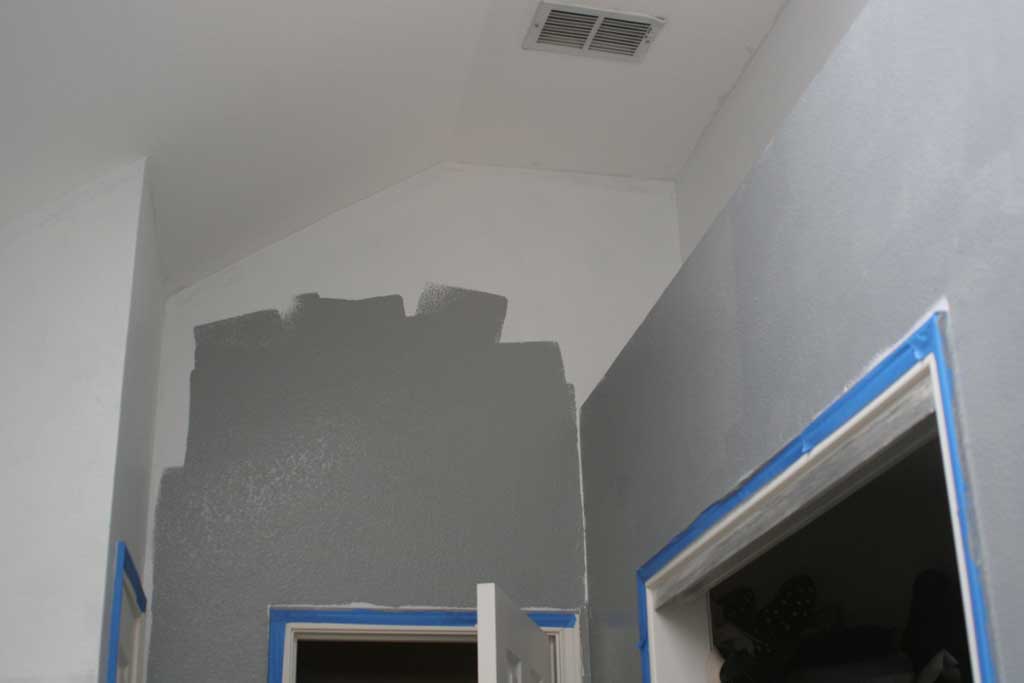 My best friend who knows me and my paint picking ways pretty well said… wait… isn’t that the same color as the office we were just in? And yes sure enough, this is the second room in my house where I have gone to HD, picked out a light gray that I liked and painted a whole room in it. They were just two years apart and fortunately also across the house from each other… but hey, at least I know what I like right?
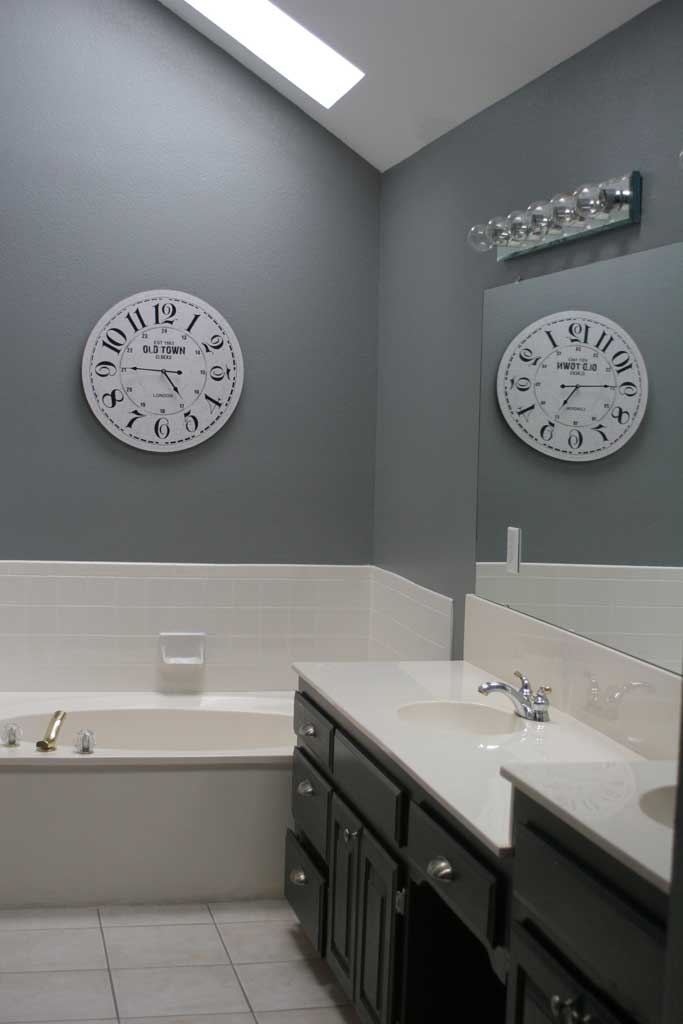
Reese ended up painting the majority of the bathroom all by himself by the time I was done crafting, but I love the way it looks now! Builder basic- no more!
It definitely needs a few little pops of color in some wall art or accessories, so I may be replacing the giant clock sometime soon. And with the gray, my bathtub and counter tops don’t look yellow anymore.
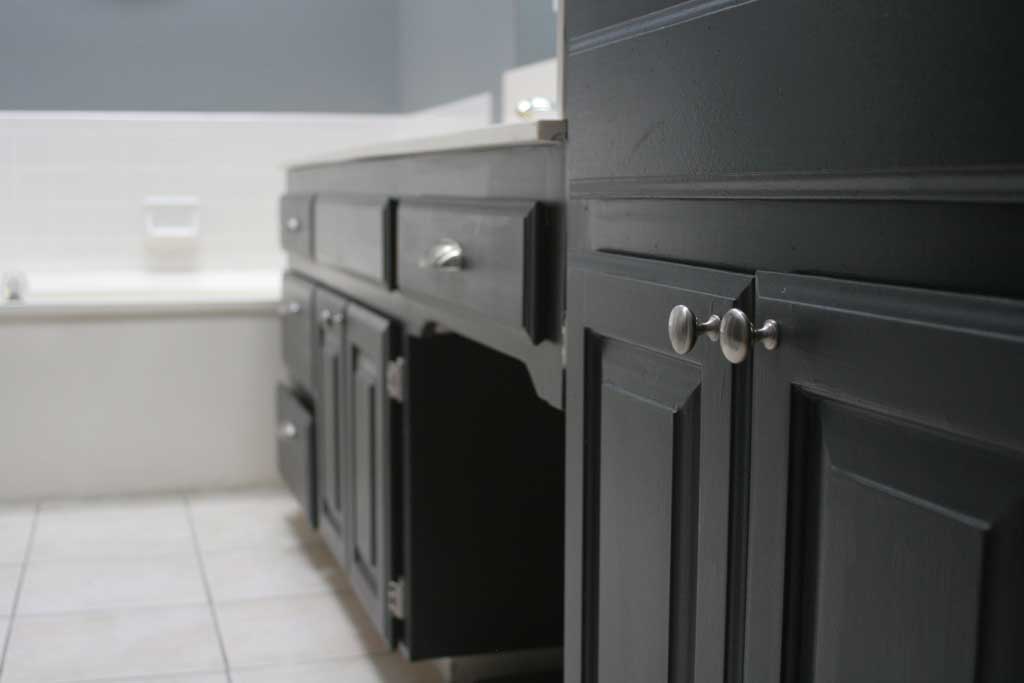 I have some plans down the line to add a little more interest to the tub surround by adding in some other tile, and I would love to change the gold shower surround, but that is all for another day! Thanks for following along with my little mini bathroom reno! Paint makes a world of difference.












 Hi, I'm MJ! I'm a DIY kind of girl and this is where I share my projects. I'm taking you along for the ride as I learn how to do woodworking, sew, bake, and renovate!


