By the numbers…

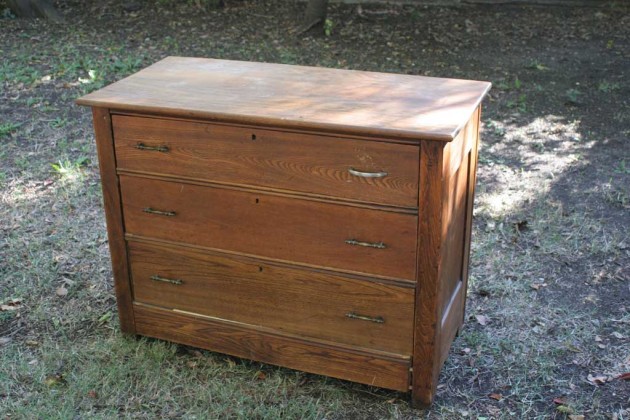
This dresser has been through a few reiterations.  This was another basement find from my grandmother’s house.  This is what it looked like when I got it a few years ago (minus the silver handle on the top right… I was testing out my new handles):

dresser1

The dresser had been in the basement when it flooded and had a few issues.  The broken drawer (you can see the gap at the bottom right where the broken drawer had pushed the frame outwards) was fixed with a little wood glue and some nails.  The top is warped from the moisture, which I never fixed because it is still functional and isn’t overtly obvious (plus its not an easy fix!).

At that time I sanded this guy down and stained it with a Minwax Jacobean stain with a high gloss polyurethane coating.  It stayed in my master bedroom until we got married and needed a little extra clothing storage.  We upgraded this guy for our master bedroom and moved this dresser out into the garage.  Unfortunately I don’t have a good picture of what it looked like stained in the master bedroom (one day I’ll get the hang of this whole ‘taking before pictures’ thing).

I decided this would be a perfect canvas to do a dresser upgrade that I’d seen around the blogosphere, knocking off this Anthropologie Dresser (you can see some here and here).

I didn’t want to make this a big project, so I left the dresser exactly as it was and just bought stencils and some black paint.

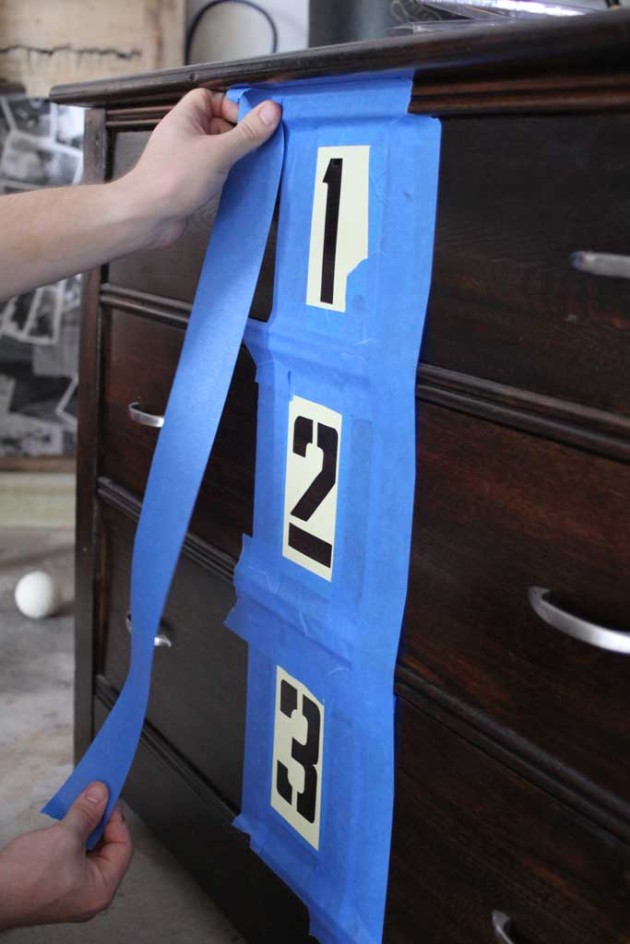
First step, we centered the stencils on the drawer and added some painter’s tape, a little wider than the roller.

dresser7

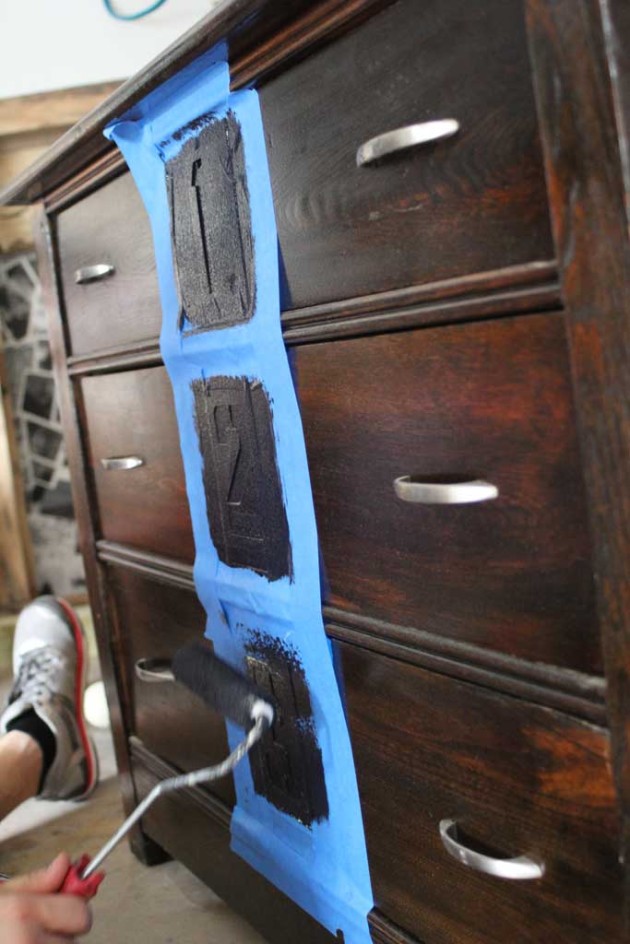
Next we just rolled on the black paint:

dresser3

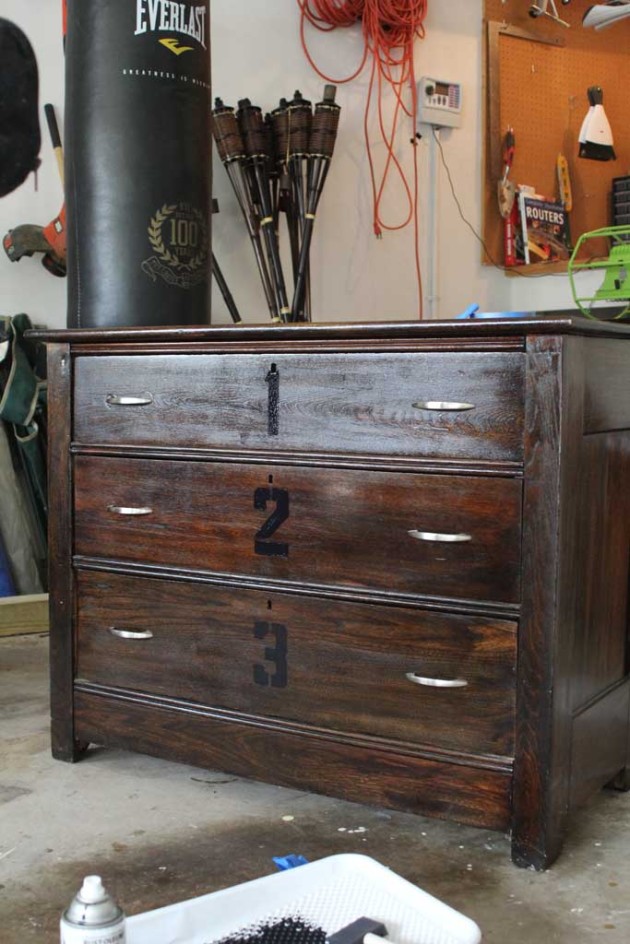
As soon as we rolled the black paint on we removed the stencils and wiped up with a wet paper towel the one spot that wasn’t as crisp as the rest.


dresser5

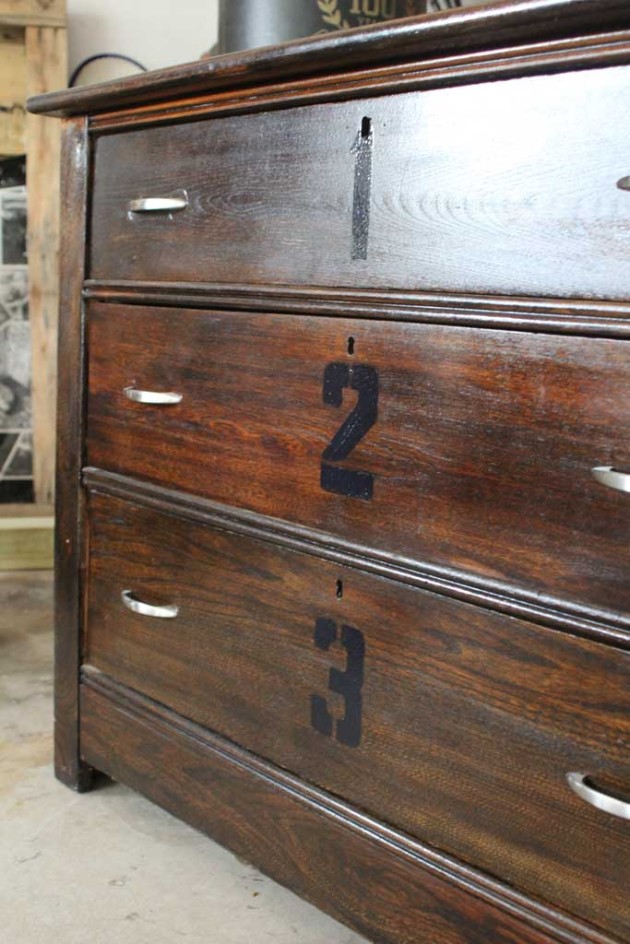
I like that the numbers aren’t super obvious, but think it spruces up the dresser quite a bit! And for 15 minutes and less than 20$ (free if you already own the paint and stencils) it was a pretty stellar upgrade!

dresser6

We’ve moved it upstairs already and it looks great in the space, but I can’t show you it without ruining the project I’m working on now, so you’ll just have to live in suspense…



Bonus Room

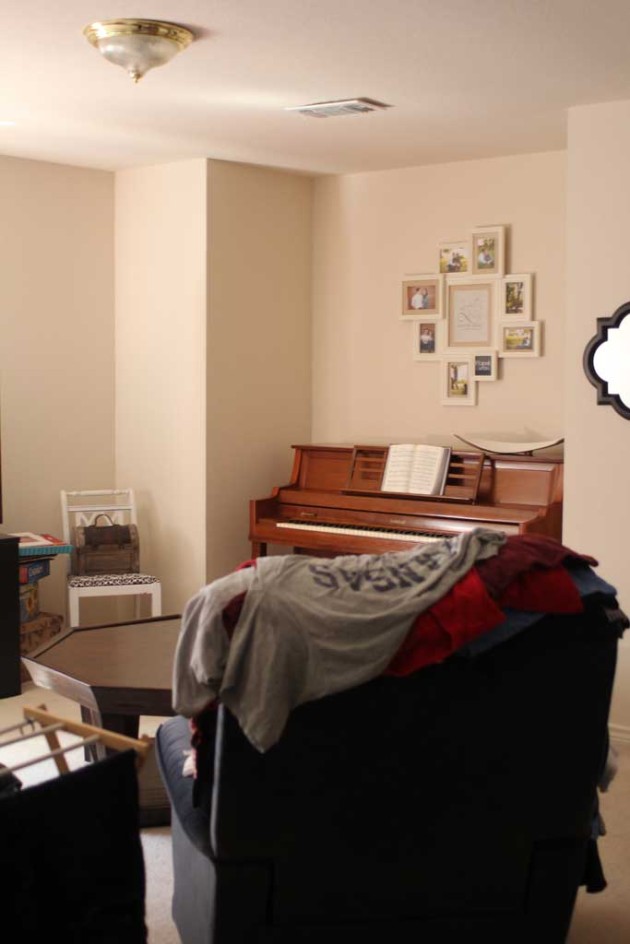
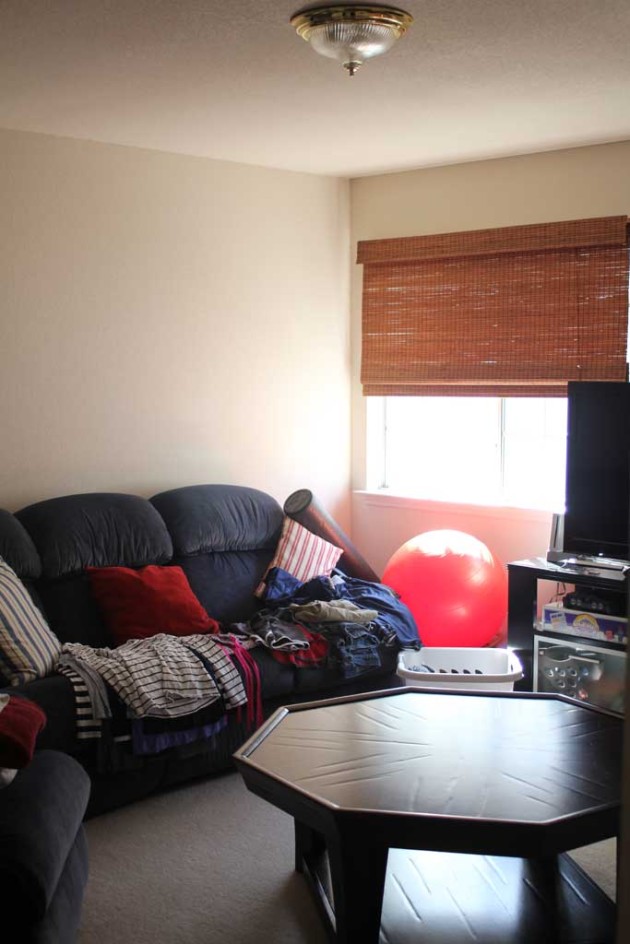
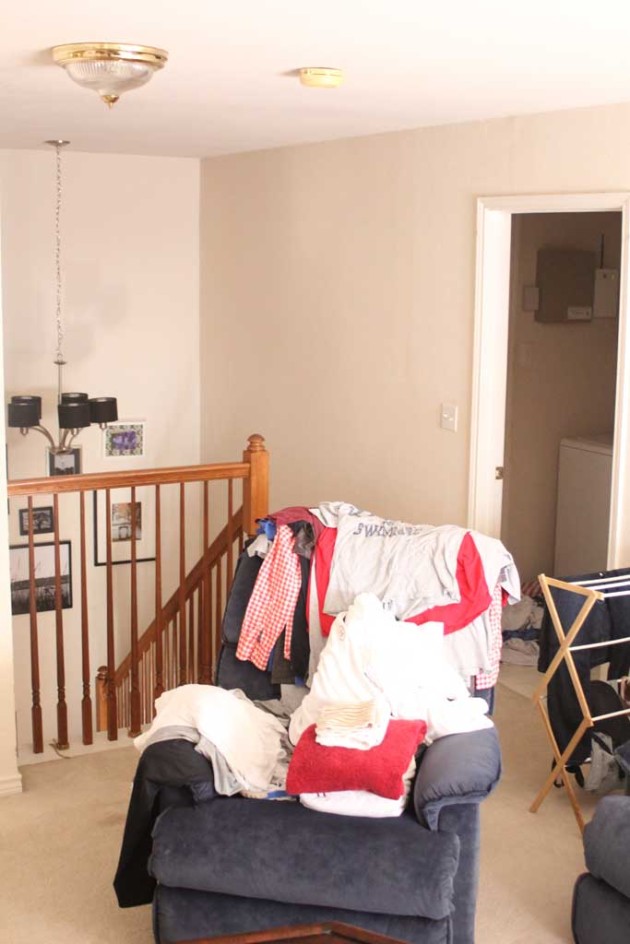
At the top of my stairs is a room I haven’t really shown on the blog yet. Mostly because I have had 0 inspiration for it.  It sat mostly empty for the first year I was in my house, except for the piano.  My movers LOVED me… “You want that piano where?” “Upstairs in that little alcove that it fits PERFECTLY into” “UPSTAIRS?!!?” Don’t worry… I had definitely cleared this with the moving company first… they just hadn’t communicated that to the actual guys moving the furniture.  I don’t have a picture of it with just the piano… but you can use your imagination with the pictures below… just mentally remove the couches, TV and coffee table.  Oh and don’t mind the fact that I didn’t even pick up the laundry to take a picture of this room… it just wouldn’t be true to the room.

bonusroom3

After my husband’s furniture came to live with me (he moved in with my brother before the wedding, but his furniture all came to the house), I moved my old couches upstairs.  These couches were a hand me down from some neighbors to my brother in college, after college I got them because they were FREE and I was BROKE.  Although I don’t love the blue color, these babies are COMFY.  I’m pretty sure I spent a good portion of my single life curled up in that recliner nursing my television addiction (from which I have still not recovered). Because the laundry room is upstairs and right off of this room, and NO ONE EVER GOES UP HERE unless I have guests, this is pretty much a full time laundry folding station (and by that I mean closet… I loathe folding clothes).

bonusroom1 The previous owners left that window shade, which I’m grateful for… but also find semi-humorous as its the only window they had a shade like that on, and it faces the side of my neighbors house with no windows.  So no one can see in that window.  But it does get a significant amount of light, so maybe they were just blocking out the light? The two things hanging on the wall? Mom and I hung those the week of the wedding so that this room would look a little more settled! This room also houses some of our home workout equipment… which double as toys when the nephews come over and play.

Anyway, I got a little bit of motivation for this space by way of some fabric for curtains I found in my grandmother’s basement and decided to do a little  more ‘finishing off’ of this room.  And my goal is to complete it all before the Halloween party in a few weeks so that people can come up here to play games.

bonusroom2


So here’s my list of things to do in the room– Updated with links for the finished projects!

Its not a super long list… and I’ve already started on a couple of those things… but I’ll be posting about that tomorrow!


Mirror, Mirror

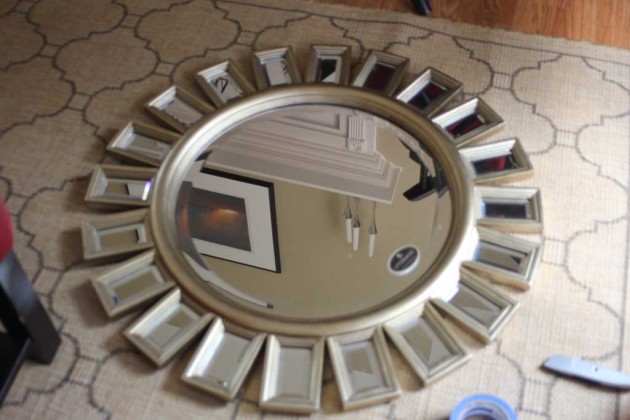
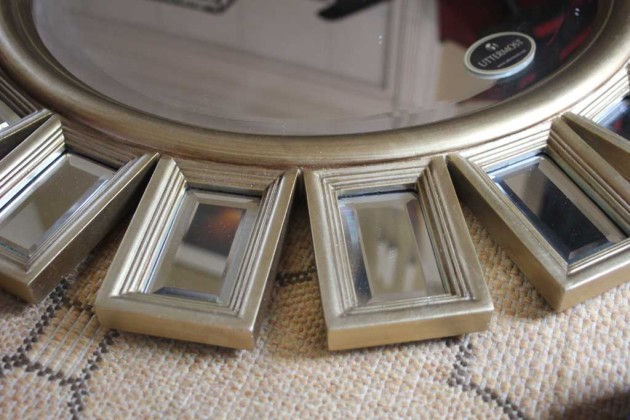
Some friends of mine had an extra mirror at their house that they weren’t going to use, so offered it to me for F-R-E-E and so I jumped on that opportunity! The gold isn’t really my style, but I loved the shape of it! And I knew that with A LOT of painters tape and some spray paint, this baby would look much more my style. (Ignore the blurry picture… apparently my camera thought I wanted a super in focus picture of my living room upside down and I didn’t notice)

mirror

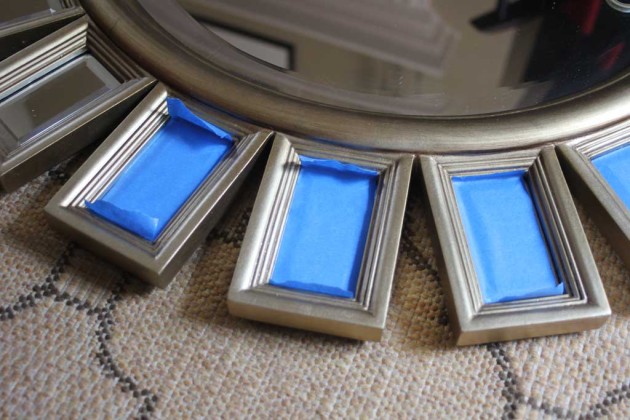
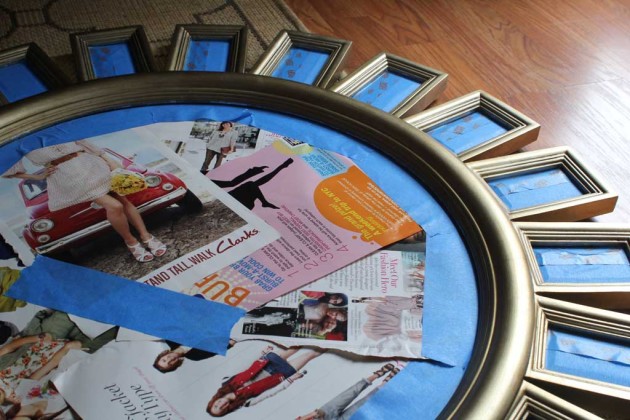
In order to prep this guy for spray paint I needed to cover all of it’s mirrored surfaces with painters tape, so I put on a good TV show and started the process.

mirror1

I found it most efficient to lay the tape down on 6 or seven at a time, being sure to push it into all the crevices.  Each little hole was a little wider than the wide painters tape, so I added another strip of  thinner tape overlapping.

mirror10

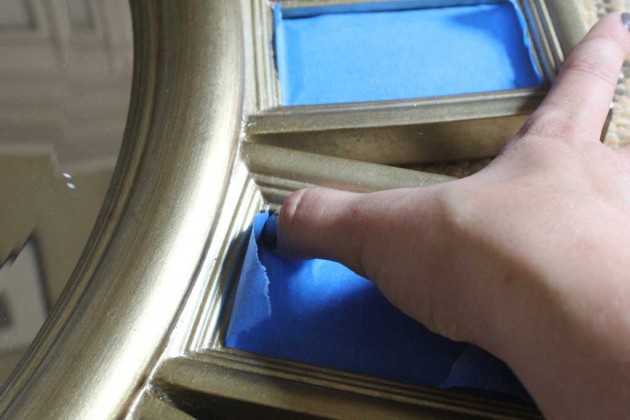
I used my thumb to make sure it was down into the crevice.

mirror3

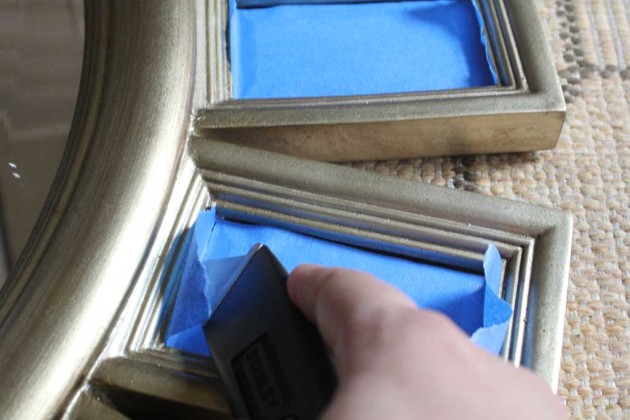
Then I took a utility knife and cut each piece at both ends to cover just the mirrored part but leave all the gold exposed for painting.

mirror9


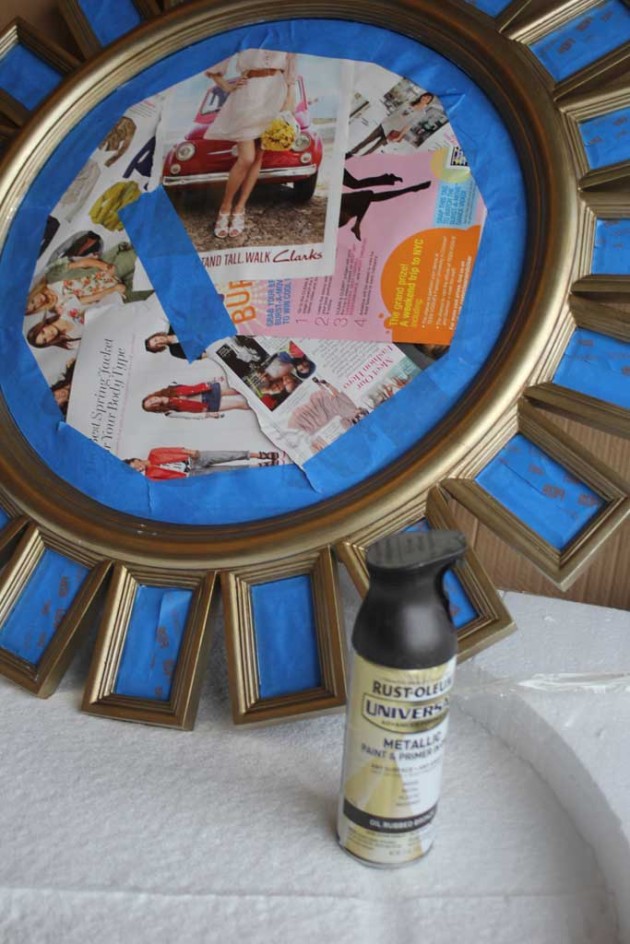
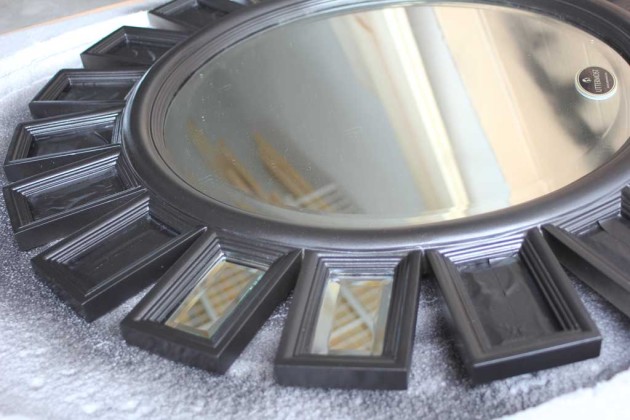
After covering the middle with magazine pages and more painter’s tape, this baby was ready for her color change.

mirror8


I took her outside and I used this spray paint in Carbon Mist. If you look really carefully in the picture below you will see that the can says oil rubbed bronze, well…. about one coat in, I realized I was pretty much out of oil rubbed bronze (and my experience with this paint is that when it gets to the end it gets MUCH splotchier).   mirror7

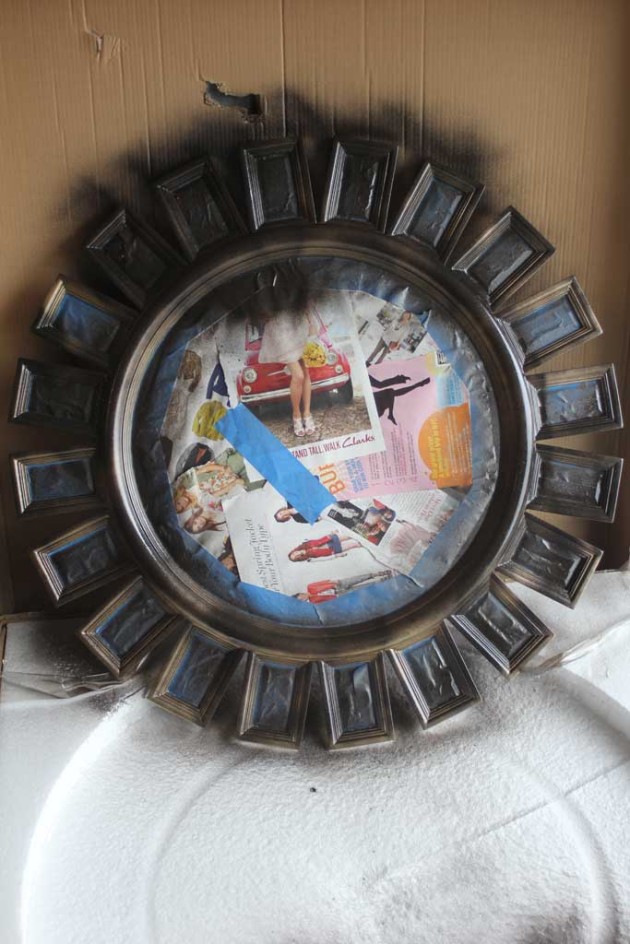
So I made a SUPER FAST trek to HD and decided I’d rather have it a more truer black, so I picked out Carbon mist for the second and third coat of spray paint.  My SUPER FAST trek is because you are supposed to apply the second coat of spray paint within an hour or wait 24. And patience is not a virtue I possess.  1 hour it is! Here is how she looks after one VERY THIN coat of Oil Rubbed Bronze:

mirror6

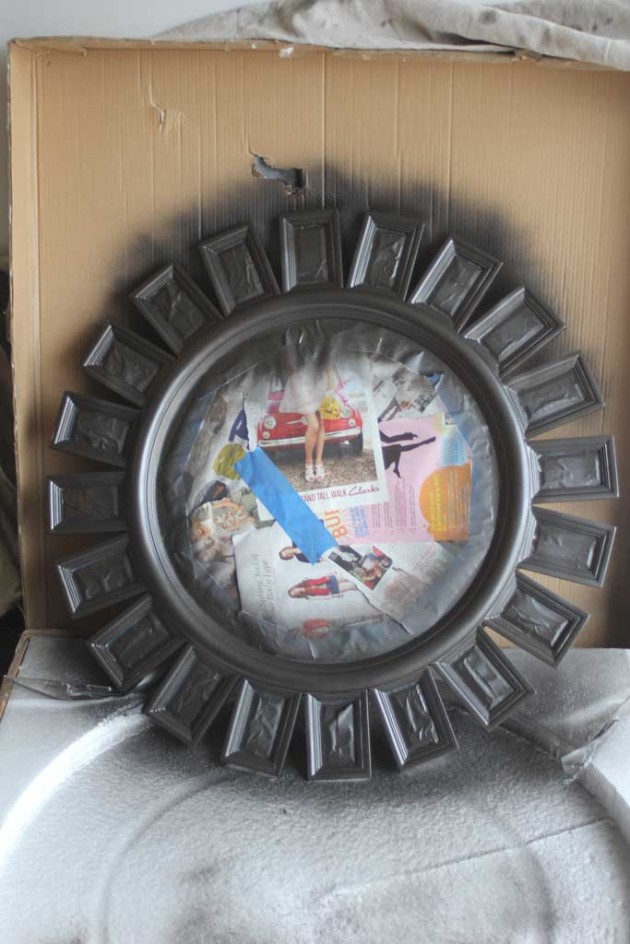
As with all spray painting, each coat should be VERY thin (the above picture shows what almost all of my first coats look like) and you should keep your spray can moving at a moderate pace. This is what it looked like after the second coat, you can see a few spots that need a little more, but for the most part it looks covered and not splotchy:

mirror4

And as soon as I put the third coat on and it dried enough to barely touch, I started pulling the tape up.  I used the knife to help me scrape the tape up from each corner and pulled it the rest of the way off.  Pulling it up before it has dried hard makes it less likely that you pull up some paint with your tape.  Plus its fun to get immediate results!!

mirror5

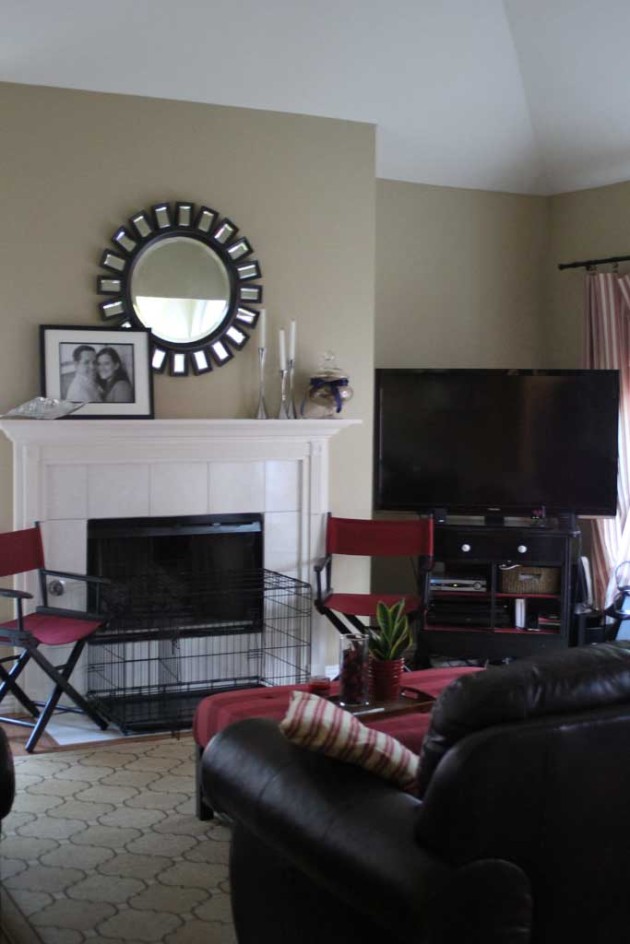
And after I let her dry for a day in the garage, the husband and I hung the mirror above the mantle.  I hadn’t changed the mantle decor since I had moved into the house and had decided the picture that hung there before (see the perfectly in focus picture at the top of this post) would go really well in the foyer, so I thought this would look great above the mantle!

Don’t let the dainty gold from her original state fool you, this beast was HEAVY.  We had a few minor obstacles to successfully hanging it above the fireplace, (the husband hammered his thumb pretty good, and scraped my foot when I fell off the stepladder) but once it was hung it looked GREAT! And I better like it because it isn’t going anywhere for a LONG TIME.

mirror12

Excuse the picture with the dog crate in it… this is real life, and since my nice 70 lbs scared-y cat of a dog is afraid of the sprinklers, her crate can’t be against any windows.  Plus she loves this spot where she gets to watch all the goings on at the house, choosing to be in here 99% of the time, even when she isn’t locked in there. And before you dog lovers start thinking I’m a cruel dog mom… she will get a crate pad when she can go a week without eating it.