Fall Flowers

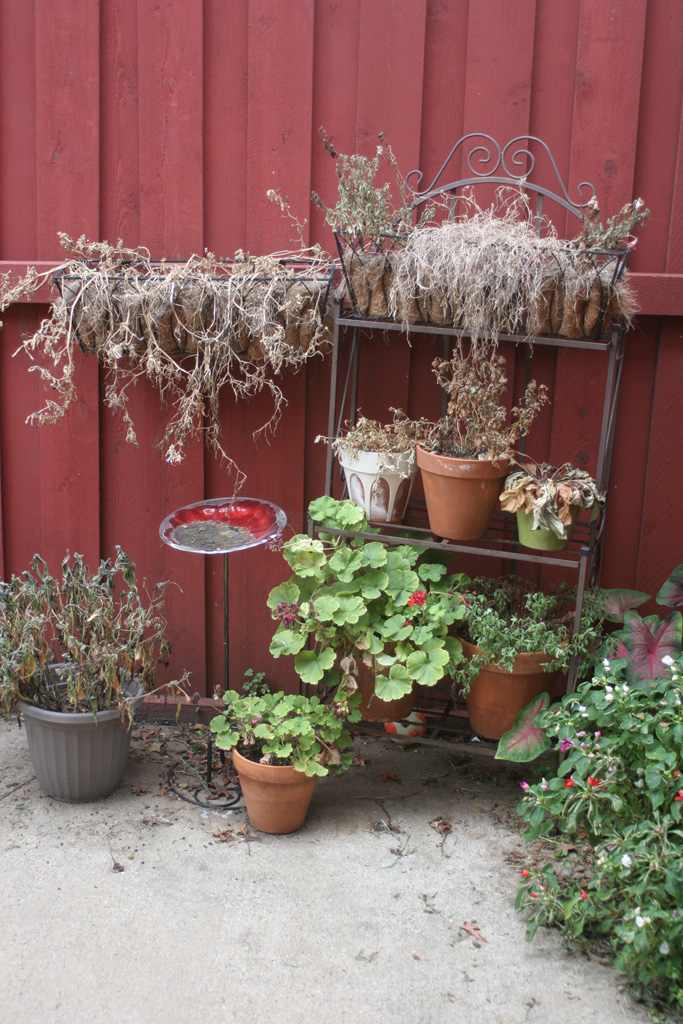
We did a little fall planting this past weekend! My side patio has largely sat unchanged since I took this depressing picture and posted about my flower killing summer:

flowers-dead1

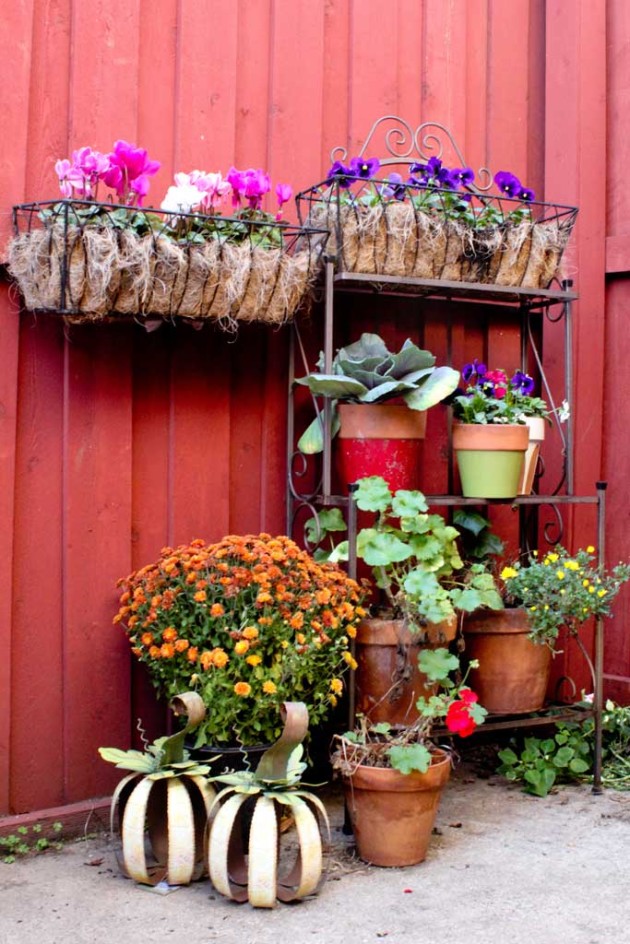
Flower killer extraordinaire! Well it finally progressed into fall planting time, so I decided to spruce up some of those dead planters. This is such a quick and easy change, I don’t know why I put it off so long.  I had about an hour and a half of free time, so I headed over to pick up some flowers, came home and within the hour here’s what the patio looked like:

fall-flowers-1045

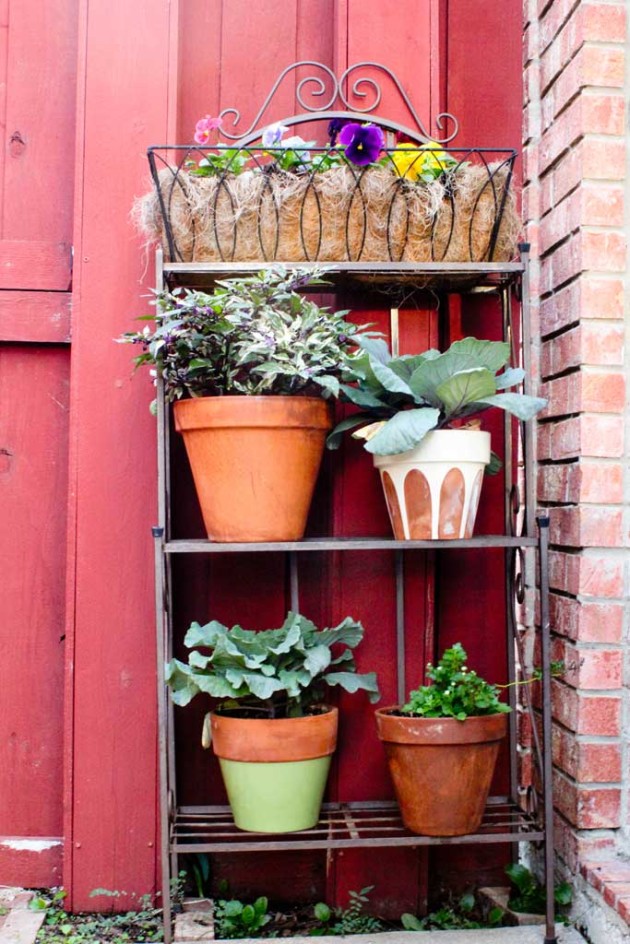
The flowers on the bottom shelf I kept as they were because one of them are mums which should grow back a bit, and I can’t bear to unplant flowering pots no matter how pathetic they look, so I left the geraniums.  On the shelf above the top shelf are pansies, second shelf is ornamental cabbage and more pansies, and then the bottom shelf is a dying geranium and yellow mums.  The rack hanging on the fence has some pretty pink and white flowers that I have already forgotten the names of… oops!

fall-flowers-1046

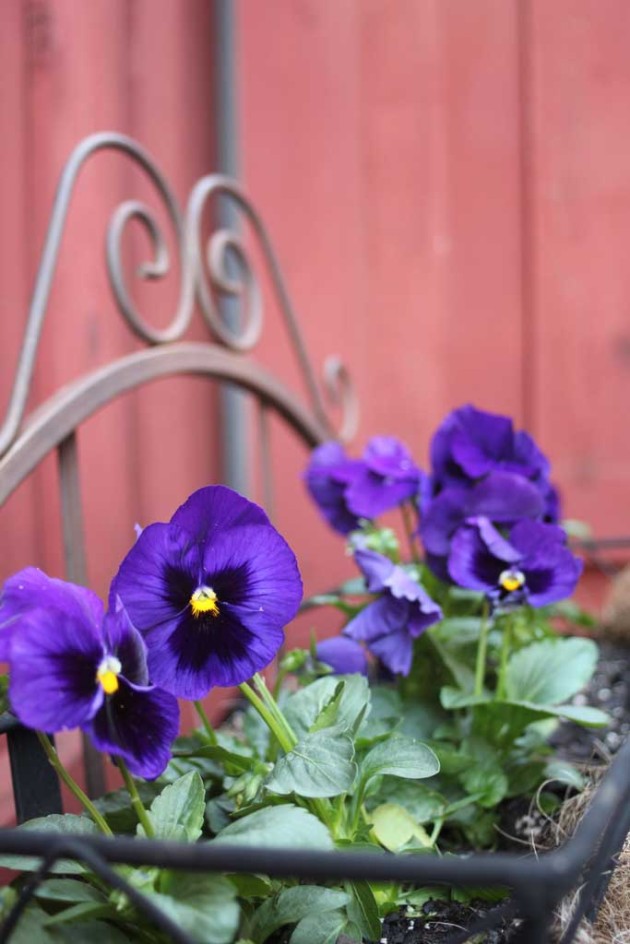
This rack has more cabbage, pansies, and the middle rack has a pretty ornamental purple pepper.

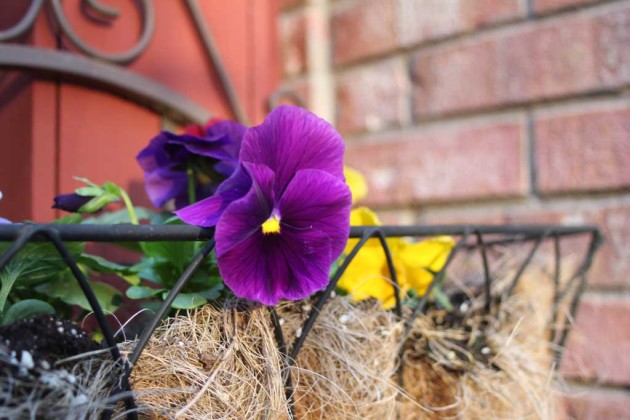
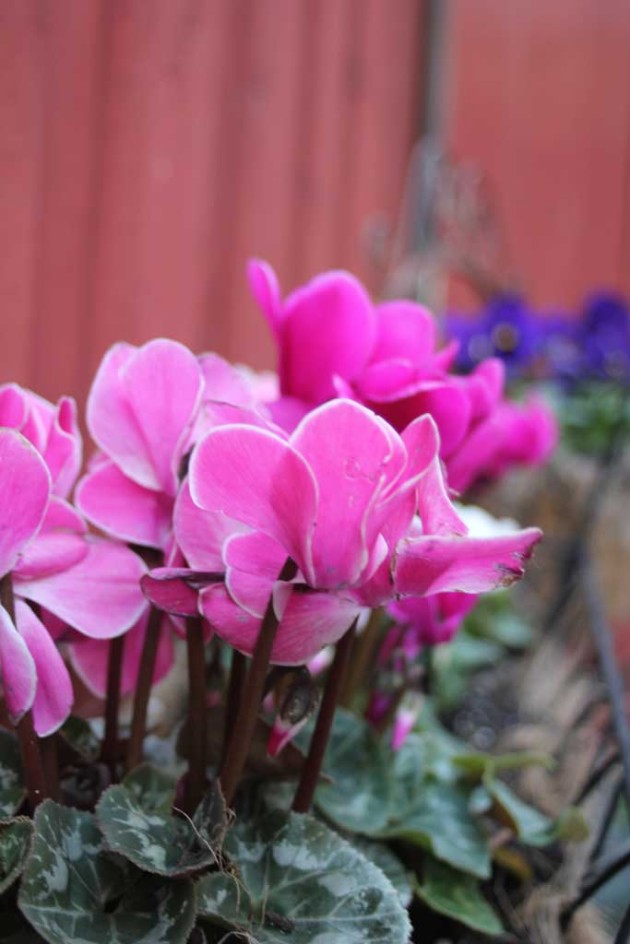
And just because I love flowers, here’s a few more closeups:

fallflowers1

These are the flowers I can’t name… Anyone out there who knows what they are?

fallflowers3

fallflowers2

I’m so happy to have some fall color outside my window!

I had a few plants that I bought and didn’t know where I would put them, but I found a corner of my front flower beds that was looking a little bare, so I planted 2 dusty millers (the whiteish ones) and a purple mum, and I can’t believe how much of a difference it makes for the front of my house!

outsidefall

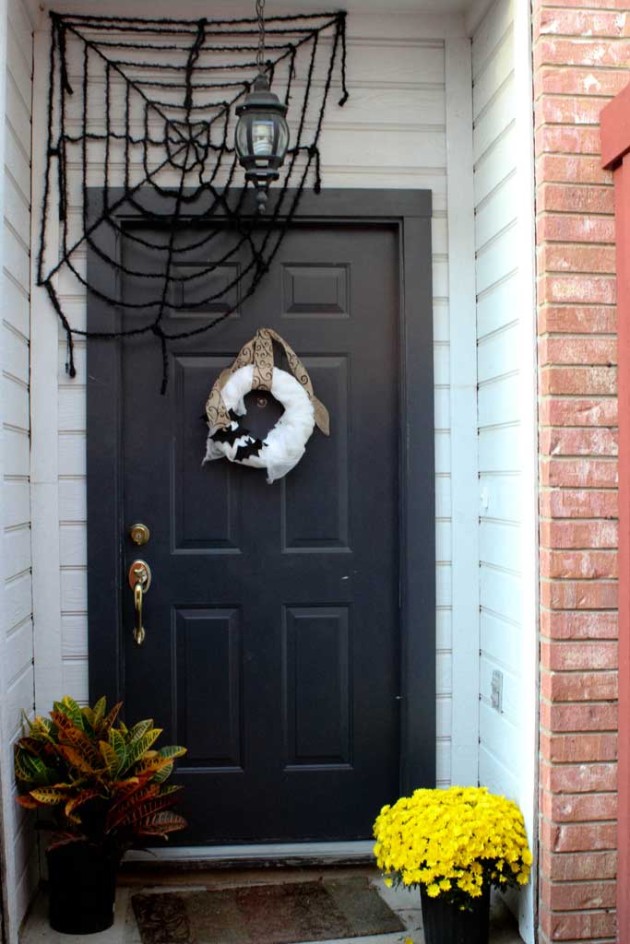
And I put a few by the front door to welcome my Halloween guests! (the one on the left is a croton and the one on the right

fall-flowers-1049

I bought that web at Pier 1 a few years ago and normally I hang it at the front of the alcove, but the husband nicely offered to hang it this year and put it immediately in front of the door.  I think it looks fine there, but it scares me to death (not literally) every time I walk out the door and think something is falling down on me.

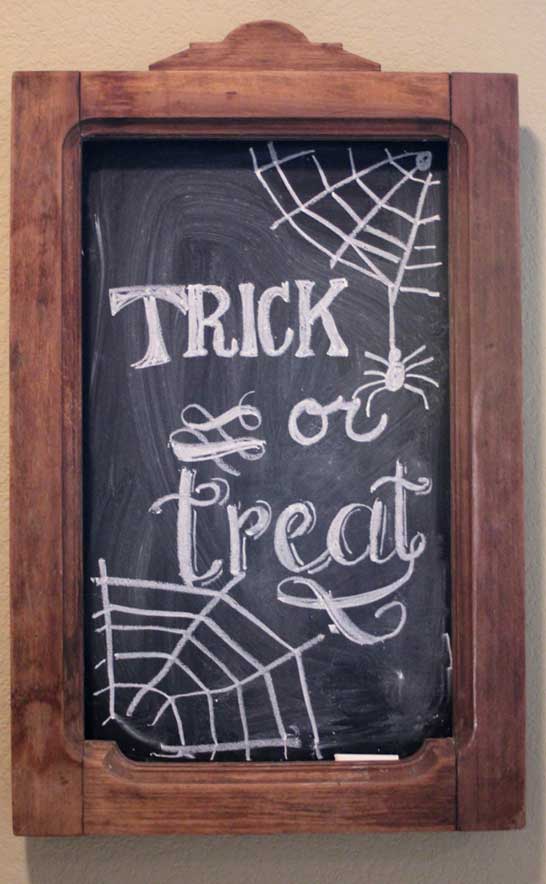
And just for one more Halloween sneak peak… I freehanded a chalkboard drawing I found on Pinterest onto the chalkboard that hangs in my hallway (leading into the kitchen):

fall-flowers-1055

I’m almost ready for my Halloween party and things are starting to look pretty spooktacular!


Bats and Mummies, Oh My!

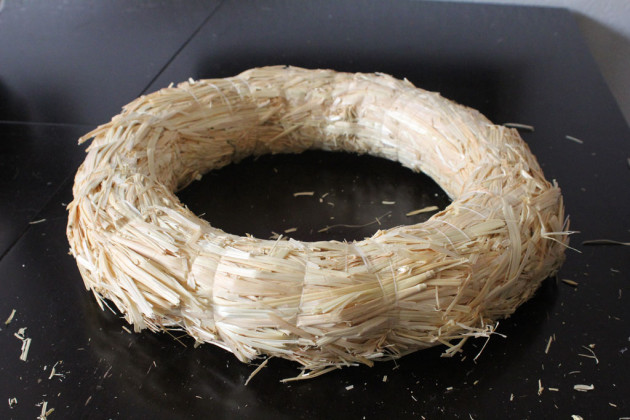
I’m not a very naturally creative person… I can’t paint, draw or anything traditionally ‘artistic’ however, I am AWESOME at mimicking things.  If I see something, I can usually re-create it. I found these two pins on pinterest here and here and decided they would look pretty good combined! So I picked up a straw wreath form from Michael’s. In hindsight, I probably should have left the plastic wrapping on… this thing is MESSY.

hwreath7

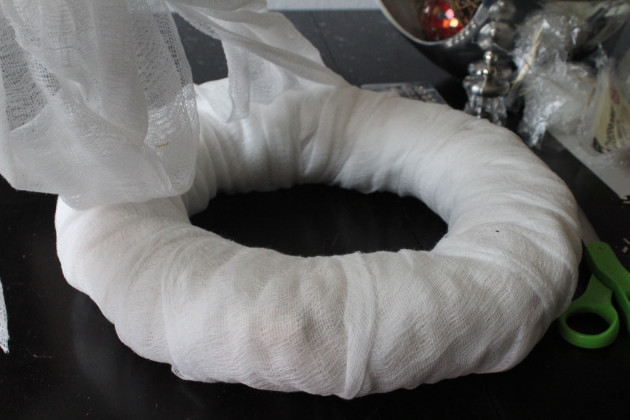
I used a packages of 6 yards of cheesecloth and wrapped it around the wreath form (The cheesecloth comes folded into several layers and I left it folded for this part of the wreath so it would cover the straw color.

hwreath6

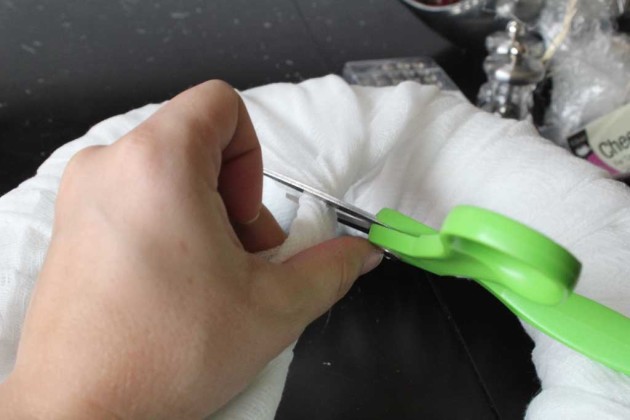
Once it was wrapped it completely I twisted the end and cut it off.

hwreath9

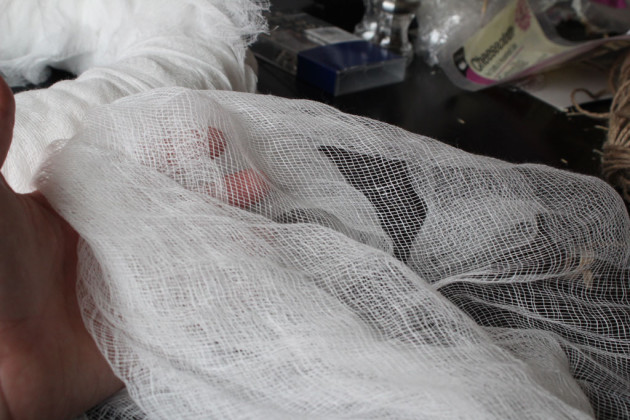
I wanted it to be a little rougher around the edges so I took the remaining cheesecloth and pulled it apart, wrapping it around the wreath very loosely and cutting the edges roughly.

hwreath5

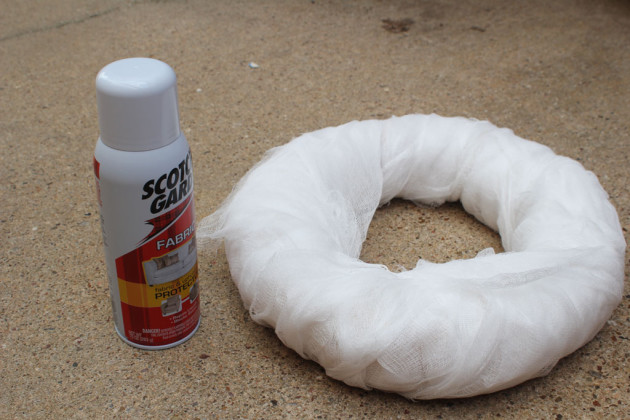
Once I had it wrapped up the way I wanted it to be, I took it out to my patio and sprayed some scotch guard on it.  My front porch is covered, but since this would be hanging outside, I wanted it to have a little more protection.

hwreath4

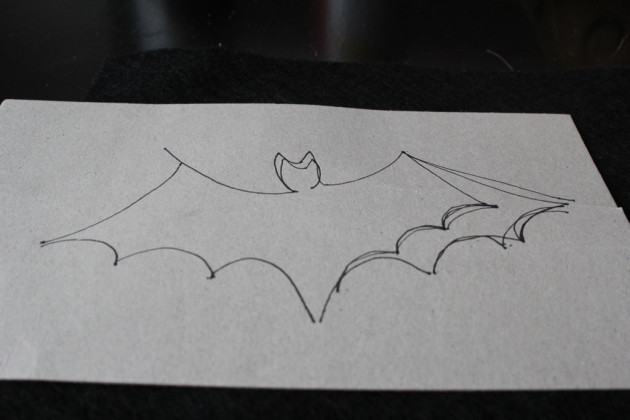
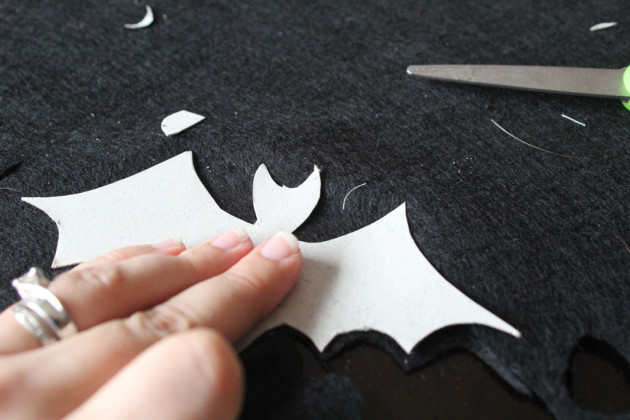
Next up was adding the bats.  I don’t have the patience to cut out 15 bats for my front porch wreath, but I thought I could manage three.  I freehanded a bat on paper and then just traced the paper onto some black felt and cut it out.

hwreath3

hwreath2

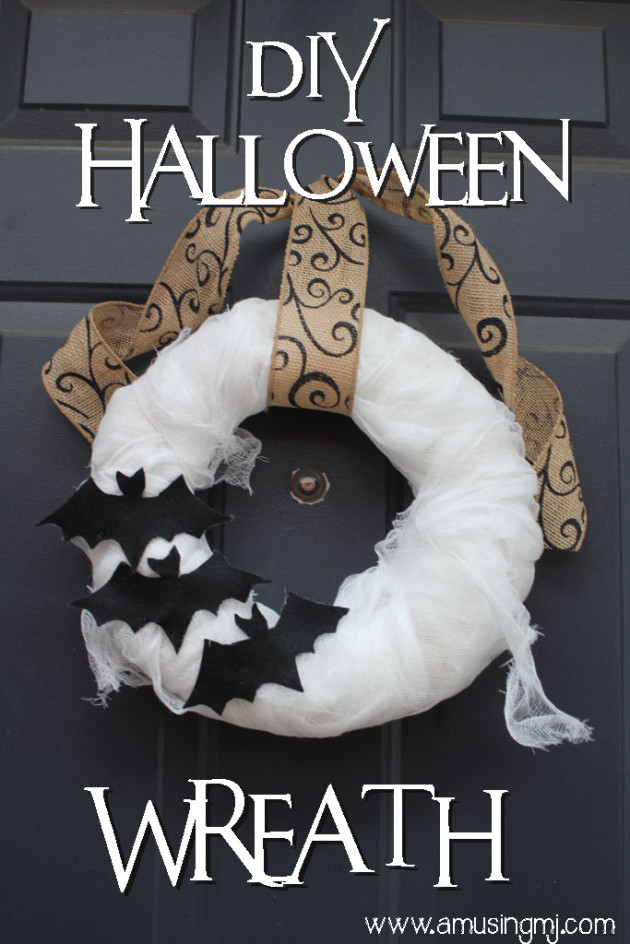
Then it was simply a matter of spraying spray adhesive to the back of them and placing them on the wreath. I found some halloween (ish) ribbon to hang around it, and added it to my front door.

hwreath8

Not bad for less than an hour and $10 dollars!


My Little Staining Secret

Y’all… it has been a CRAZY week here in my world.  I’m furiously getting ready for my Halloween Party (see the invite here) and I was in a wedding this last weekend… pair that with a busy time at work and I skipped out on a few blog posts… this is the one I promised I’d have last Friday, and well… that didn’t happen, so here it is! I’m catching up this week on the blog with a few projects I’ve been working on, so stay tuned!

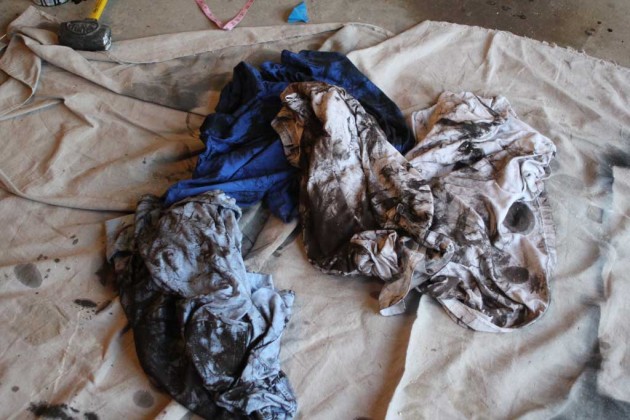
I’m one of those people who makes a GIANT mess when I am in the process of a project. So project cleanup takes almost as long as the project itself.  I’ve just come to accept this as a fact of life and move on with it.  So when we stained the shelves and an altar table for church (a post is coming!) in one week/weekend, this is what the floor of my garage looked like:

removingstain4

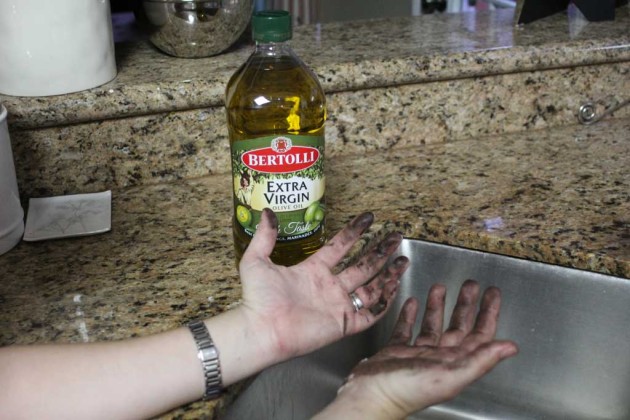
I told y’all here about my staining process and mentioned that I use old t-shirts as my staining rags.  They work great, but the downside is that you get stain ALL OVER YOUR HANDS.  The first few times I stained I tried to wear latex gloves, but it turns out… I hate wearing them.  And they are hot. So I figured out that olive oil (or vegetable oil) removes the stain gently from your hands (I’m sure there is something chemistry related about why oil takes off oil based paints and stain which is oil based, but I’m an English major, so I’m happy just knowing that it does… I definitely don’t need to know why).  So here’s what my hands looked like after wiping the stain from the shelves:

removingstain I usually have a cheap-0 bottle of vegetable oil in the garage to do this process, but my husband tossed it out because it looked pretty nasty and he didn’t know what it was. So until I replace it, he has to help me pour our normal cooking olive oil over my hands because he is not in favor of getting stain all over the bottle that we cook with… imagine that!  And even so, this is definitely an easier and cleaner process if you have someone to help you by turning on the sink and pouring the olive oil and soap on your hands.  However… it is totally possible.  You know those Delta no-touch faucet commercials… I’m pretty sure they got that idea by watching me try to turn on my sink with my elbow.

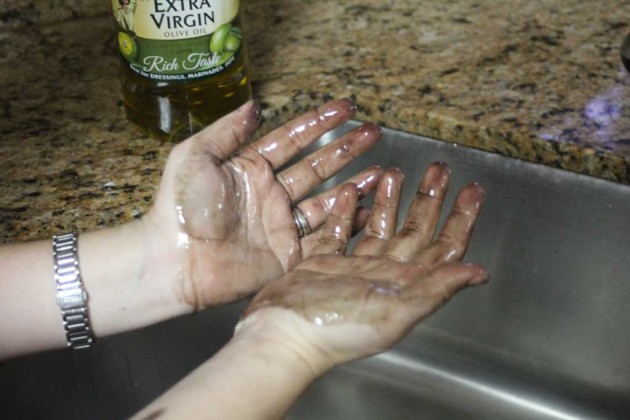
Anyway… (fair warning… this isn’t the prettiest process… so bear with the nasty pictures, I promise there is a clean one at the end!) Pour enough olive oil over your hands to fully coat them and spend about 20 seconds rubbing it in and scrubbing at the parts where the stain is thicker, it’ll turn your hands a gorgeous nasty earth brown color.

removingstain2

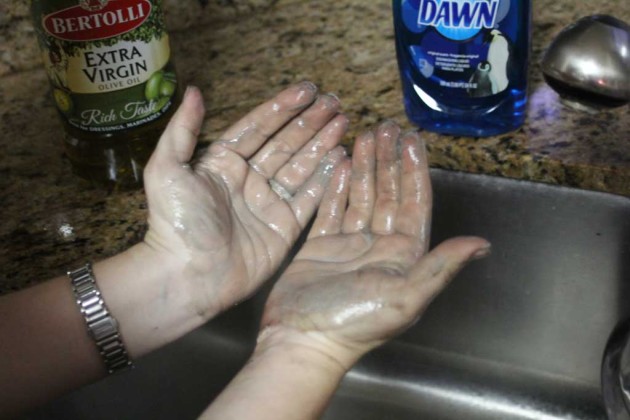
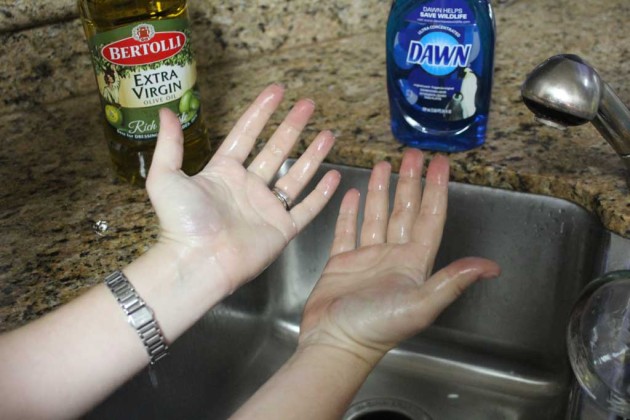
Now you have solved the stain problem, but oil and water don’t mix… so you have to solve the oil problem.  Dawn to the rescue! (or any dish soap)

removingstain1

And finally wash all that with water.  If all your stain isn’t off, rinse and repeat until clean.  Although I’m pretty messy and I’ve never had it take me more than two rounds. And there it is, my not so dirty little secret, plus the olive oil makes your hands feel soft and smooth!  removingstain3