Jungle Animal Baby Shower

Since we are on the topic of baby showers this week, (see yesterday’s cool baby shower activity) and I’m waiting on a cool Edison bulb to arrive before I can show you the new light in my upstairs bonus room, so I decided to show you the pictures from the baby shower we threw for my best friend a few years ago.  Her precious baby boy Cooper is not much of a baby anymore, but I think the shower we threw was awfully cute.  She and her husband were decorating their nursery using some jungle animals for a theme, so we decided to run with that for the theme of the shower.  I can’t take credit for most of the cute things at the shower, Amy’s sister Beth is a craft genius and artistic to boot… so she painted and created a lot of the decor as well as making the cookies from scratch.  But take a look at all the decor:

To welcome everyone to the party, Beth painted a canvas with a cute stork.
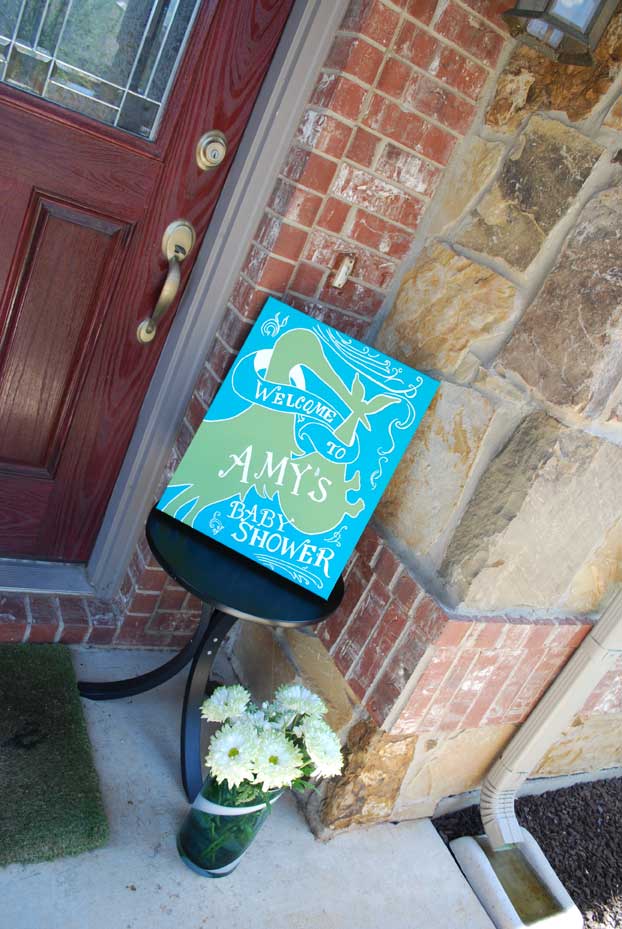
amysshower6

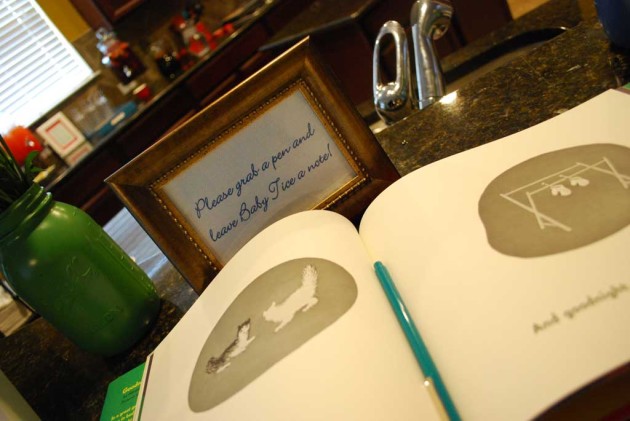
The guest book was a copy of Goodnight Moon that everyone left a note for Baby Cooper.

amysshower2


Beth made the table runner, and we had a varying selection of food… including animal crackers and cookie dough dip, cupcakes with cute little animal decor, fruit and caprese skewers.
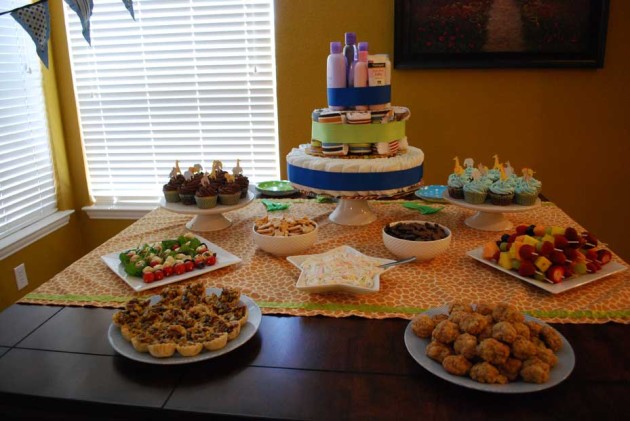
amysshower5

The one thing I can take credit for at the shower was the ‘diaper cake’.  I’ve seen some super elaborate diaper cakes, but I wanted to make one that didn’t require individually re-rolling the diapers and wasting them (I’ve heard a lot of the diaper cake diapers are unusable afterwards).

To make this guy I covered three different sizes of cardboard cake plates (similar to these) with fabric.  For the bottom layer I used diapers just how they come out of the bag.  For the second layer I used 12 of the DIY Burp Cloths rolled up.  Then for the top layer I used some of the full size baby products they had registered for to top it all off.  I finished them all off with some cute ribbon.  I think it turned out pretty well for my first diaper cake!
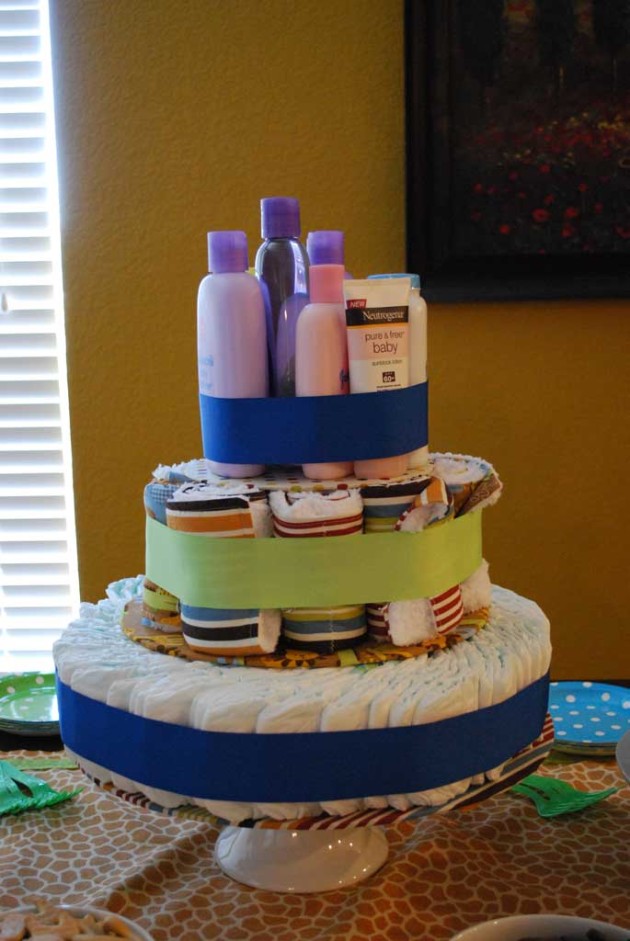
amysshower1

The rest of the decor included another canvas that eventually went into baby Cooper’s room and had the same decor as the invite did.  This was another of Beth’s masterpieces! It also included a cute fabric bunting hanging over the fireplace.
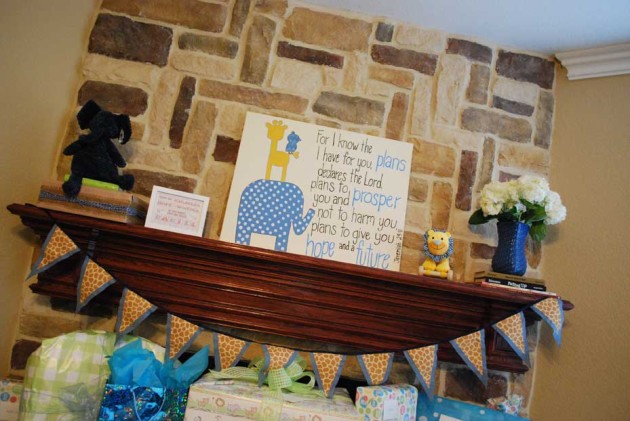
amysshower4


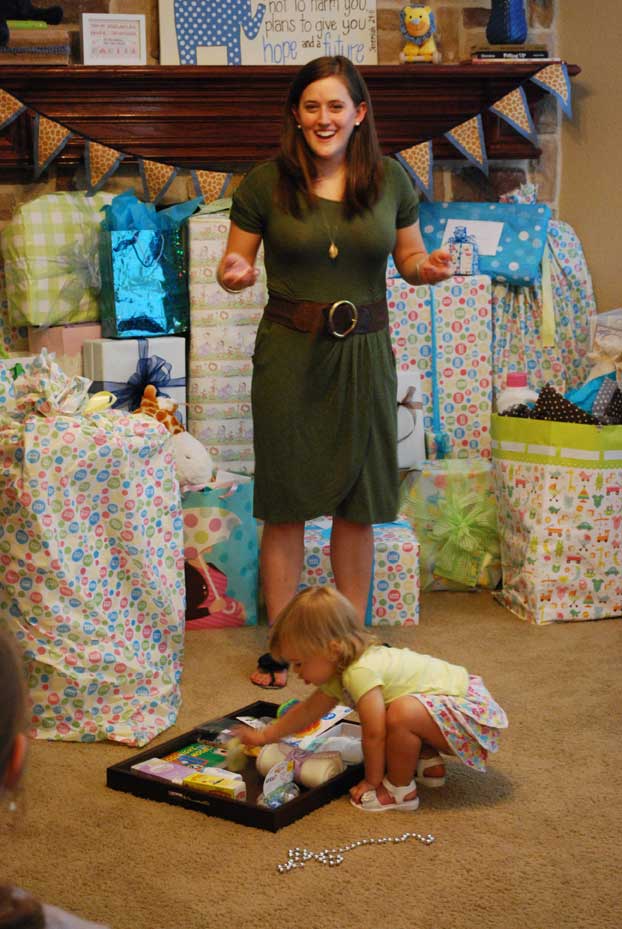
I mentioned in my post yesterday how much I despise cheesy shower games (like the candy in the diaper thing… yuck) so the only game we played was a memory game of how many baby items you could remember off of a tray.  I put the tray out for a minute, and then took it into the other room.  Guests had to try to remember everything they could.  At the end of the day, Amy got to keep all the items on the tray.  I tried to pick a bunch of little things off of her registry or random items that would make the game more interesting.  Here I am trying to explain the game… and my other friend’s beautiful daughter was finding new things to play with!

amysshower7


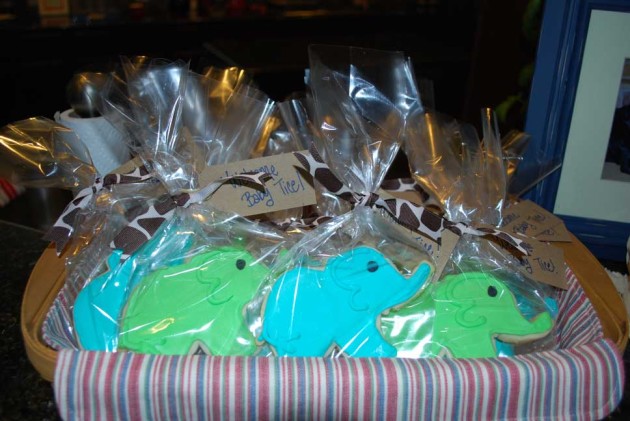
At the end of the day we didn’t want guests to go home empty handed, so Beth made some Elephant cookies to take home as a favor.  She used my favorite recipes from Annie’s Eats for the cookies:  the cookies are this recipe for Sugar cookies from Annie’s Eats with her recipe (and tutorial) forRoyal Icing.  Check back in tomorrow to see the bonus room light installation!
amysshower3

Check back in tomorrow to see the bonus room light installation!


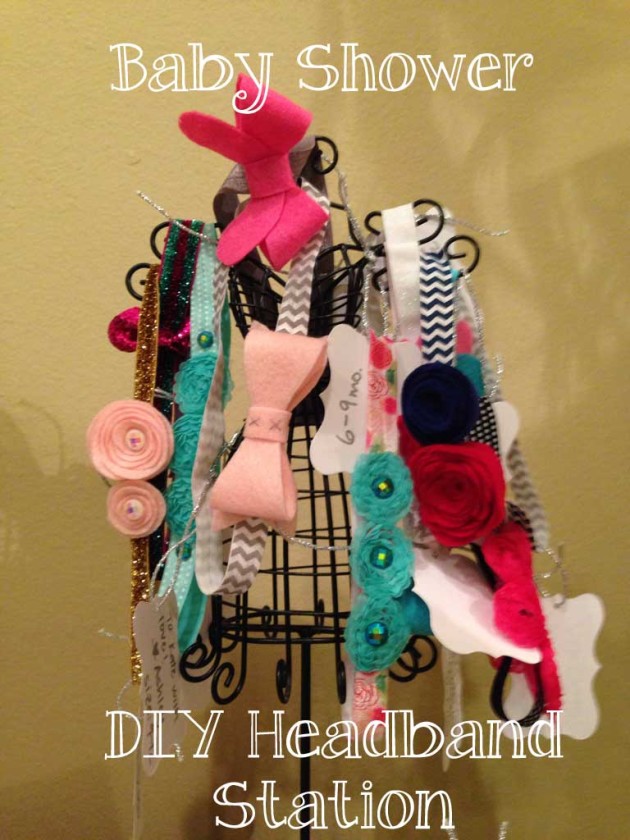
DIY Headband Station

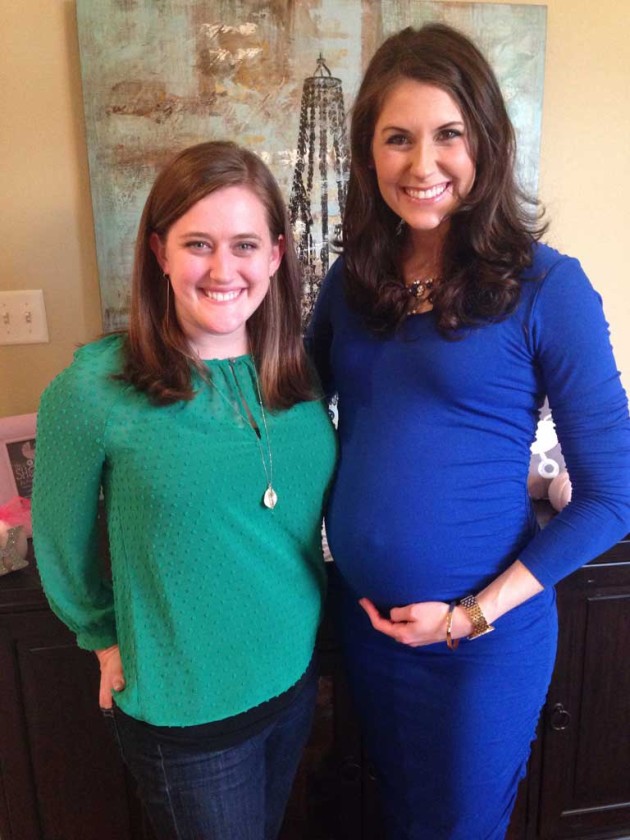
This last weekend I flew out to Little Rock for a baby shower for one of my best friends, Lauren. You can see her here as a bridesmaid in my wedding!  She and her husband are expecting a little girl, Kate, in January.  (PS… that is going to be the most GORGEOUS child because both she and her husband are ridiculously good looking).  We’ve been friends since college and lived together for our senior year of college.  (Sidenote… she explained to her husband just how amazing my master closet is compared to how my closet was in college… they may or may not have had to shove all my crap in and close the door on multiple occasions just to keep the room presentable).

laurenshower1

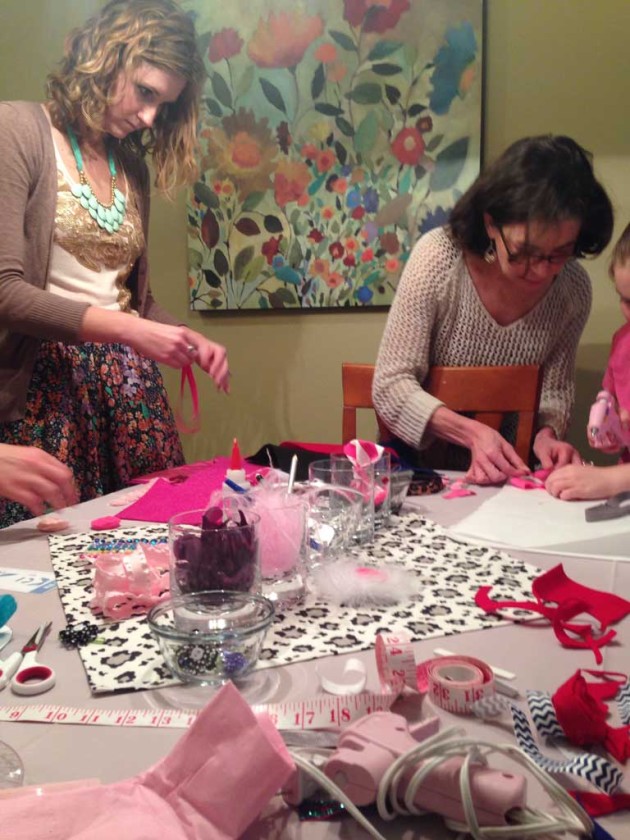
Anyway,  I was so so happy to get to go spend the day with her to celebrate her and her about to be new baby girl.  And I can’t take ANY credit for the shower at all, I was just a guest, but I just couldn’t help but show you guys one of the ‘activities’ the hosts had prepared for us.  This was an awesome shower full of cute decor, great food and while I absolutely love baby showers, I am not a big fan of cheesy shower games.  Fortunately, these awesome hostesses had none of the cheesiness and all of the awesomeness. For the activity, they had a headband making station set up for all the guests to “create their own masterpiece” for baby Kate.

laurenshower2

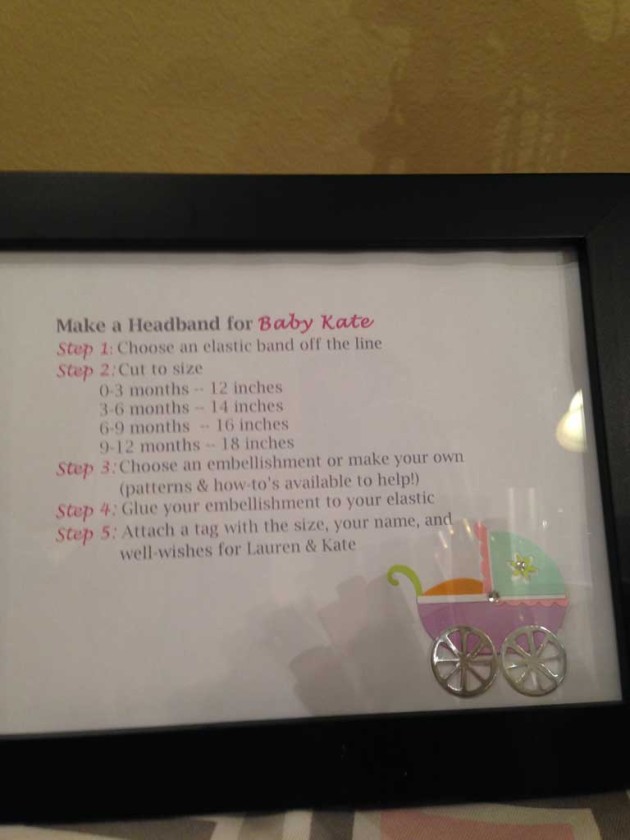
The hosts had purchased some elastic on the internet and cut it into pieces which they hung on a string (bad blogger… I forgot to take a picture of that!  and all my pictures are iPhone pics since I wasn’t planning to blog about the shower!!).  Then on the table they had an assortment of felt, ribbon, flowers, beads, etc and a hot glue gun to apply them.  There were directions on the table that had appropriate lengths for different ages:

laurenshower10

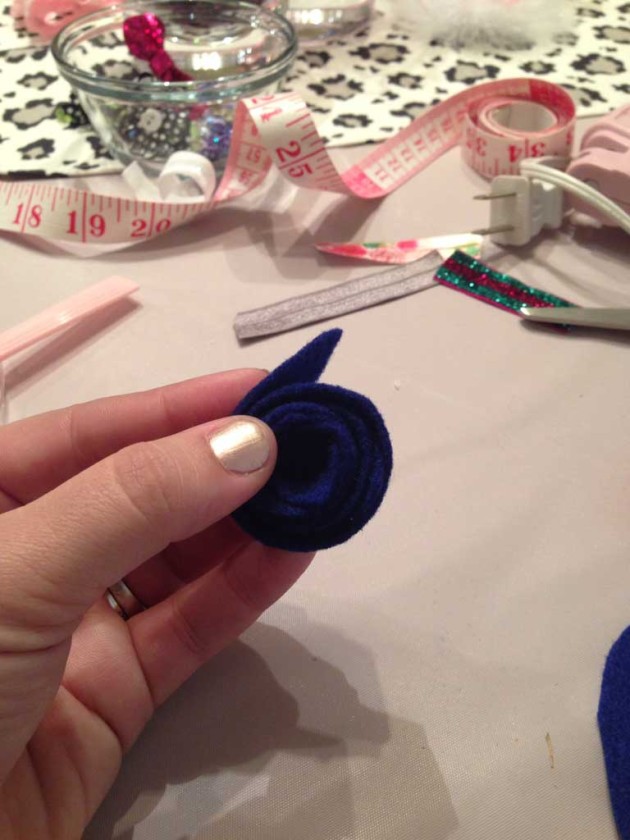
I picked out a cute navy and white chevron pattern and decided to make a cute little Jayhawk headband for precious Kate.  I made a few felt flowers like I did for this wreath in red and blue.

laurenshower4

And what project is complete without a bit of cake??

laurenshower5

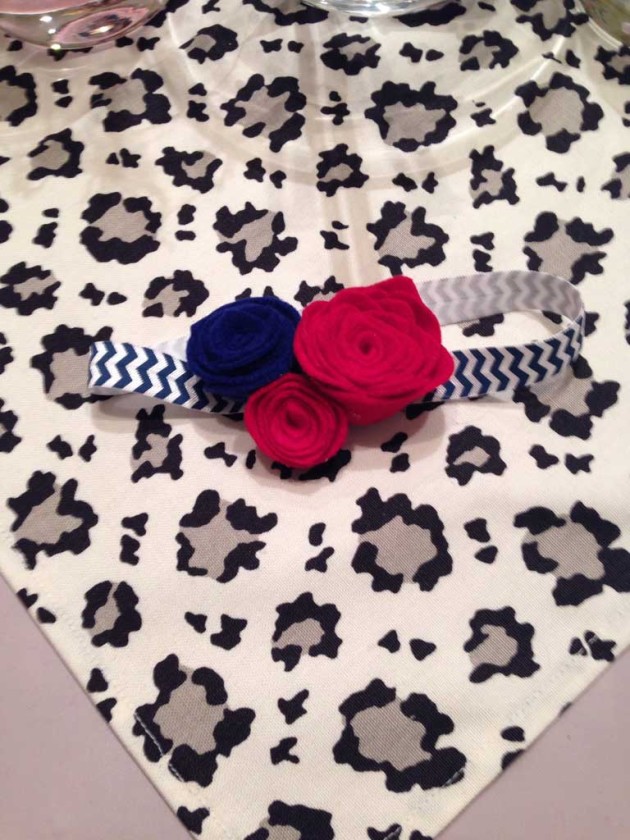
Here is the final product:

laurenshower3

And don’t worry… like any good basketball fan I made it so that it would fit baby Kate right around March Madness! When we finished them up, the hosts had a cute little dress stand to hang them on:


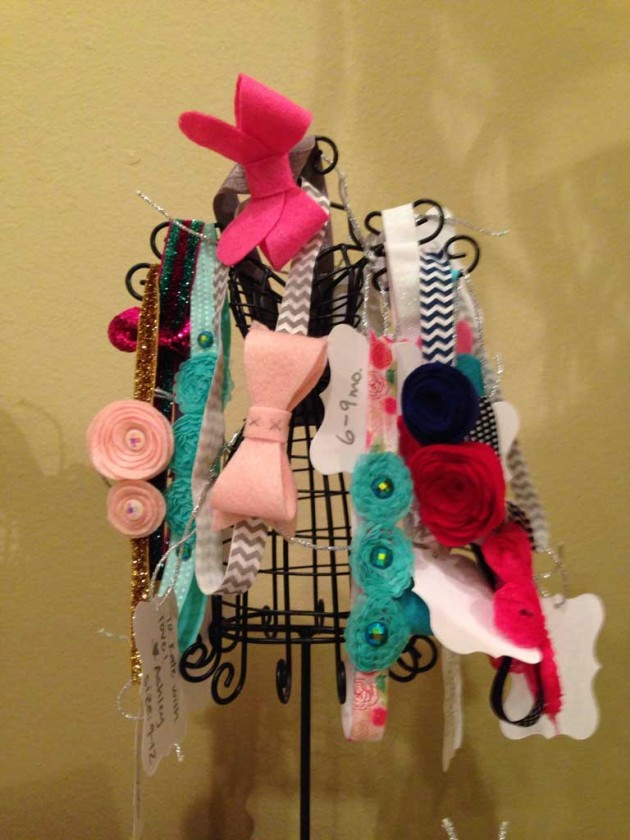
laurenshower9


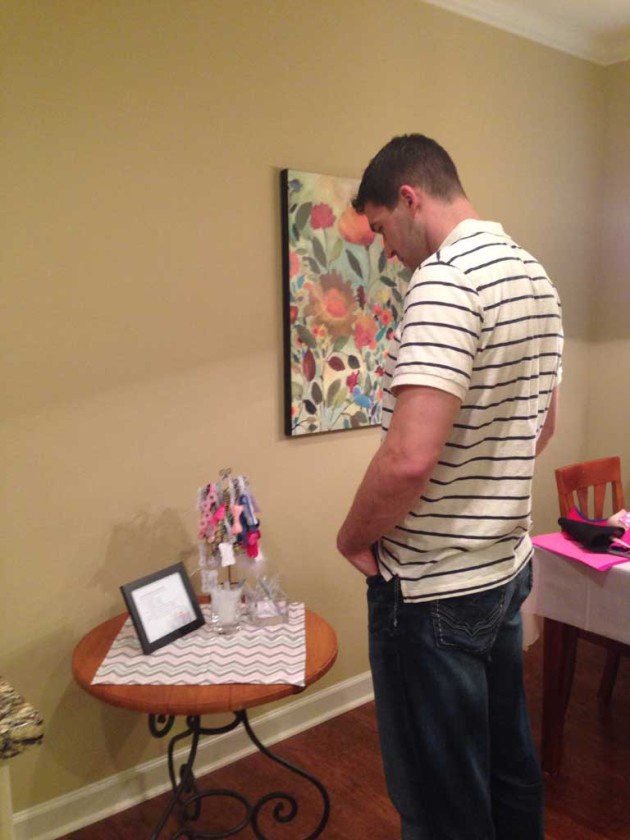
The proud dad to be was checking out all the fun things he’ll have to dress Kate up in.

laurenshower8


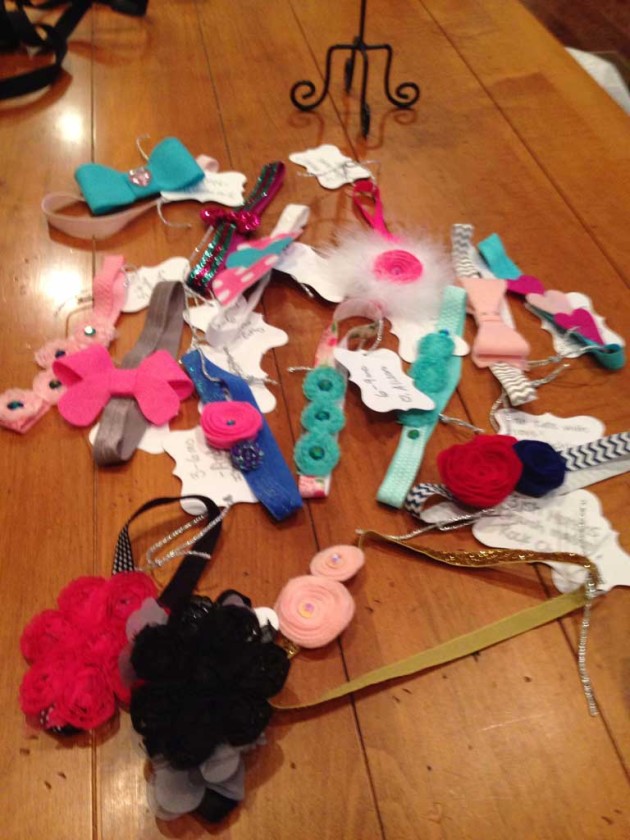
Sorry for the blurry iPhone pictures, but check out all the beautiful headbands that the guests made:

laurenshower6


The great thing about this project is that you don’t have to be super crafty to make cute ones! With all the options and pre-made flowers etc, anyone who can use a hot glue gun can make a cute headband!

I don’t know where the host purchased her elastic, but a quick Google search for elastic by the yard and I found this website to buy some from online.

I thought this was a great idea for a shower that I will probably unashamedly steal for another baby shower sometime!!


laurenshower11

Washers

One of the places that I love the most in this world is my grandparents lakehouse.  Situated dead center of the middle of nowhere, it is a place that is quiet and peaceful, where the stars shine brighter than anywhere else and life is more simple.  There is no TV, little to no cell reception and no heat or AC other than what nature provides.  (our one nod to modern technology is high speed internet, which makes it more possible for my cousins and I to come out there and keep our jobs.)   Our major activities at the lake are skiing, sailing, swimming.  But in between all of these ‘lake’ activities, we play tons of board games, a few games of baseball and washers.

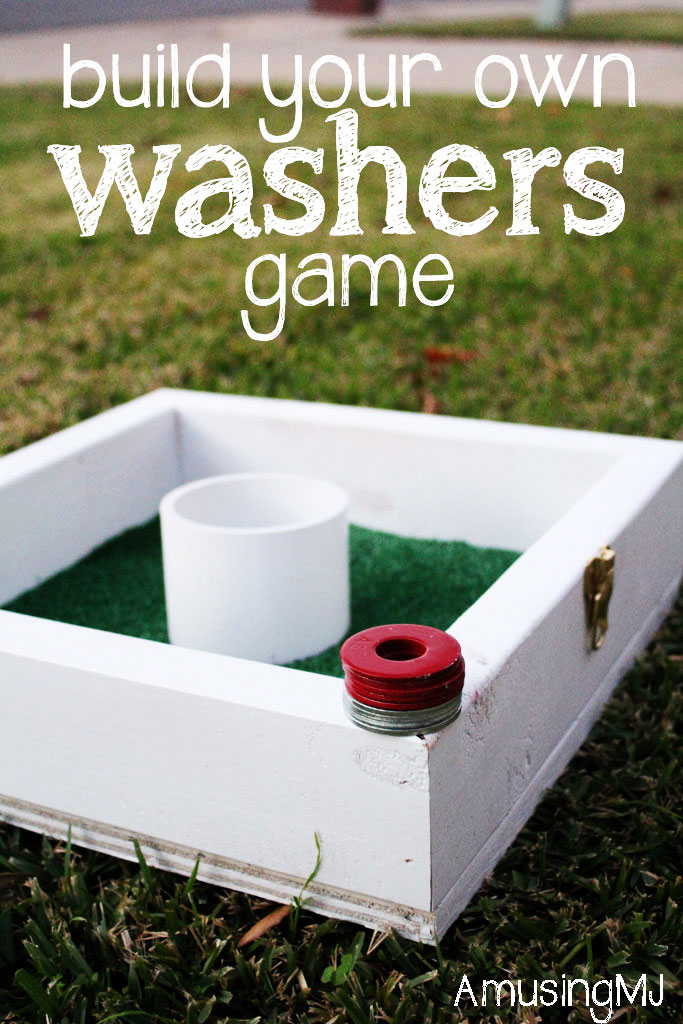
If you haven’t played washers, it is a game played with two boxes and a PVC pipe in the center.  They are set 21′ apart and the rules are simple (a full set can be found here): toss the washer into the other box.   You get 3 points for each one in the PVC cup and one for each one in the box.  You play against another person or team and at the end of each round (both teams throw 4 washers) only one team gets points.  If both teams score equally, they cancel each other out.

It is a great backyard game or tailgating game and is VERY simple to make.  Here’s what you need:

  • 1- 2″x4″ at 12′ long (or 2 @ 6′)
  • 2- 17″x17″ squares of plywood
  • finishing nails
  • woodglue
  • 2 latches
  • 4″ round PVC pipe (in the plumbing section at your hardware store)
  • grass carpeting (optional)
  • rope for the handle
  • glue–I used E6000

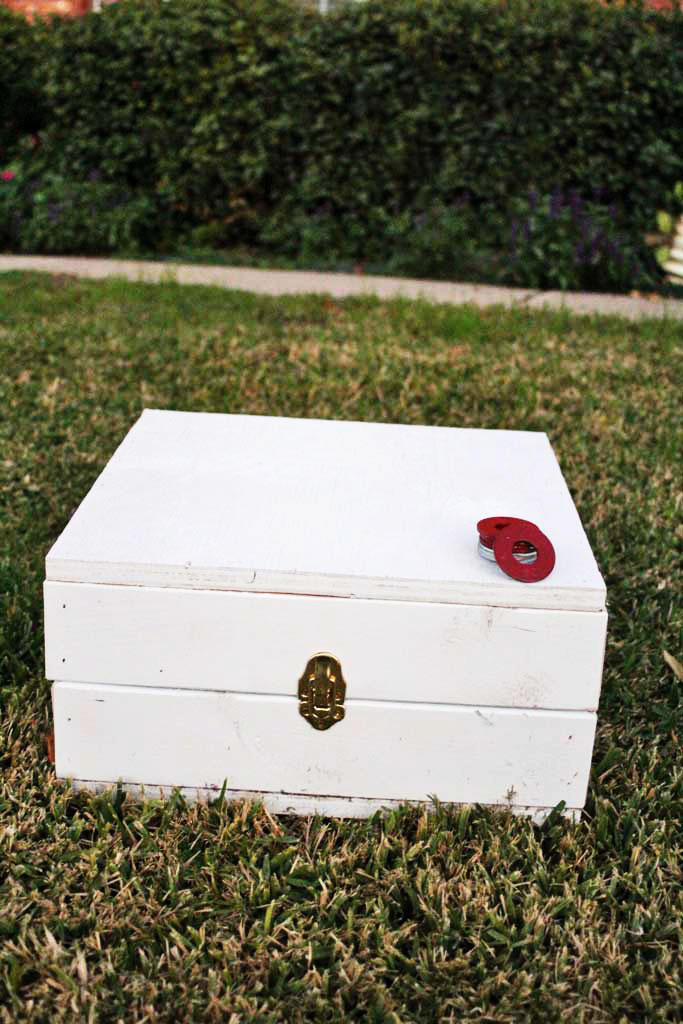
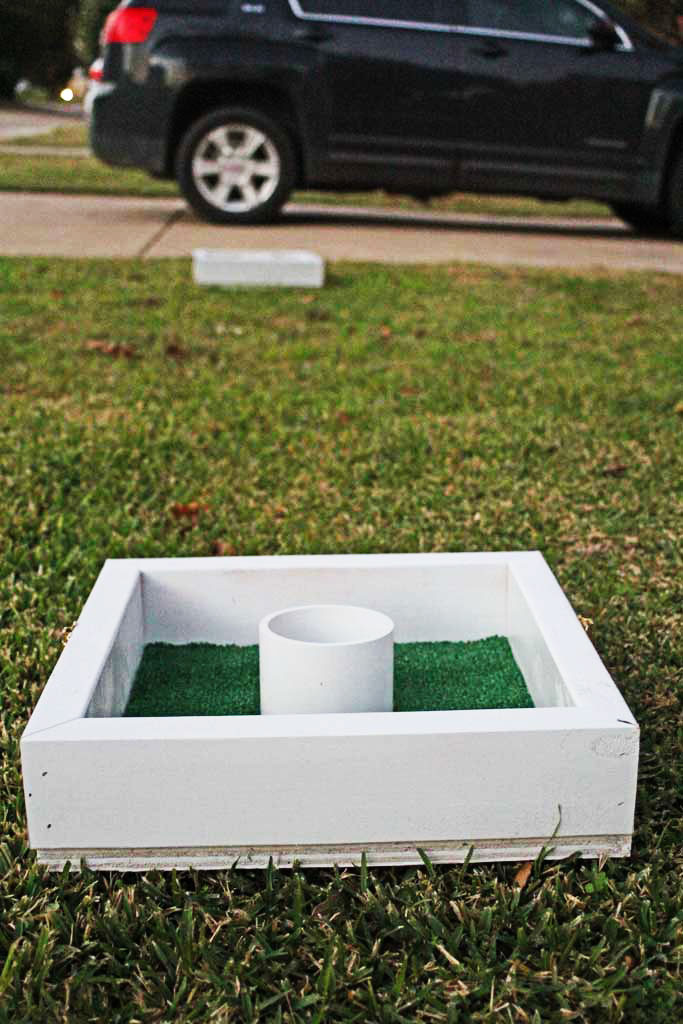
To make this project you are essentially making two halves of a box that will fit together to make one full box.  Your finished project will look a lot like this:


Build your own Washers game! | www.amusingmj.com

Sidenote: I realized I forgot to add the rope handles to this box to make it easier to carry, so I’ll be going back later to add those… but you guys are smart cookies I think you can just pretend they are there.

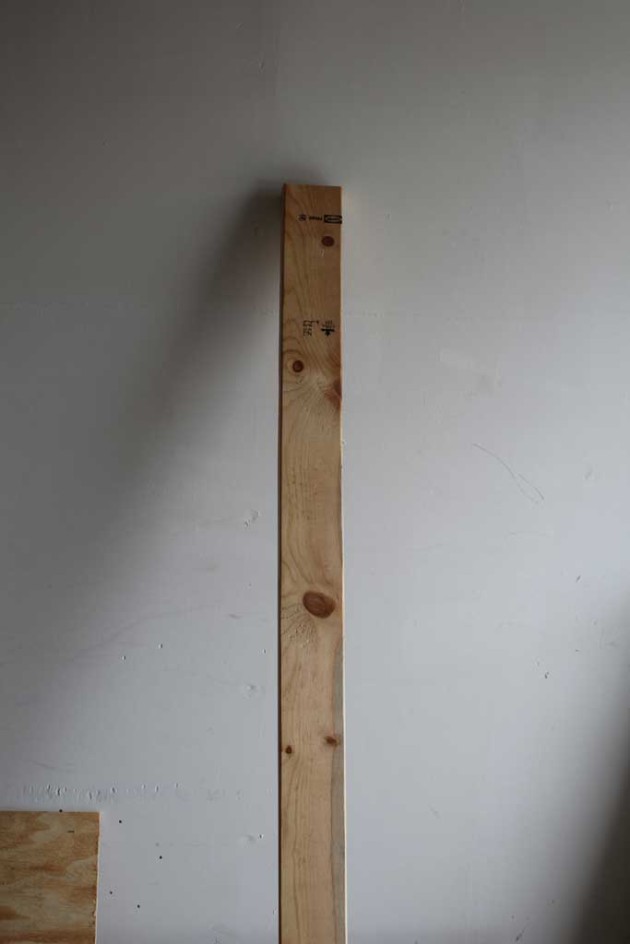
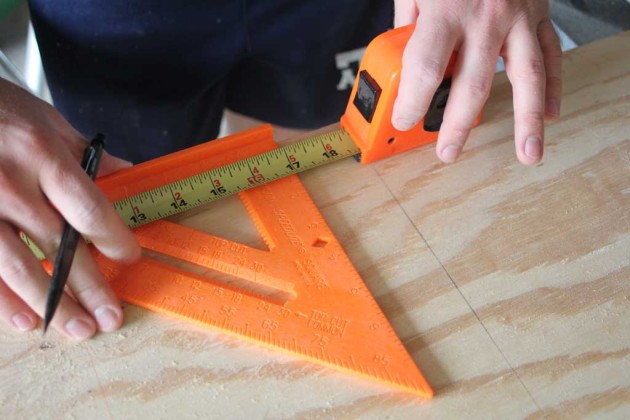
Okay now on to the building process: first step, take your 2″x4″ and measure 17 inches.

washers1


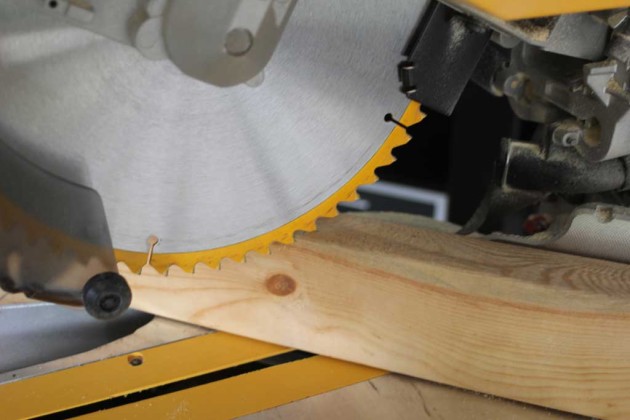
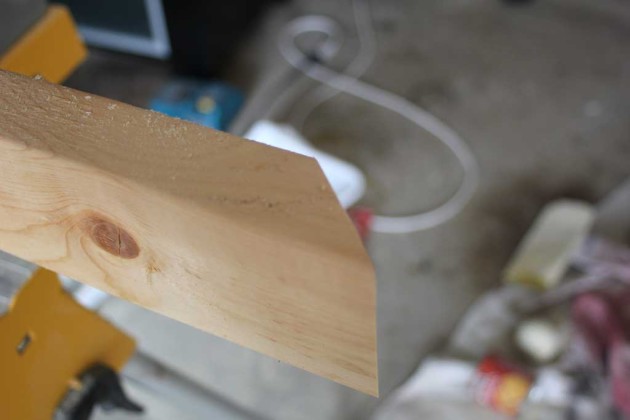
Take your miter saw (or the same can be done with a hand saw and miter box) and cut the piece at a 45° angle.  There are two tricky things about this: the angle should be on the 2″ side of your board.  And your angled cuts should be towards each other, sometimes woodworking directions will call this not parallel.  The long side of your piece should still be 17″ when you are done.  You will have to do this 8 times… these will be the sides of your box: 4 for each box.

washers12


washers2


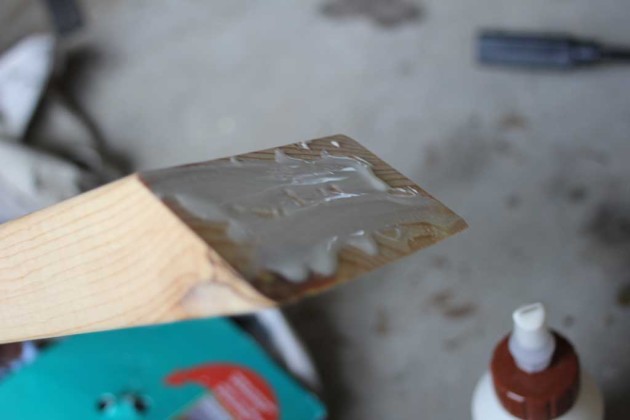
When you have all 8 pieces cut, you will need to join them into a box.  Each 45° angle should match up to another one so that you will form a 4″ (or technically 3.5″ since 2x4s aren’t really 2×4) tall box. To do this, I used wood glue first (ps the picture below is a little overkill on glue… you want enough to join but not so much that it squeezes out)

washers8


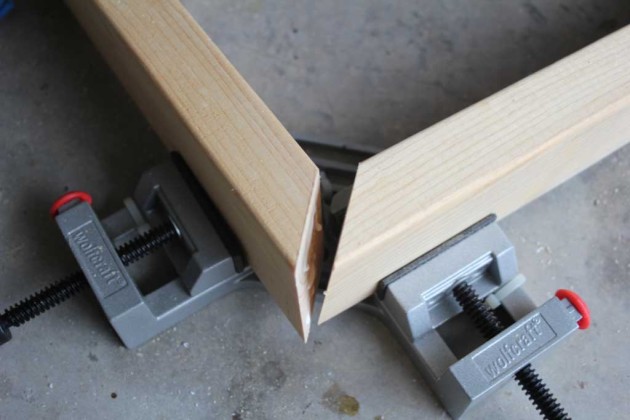
Then put the two pieces together and secure it with a couple of nails.  I used my air compressor and nail gun, but this could just as easily be done with a regular old hammer and nails or a screwdriver and screws.  I have a couple of 90 degree clamps that I used, but again… they just make this easier, they aren’t required.  Just make sure when you are securing it that you make sure they are square so that the box is a true square not a parallelogram.  (My geometry teacher would be so proud of me for remembering what that is)

washers6


While that glue is drying, its time to cut your plywood into squares.  I used the normal 1/2 inch plywood, the cheapest they sold.  Then we cut it into 17 inch squares using a circular saw.  Here is my lovely husband hand modeling for you:


washers7


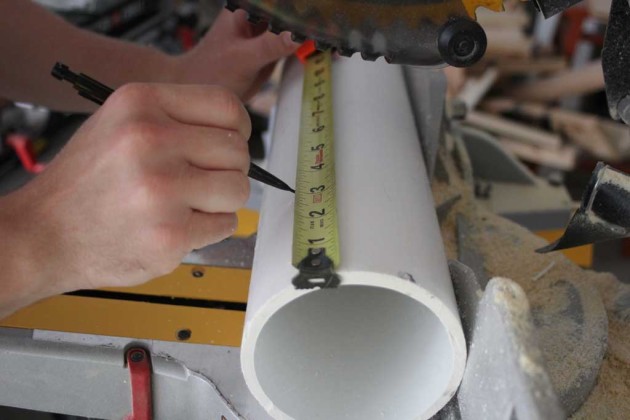
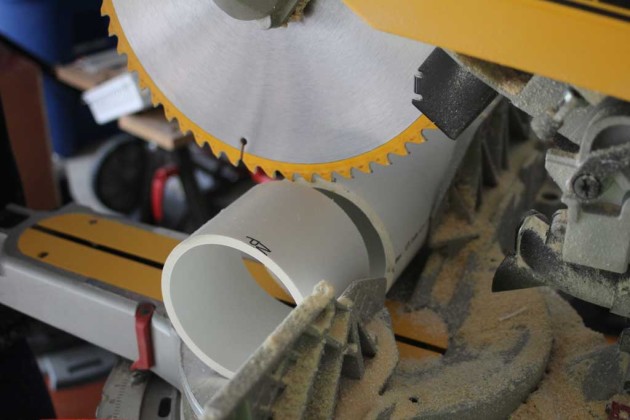
Once you have those cut, you can cut down your PVC pipe.  We cut it down to 3″ just using the miter saw.  Its technically a wood blade, but I don’t have another one and it had no problem slicing through the thin PVC… but with every time you use a saw… WEAR SAFETY GOGGLES… you don’t want a piece of that baby to fly into your eye.

washers10

washers11


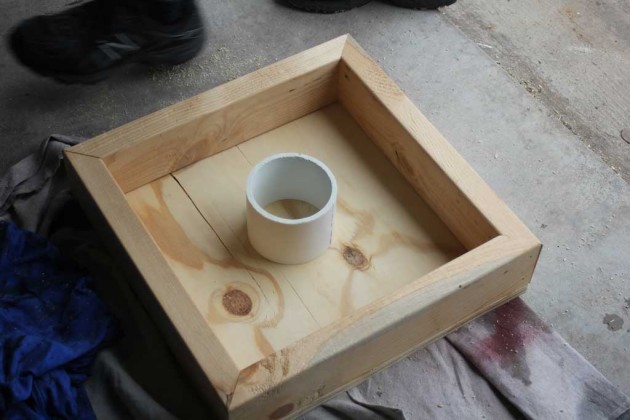
Now its time to put it all together.  I used the nailgun to secure the piece of plywood to my square.  And although it looks like its attached in the picture below, DON’T glue on your PVC pipe yet!! Because, it is time to paint! I spray painted them white since that’s what we had on hand, but you can really make it any color you want.

washers5


I’m actually missing pictures from the next few steps because my husband finished those while I was at work.  But essentially, after they were painted he cut the faux grass carpeting  to be 14″ square (I bought mine in the carpet section of HD… I had to buy a 12′ long section of it that was 14 inches wide because they only sold them in big long rolls, but I think even then it was only about 6 or 7 dollars).  He then used a utility knife to cut out a circle for the PVC cup and glued both the PVC cup and the carpet down with E6000 (ps be careful with that stuff… it is strong).  Since we will primarily use this outside and it will get pretty banged up anyway, I didn’t bother to patch my nail holes or make it look pretty… functionality over fashion?  But if you wanted to spruce it up you could easily patch your holes and put a coat of wood-filler over the edge of the plywood to ‘finish’ it up a bit.  But since we didn’t care so much… it is ready to play!!

Build your own Washers game! | www.amusingmj.com

We also attached a latch to each side of the box so that it will fit nicely together to store in the garage.  To do that, but the boxes together before you screw in the latch so that you are sure they will line up correctly!  Oh… and then we painted half of the washers red so that you can tell whose are whose.  These were 2.5″ metal washers found at the hardware store.  I think in the nuts and bolts section but I can’t quite remember.

And that is how you build your own set of washers!

Build your own Washers game! | www.amusingmj.com