Organized Spaces

By nature I am not a very organized person.  If you believe you inherit most of your traits from your parents either by nature or nurture… then you will understand why I am totally messed up.  My dad is this hyper rational, uber organized person who likes it when everything is in its own place.  We once had a long running battle over the 3 ketchup packets he had me go remove from his clean car because I had left them there… but that’s another story for another day. And my mom thrives in chaos.  Honestly she does her best work when everything is strewn in as many directions as possible (not that she has really tried it any other way…).  Well, I inherited a little bit of both, I love when things are clean and have their own place, but by nature I get everything out at once and throw things where they are convenient not where they belong.  In other words… I drive myself crazy.

But that also means that when I have an organization system that works… it REALLY works.  So since we spent all weekend working on another dining room table (the same as the one in this link but for my brother-in-law and his new wife) but it isn’t done yet, I thought I’d show you a couple of the organized spaces that have really worked for me.

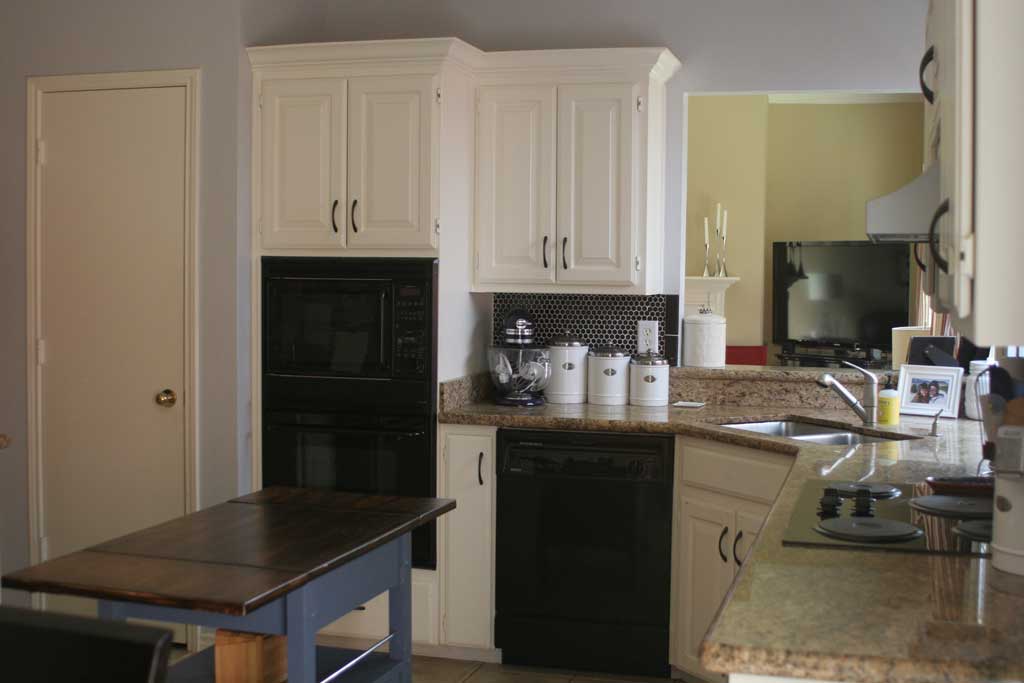
First up… my baking supplies.  I love to bake just about anything but I found that the more I bake things, the more baking things I have to store.  Since they aren’t every day items and I usually use most of them in one chunk of time, the space above our oven/microwave combo fit the bill perfectly.

kitchen-from-sliding-glass-

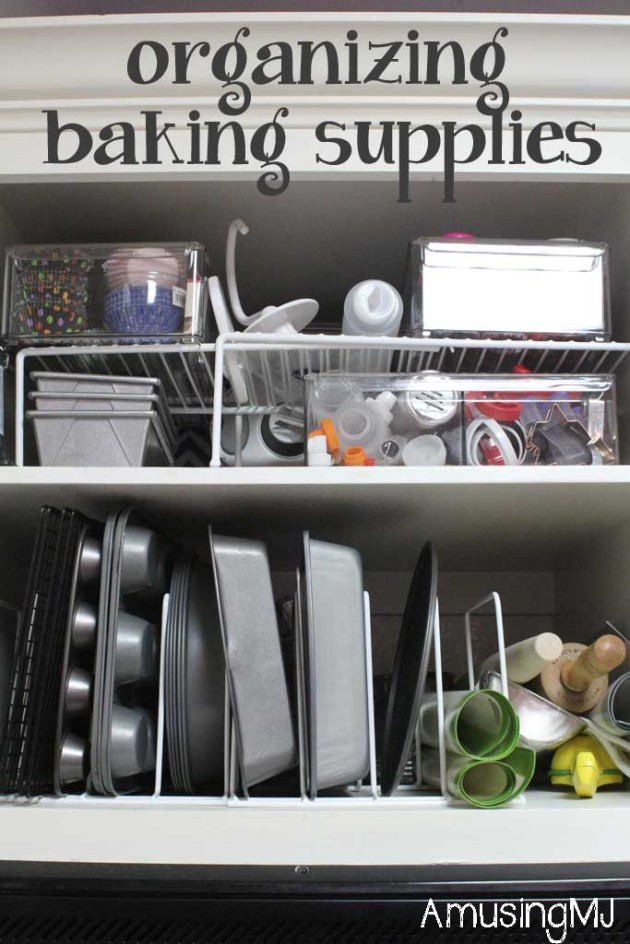
The great thing about this cabinet is that it is huge! Since it is the same depth as our oven, it can hold a lot of things.  The bad part about this cabinet is that is is huge and things EASILY get lost in the abyss.  Before our wedding I was putting things back into this cabinet and several things came crashing down on my head (have I mentioned that I am a bit vertically challenged and therefore this whole cabinet is above my head?) and I had had it with this cabinet.  So I did what any good organizer would do (trust me… I’m still not calling myself a good organizer, but you know… fake it until you make it) and emptied everything out onto my kitchen counters… assessed what I would need and then got in my car and ran to my saving grace, The Container Store.  I picked up some acrylic fridge drawers (they were the right depth), a couple of dividers, and a shelf.  When I got home I divided my goodies into their four bins; mine are: cupcake liners and decorative tops, sprinkles and food coloring, icing containers and cookie gun, and cookie cutters.  I also put my pans vertically in the dividers which means I only have to pull out one (or two) at a time and the rest don’t come crashing down on me.  And the best part of this whole thing? That cabinet has stayed almost exactly the same since I first organized it more than 8 months ago.  I took the picture below this morning without moving a thing… so if you came over today… this cabinet would look exactly like this.  That is what I call an organization win.

organizing1

Next up is another space in our kitchen that needed a little love.  Our medicine cabinet. Seriously whose medicine cabinets don’t need a little love.  It is just me and the husband that live in this house, no little rugrats, so we don’t need a second selection of child friendly medicine.  (Although we do keep it in an upper cabinet so that the younger nieces and nephews can’t get into it).  I just reorganized this one a month or so ago, but we’ve been able to use things in it for the past month and keep it exactly the same way, so I’m hopeful this will be a permanent organizing solution.  Again I picked up some of my favorite acrylic drawers from The Container Store.  I love clear drawers because they make it easy to see what I’m looking for.  I organized ours into categories and dropped them into clear bins and then labeled them with my awesome label maker (nerd alert!). And then put the labels over some washi tape to make them more visible.  This also happens to be where I store my camera bag so that it is easily accessible, so that takes up most of the second shelf.

organizing4


Happy Organizing!

Just for Fun on Friday

Its Friday!! While the winter weather starts to bear down on us here in Dallas, I thought I’d share just a few things that brightened my week!

Girl Toys

If you haven’t seen this video you should:

I work in the construction industry and I’m one of very very few women in the field.  And if you missed it, I shared a few feelings about Women and Tools a few months ago.  If you have a little girl… teach her to love math and science and engineering… or at least give her that option. I was very lucky my parents did.


Thanksgiving

I have seen more houses with Christmas lights up, trees being decorated, Christmas on display.  I understand that retail stores need to meet their quarterly earnings and spread out their Christmas sales, but a little part of me dies inside at the thought of casting aside one of the very few holidays that is truly about giving thanks, spending time with family and relaxing in order to buy more things for people who don’t really need them.  So my Christmas lights are still in their box, and this is on the chalkboard that welcomes me home every night.  (copied from this pin)

givethanks


Ode to Joy

This is a video I’ve seen a few times, but it just resurfaced on my Facebook feed, and I never get tired of the beautiful music, the feeling of spontaneity and the cute kids pretending to conduct the orchestra.

I hope you guys have a great weekend and stay warm!

Let There Be Light

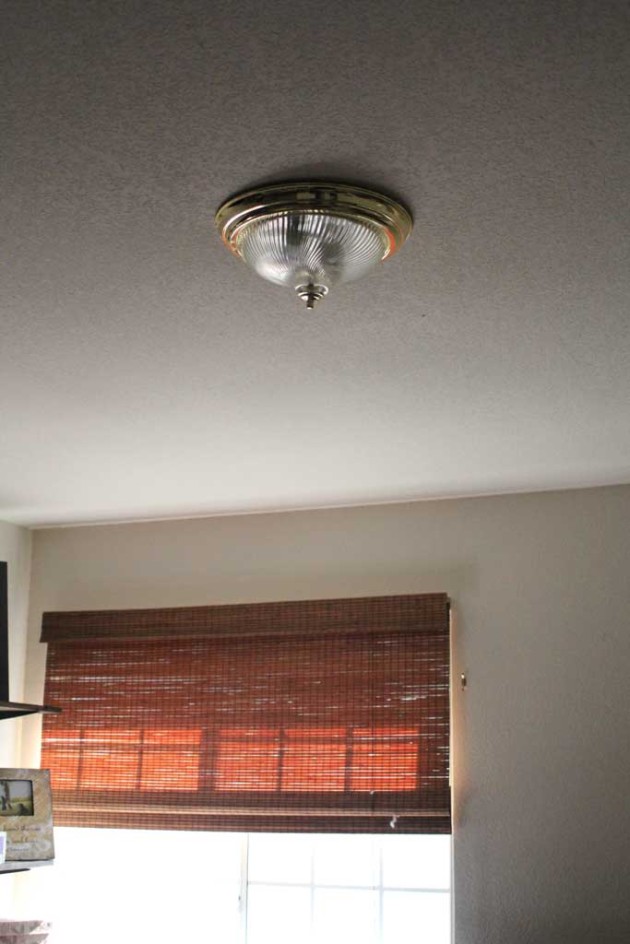
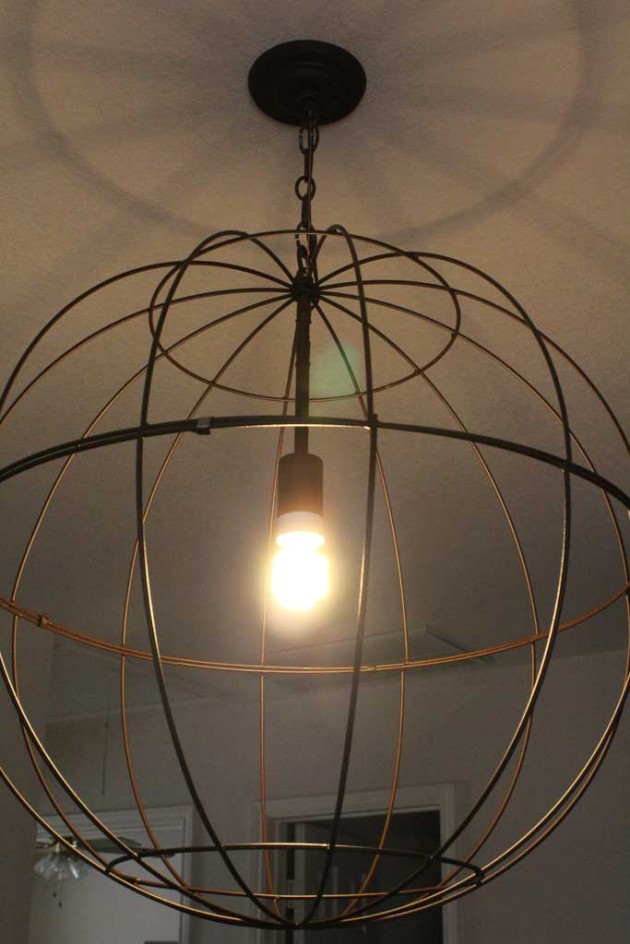
Theoretically, switching out a light fixture is a simple, quick process: unscrew the old light, hook the wires up to the new one, screw the new one into the ceiling and voila… brand new light fixture. The only painful part should be the hit to your wallet (seriously… why are lights so expensive?!).  This project on the other hand… the complete opposite.  We bought a light fixture from Young House Love’s collection at Shades of Light. These lights are designed to be affordable and attractive… mission accomplished.  We ordered the Large Wire Globe Lantern in Rusty Bronze for the Bonus Room.  After it was back-ordered twice… it finally arrived last week.  So this past weekend the husband and I decided to install it.  I was so ready to get rid of this ugly thing:

bonuslight1

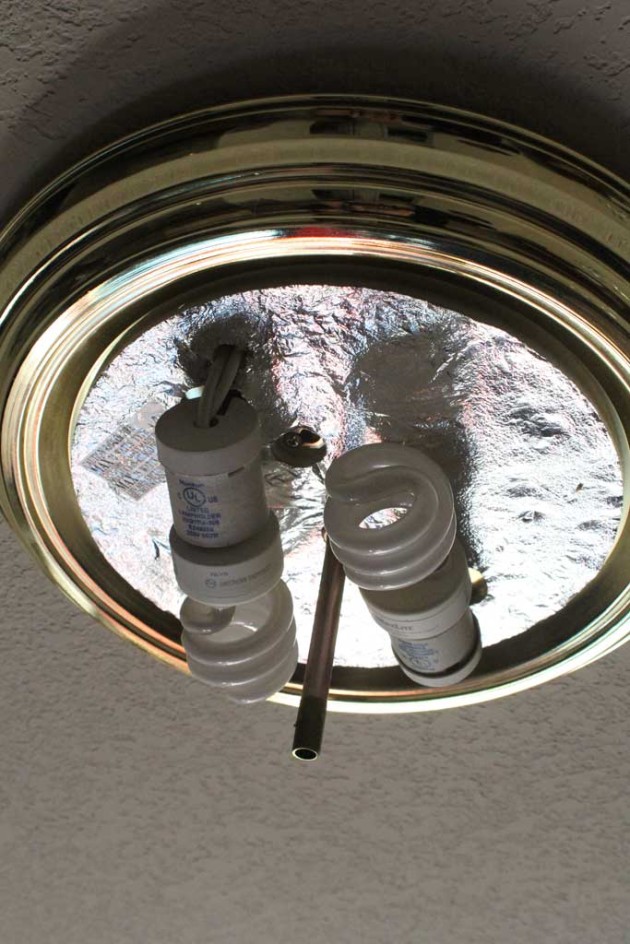
Now I’m not a newbie at installing light fixtures, and most of them have gone off without a hitch, but this one was a bit complicated.  The simple instructions for replacing light fixtures are to remove the old fixture and then connect the new one in the same way… is basically match the colors… black to black, white to white and then connect the copper grounding wire to either a grounding screw or to another copper wire.  So we started by unscrewing the cover and then unscrewing this from the ceiling:

bonuslight9

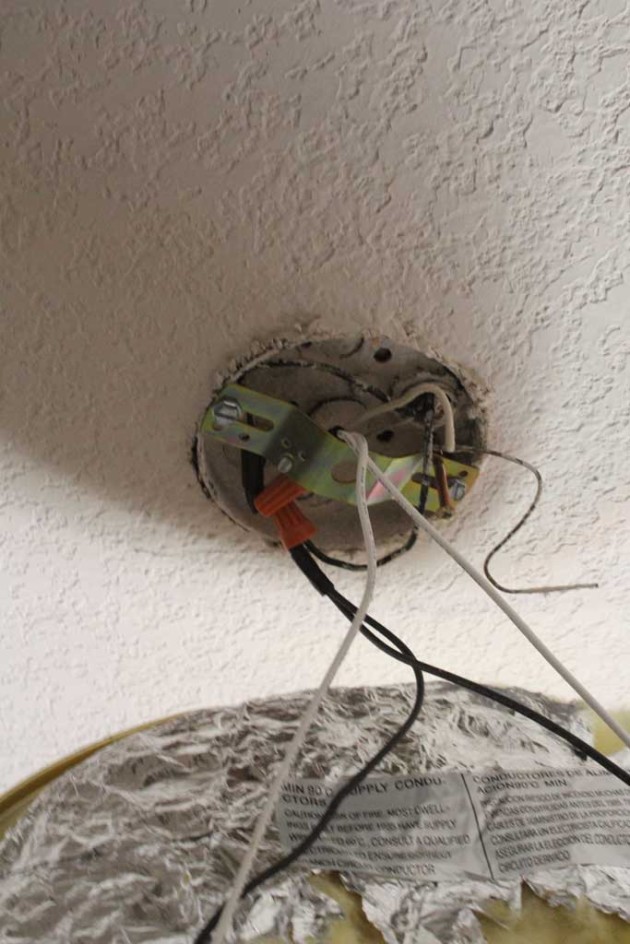
So when we took this cover off, the junction box was TINY. And normally the bolt would be universal and fit into the brace that is already there, but this bolt didn’t fit into the hole, so we had to remove that as well. The new light came with a brace of its own (they normally do), but it was straight across instead of bending out towards the room like this one does:

bonuslight8


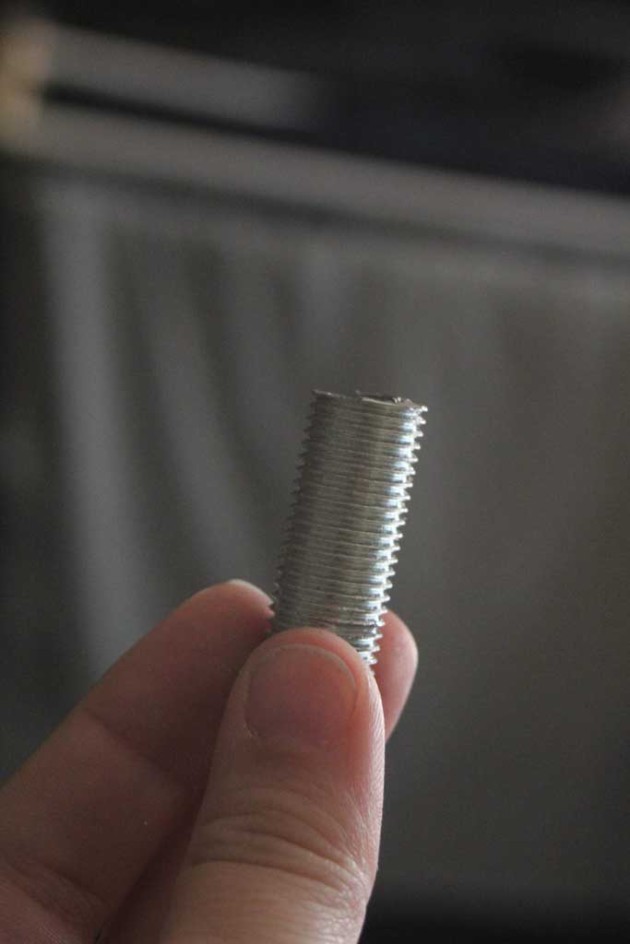
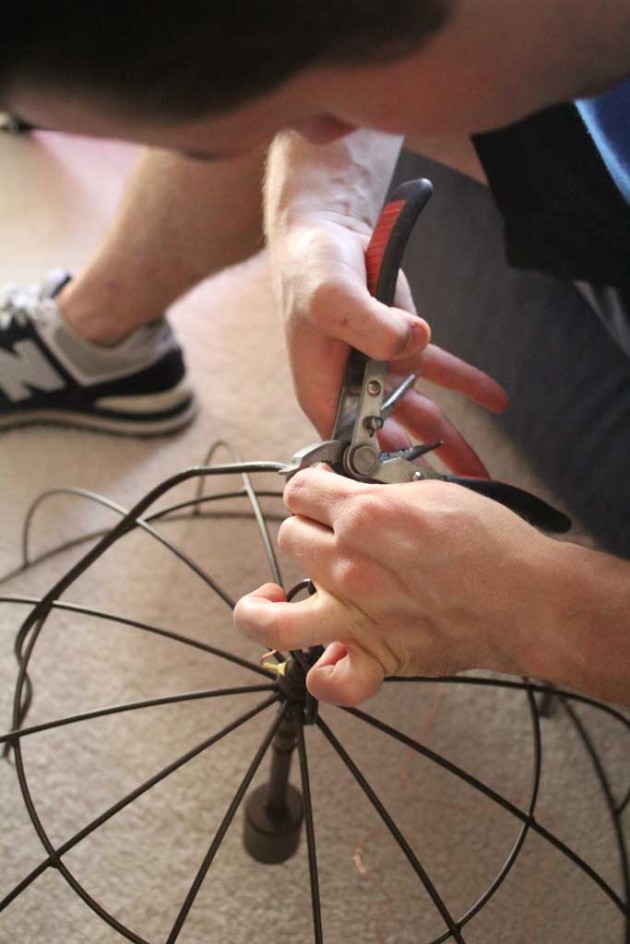
So we had to take a hacksaw to the bolt they provided so that it would fit:


bonuslight14

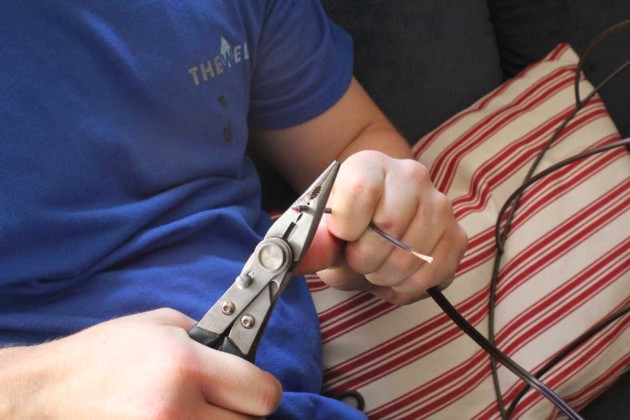
The next step was measuring out the wire and chain to match how long we wanted for the light fixture to hang down.  We cut off the wire with enough extra to strip off the outer plastic coating.

bonuslight7

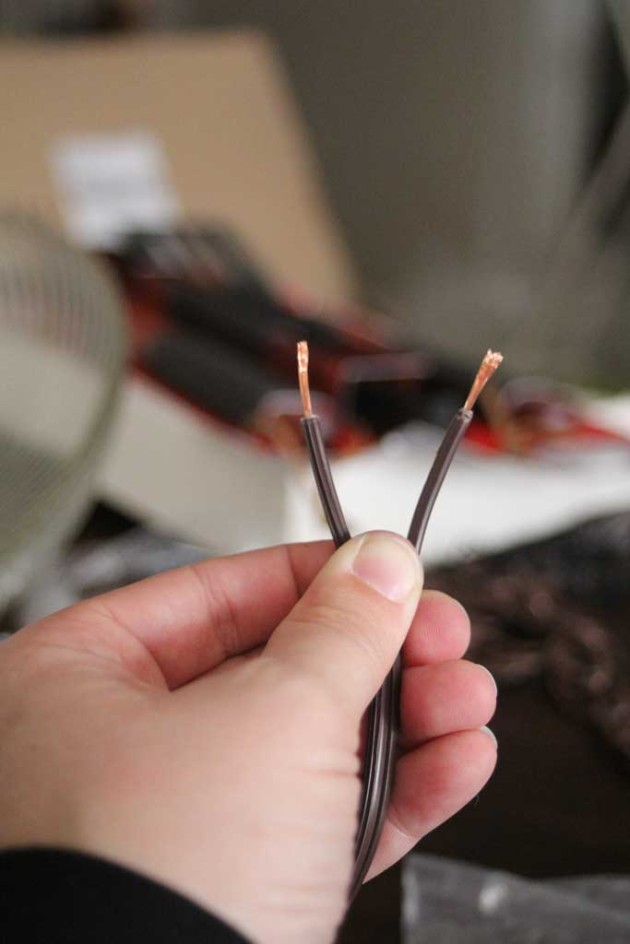
This light fixture didn’t have separate black and white wires to match up to the ones from the ceiling.  When that happens, usually one has ridges on it and one will be a smooth coating.  The one with the ridges should connect to the WHITE wire.  The smooth one should connect to the black wire.

bonuslight6

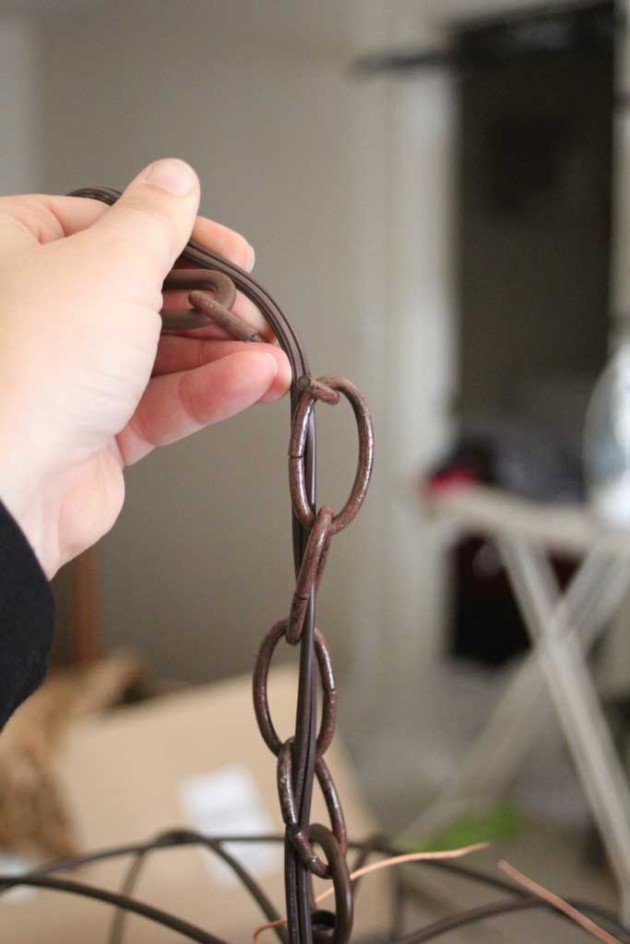
Once you have that all set, thread the wires up through the chain and in through the bolt at the top.

bonuslight5

We used pliers to open up the chain links to make it the length we wanted it to be.

bonuslight4

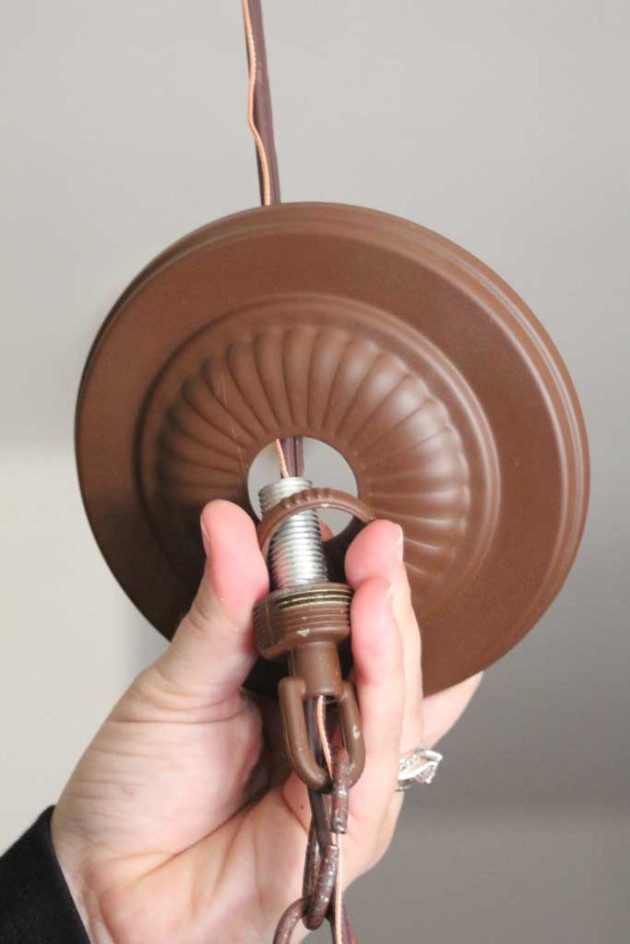
With the junction box being so small, it was a struggle to get everything to connect and fit in through this hole and into the junction box while connecting it, so unfortunately we needed all four hands so I didn’t get any pictures of that process, but basically this is what you want it to look like when it is ready to hang.

bonuslight3

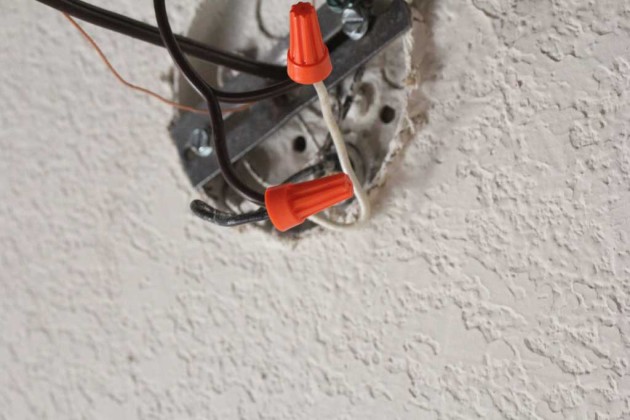
To connect the wires together there should be little orange (or sometimes yellow) plastic knobs that you will put over the ends to both wires (the one from the ceiling and the one from the fixture) and then twist.  Here’s what the connections should look like:

bonuslight15

I took the picture above (seriously check out those photography skills…joke joke joke) before we actually successfully got it attached.  Because our wires were getting twisted and didn’t have enough room above the bracket in the junction box to screw in the bolt, we ACTUALLY got this attached to the ceiling by unscrewing that bracket from the ceiling, screwing the bolt with the wires connected through it, and then screwing the bracket into the ceiling as our last step.  Sorry its a bit confusing… and by this time I was entirely fed up with holding my hands above my head trying to screw in screws so I was just a wee bit grumpy.

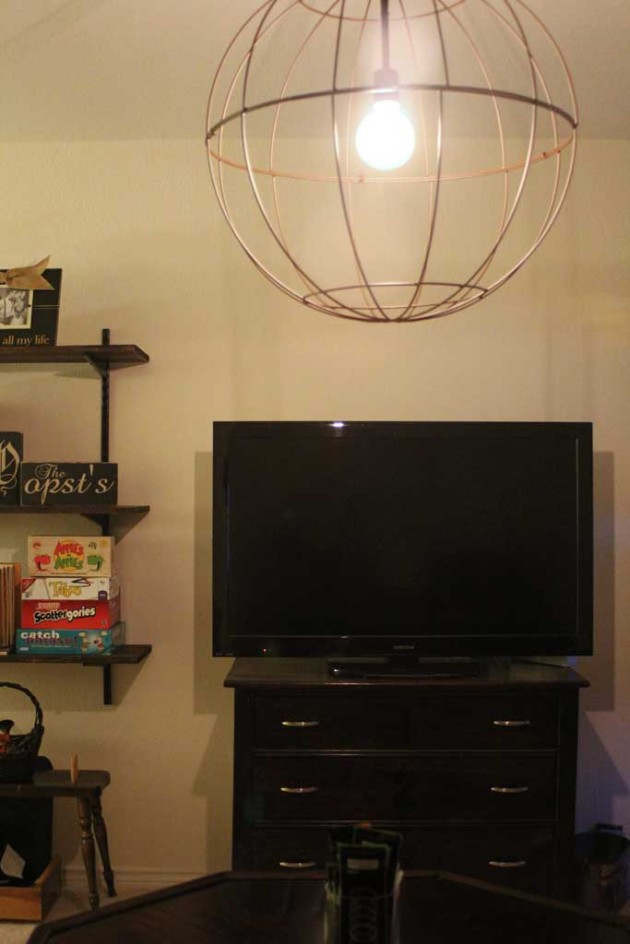
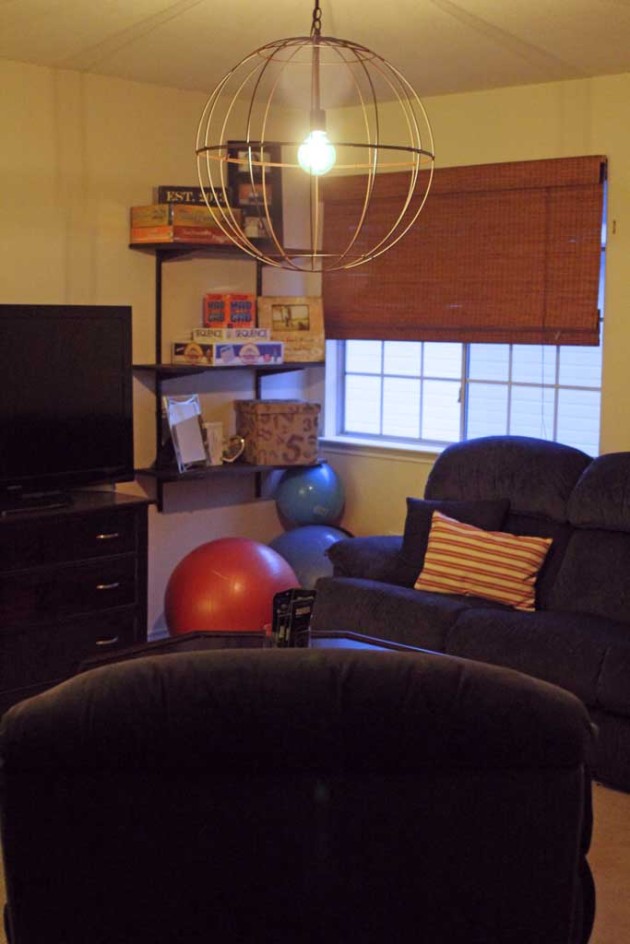
But it was so worth it because here is what it looks like now:

bonuslight2

Sorry for the poorly lit photos, with the time change I am home 0 times during the day when it is light outside. I also ordered this light from Amazon which has a cool antique-y vibe to it (but of course that doesn’t translate to pictures or at least not with my limited photography skills).

bonuslight13

And with that project completed, I’m calling this room DONE (for now).  I’d planned to add some curtains around the window that you can see in the picture below, but the fabric I was going to use doesn’t look as great as I thought it would, so I’m holding off on that for now.  As always… I’ll let y’all know if that changes!

bonuslight11


Happy Thursday… The weekend is almost here!