When I told you about my new master closet I told you that I wasn’t the most organized person in the world, and that my college roommates would define my regular cleaning strategy as: shove it all in the closet and slamthedoorreallyfast. And while they still won’t recognize my master closet and its continued cleanliness… here is a picture that they will see and go… ahhh yes that is the MJ we know and (hopefully) love. Here is the hall closet upstairs where most of my home decor items live (sorry for the blurry pics… its in a hallway with almost 0 light):
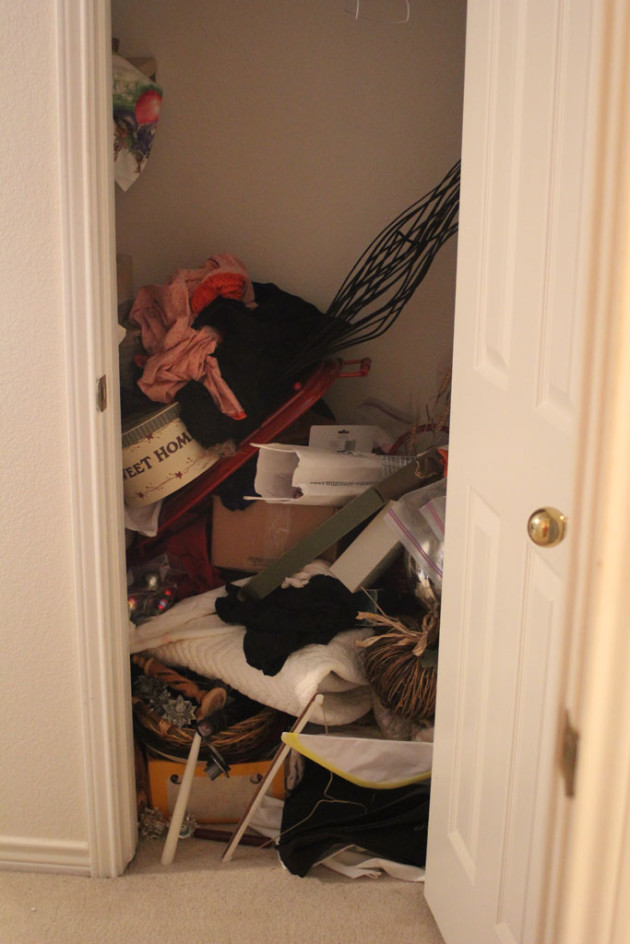
I know you are just itching to pin that image to your lovely spaces board, right??
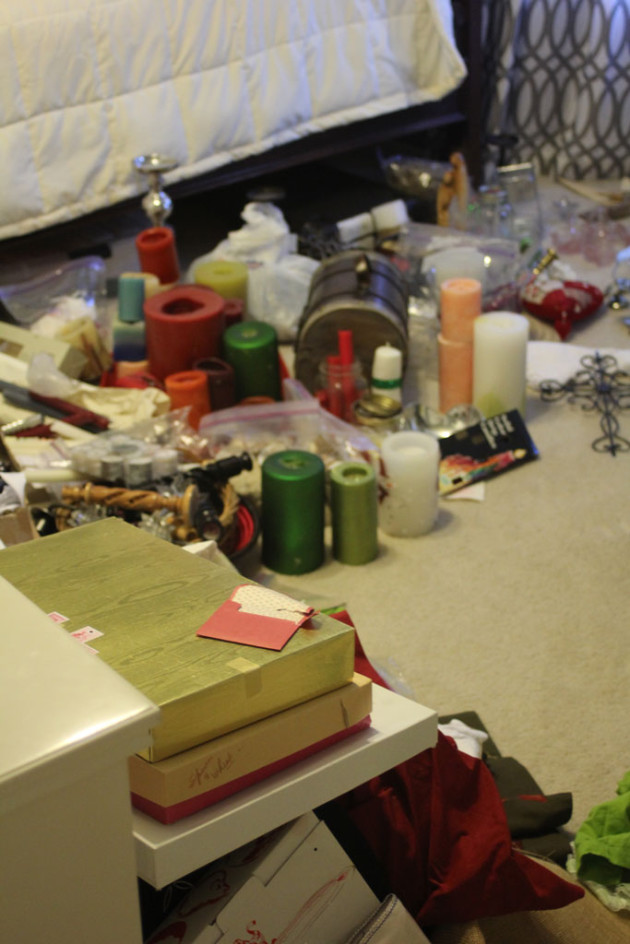
And yes… that is several feet of some of my favorite decor items just shoved onto the floor because I was out of shelf space. When I first moved into this house, those shelves on the sides were one of my first projects. I sawed each shelf by hand and hammered each one of the nails the old fashioned way to hang each of those.
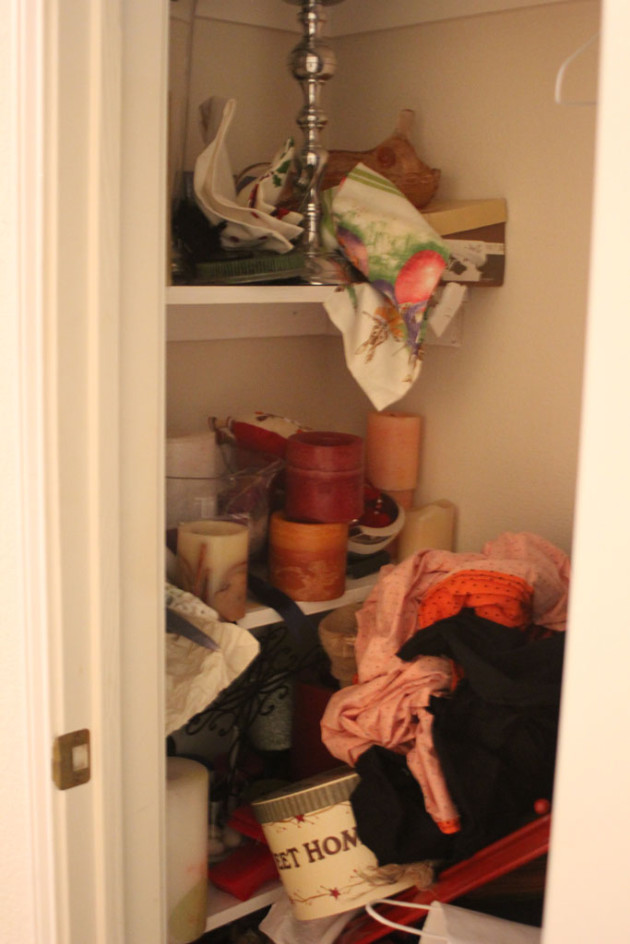
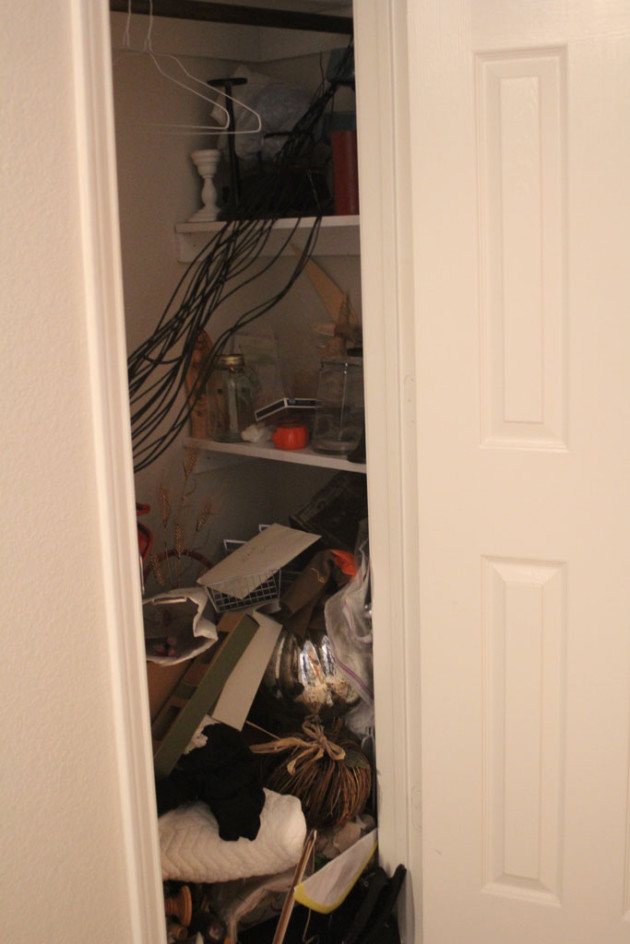
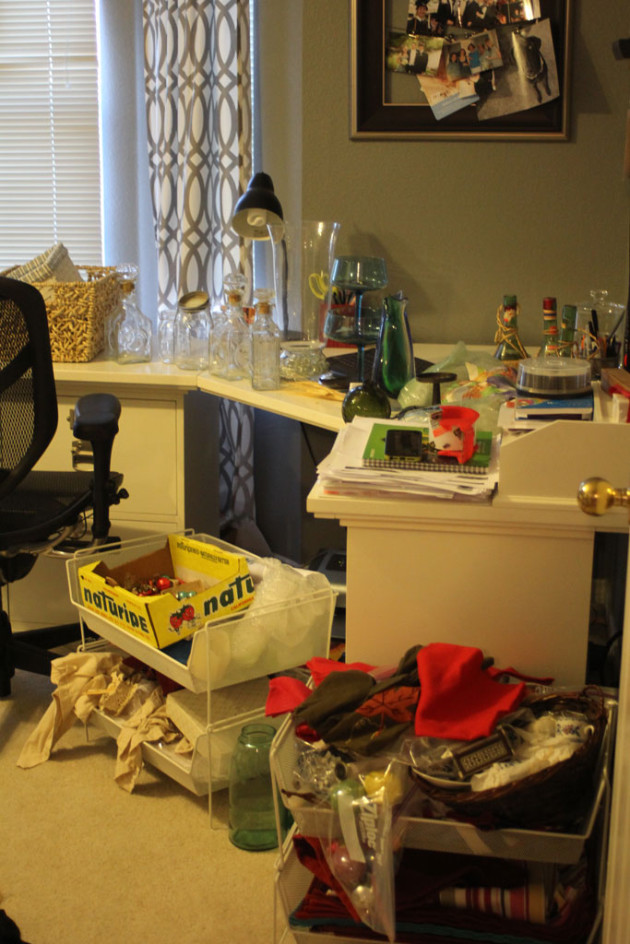
And while it added a ton more shelving in there, it just wasn’t the best use of that space. I needed to tear them all out and put in shelves running the length of the closet. And so Sunday morning while my husband was at church (don’t worry Mom, I went too… he just goes in several hours before I do), I decided it was time to take back that closet. So I cleared all the stuff out of it, moving it into the office…
I mean, for not using the space well, I sure managed to fit a TON of stuff in there…
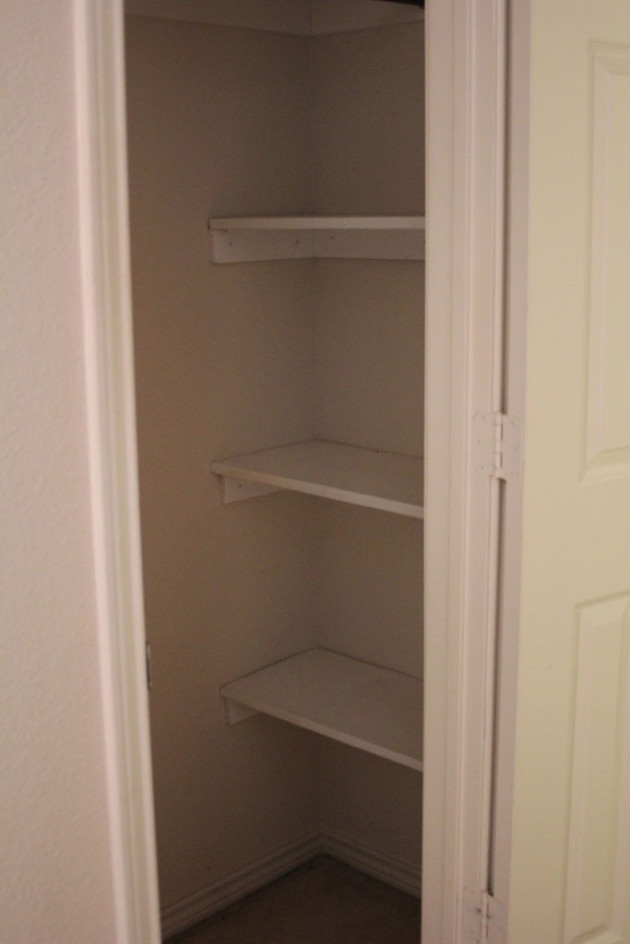
And then I pulled out the shelving. Since I had hammered in all the supports myself and had learned nothing about angling nails to help them hold better… I pulled each shelf support out with just my hands, no crowbar needed. But seriously… check out how level I got those with my old $10 target level!
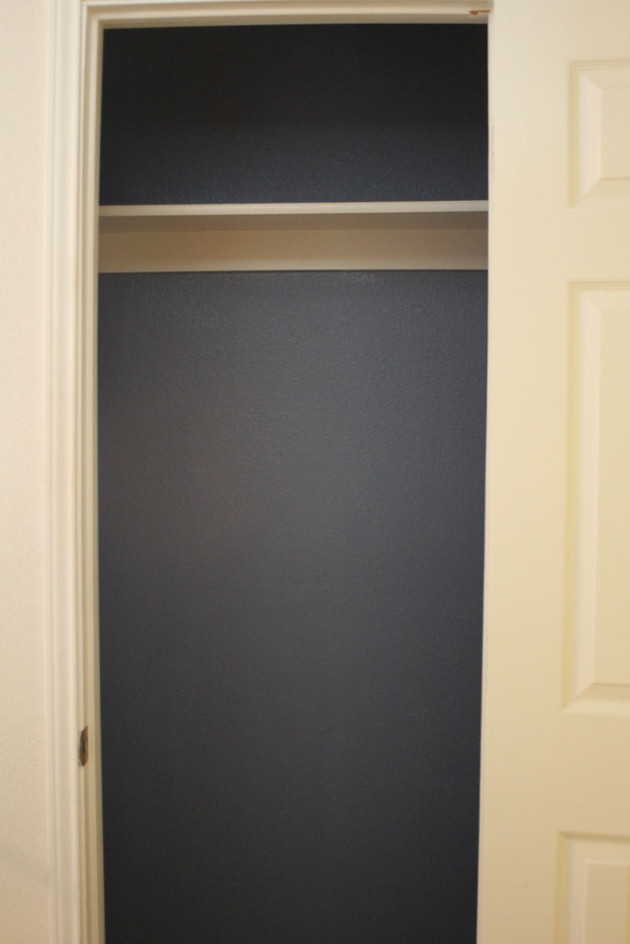
Ahhh a clean slate!
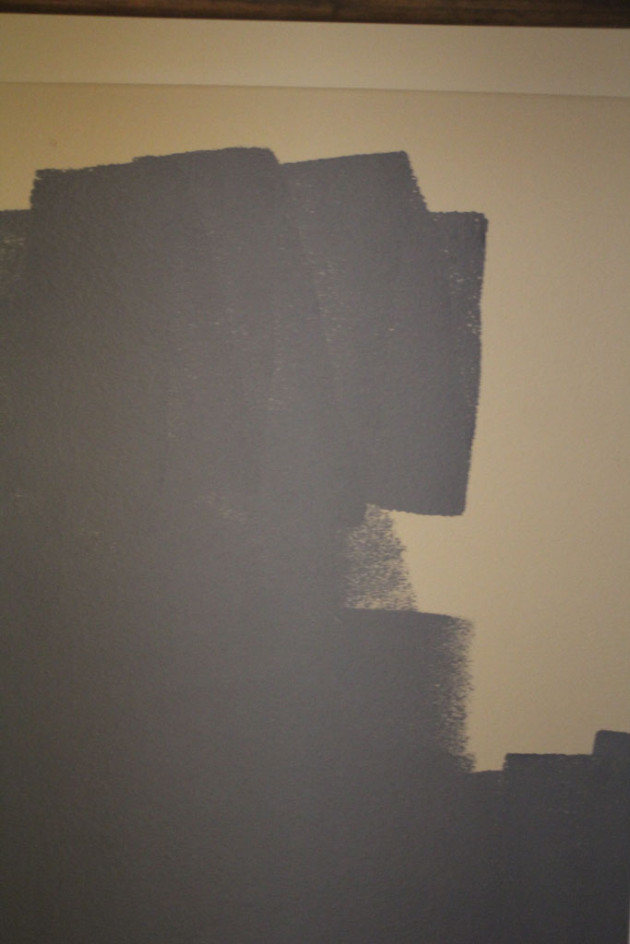
But since I still had 1.5 hours until I needed to be at church and I didn’t have the shelving to add in yet, I decided what this closet really needed was a fresh coat of paint! So I went downstairs, mixed up some leftover paint from mykitchen island/microwave cart along with some Behr Full Moon and came up with this beauty of a color!
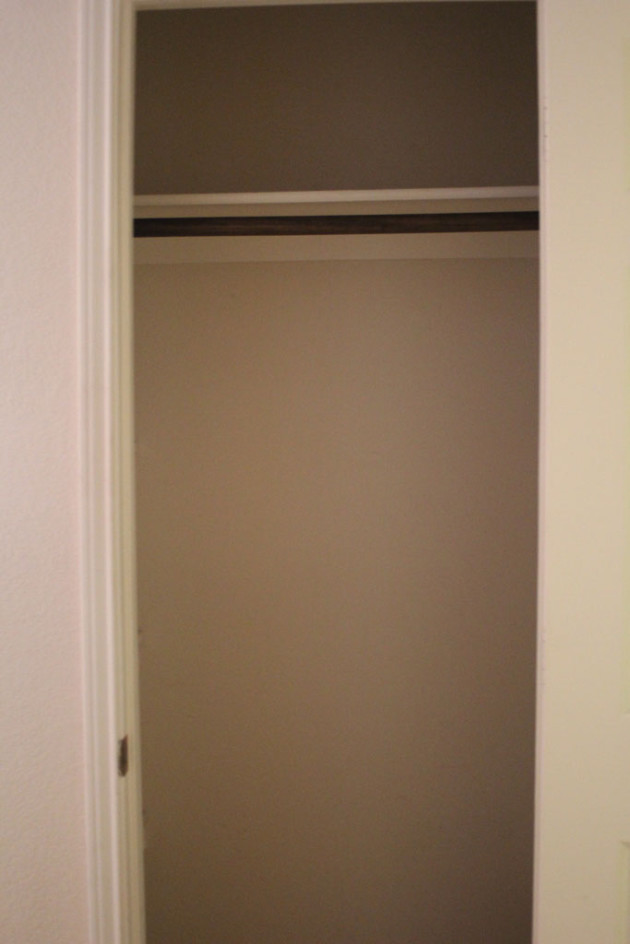
I left the top shelf and the hardware for the hanging bar but pulled the hanging bar down for now (I’ll store it in the same closet so that it doesn’t get lost) so that if in the future I need more hanging space, this closet can be reverted back to that pretty easily… flexibility for the win.
I really love that color so I wish it actually had a name, but it was about 50/50 Mood indigo (Behr in Eggshell sheen) and Full Moon. So maybe you could get Mood Indigo at half intensity since Full Moon is pretty much just white?
Now it was time to let the paint dry, and still needed to purchase the shelves. I ended up purchasing the same shelves that we hung on either side of the tv in the bonus room, but instead of staining my own wood, I decided to go with their pre-made white shelves since they were pretty close to the exact length that I needed and would be ready immediately. Sometimes when I’m on a roll and have momentum on my side it is best to pay the extra little bit to go ahead and get the project done before I lose some steam. The shelves are Rubbermaid from Home Depot and are in their shelving aisle.
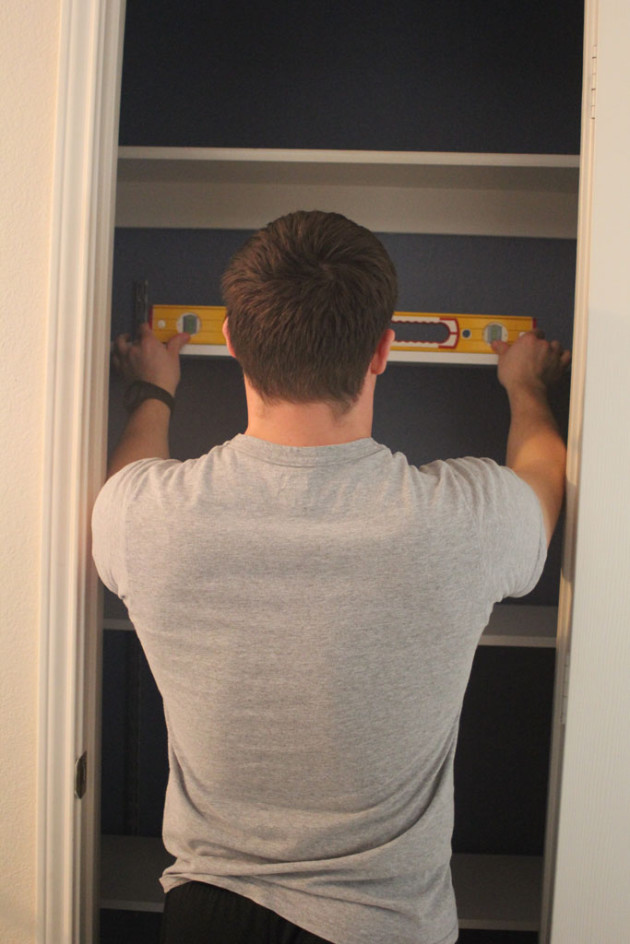
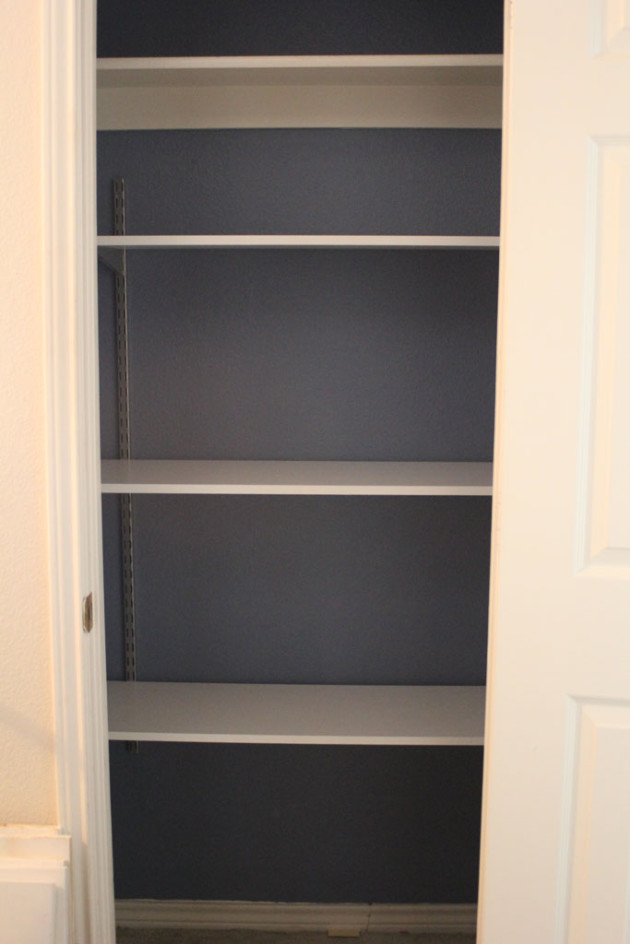
So the husband and I hung the shelves (for me, level shelves almost always require 2 people) Sunday afternoon and here is what they looked like:
The closet feels about 2x bigger with the shelves in them, and I love how much room is available for storage! Stay tuned tomorrow to see them all loaded back up!



 Hi, I'm MJ! I'm a DIY kind of girl and this is where I share my projects. I'm taking you along for the ride as I learn how to do woodworking, sew, bake, and renovate!


