Quick Laundry Room Re-do

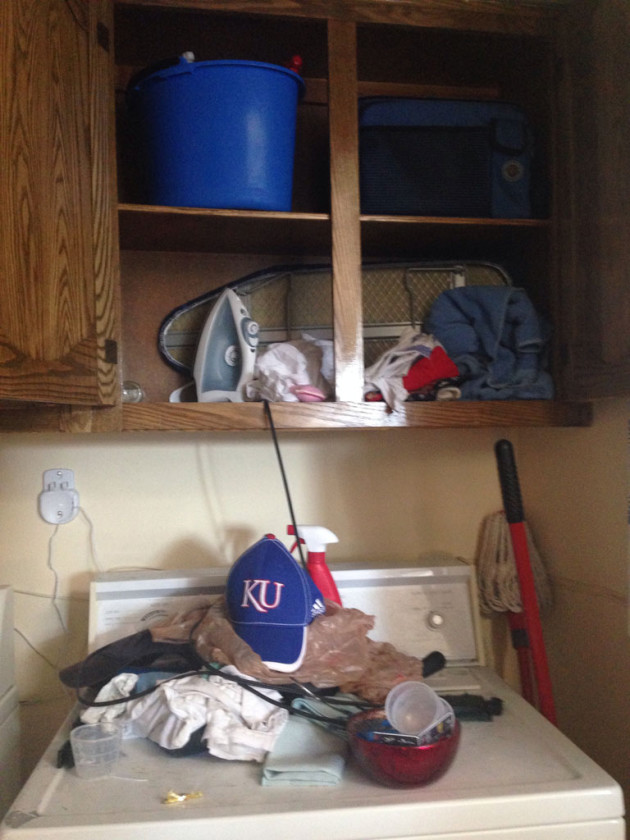
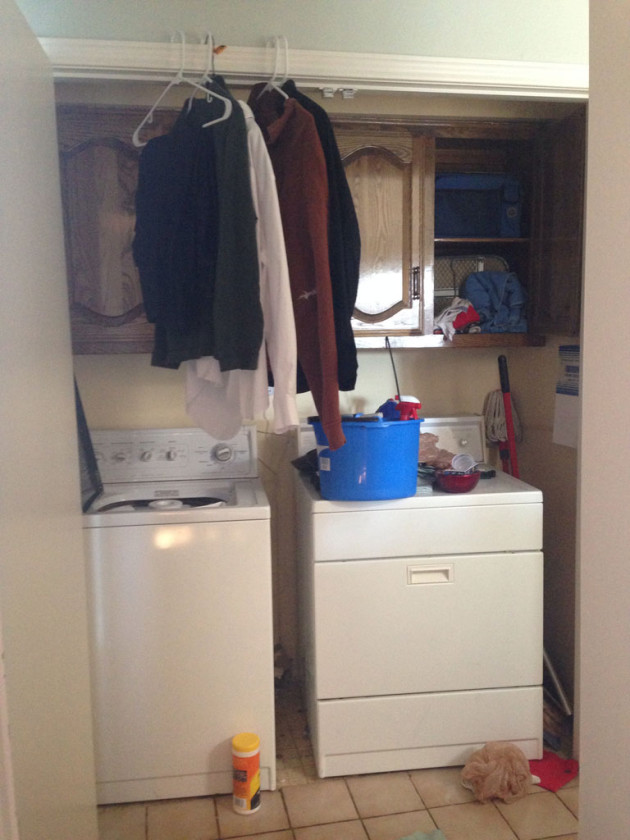
So do you remember here where we upgraded AJ’s kitchen? Well it had a dirty little secret.  Its actually more of a clean dirty little secret: his laundry room.  The laundry room in in a small hallway between his kitchen and his dining room.  Both the kitchen and dining room have had major upgrades lately, but the laundry room was looking less than ideal:

ajlaundry5

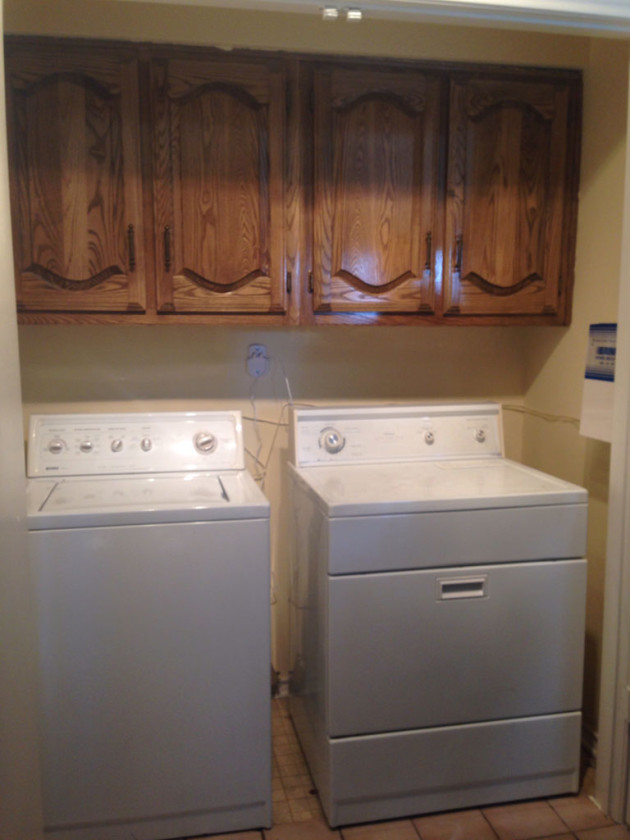
With his soon to be wife about to move in after the wedding, something needed to be done to spruce up this area! So his fiancee and I decided to tackle this as an afternoon project! Back when they bought Elfa for their closet and garage they went ahead and purchased a little extra for the laundry room.  The way it was there wasn’t any space to hang clothes to dry which led to them being strewn around or hanging on the door frame.

ajlaundry7

And there was absolutely no organization for his cleaning supplies. Since we needed to pull down at least one cabinet to add hanging space, we decided to pull both down (since they no longer matched the ones in the kitchen) and put Elfa in its place. First step: clean everything out of there:

ajlaundry6

 I would have taken a few pictures of us taking the cabinets down, but the 3 people in the tiny little space pulling the molding off and then unscrewing the cabinets from the wall and pulling them down didn’t leave much space for picture taking.

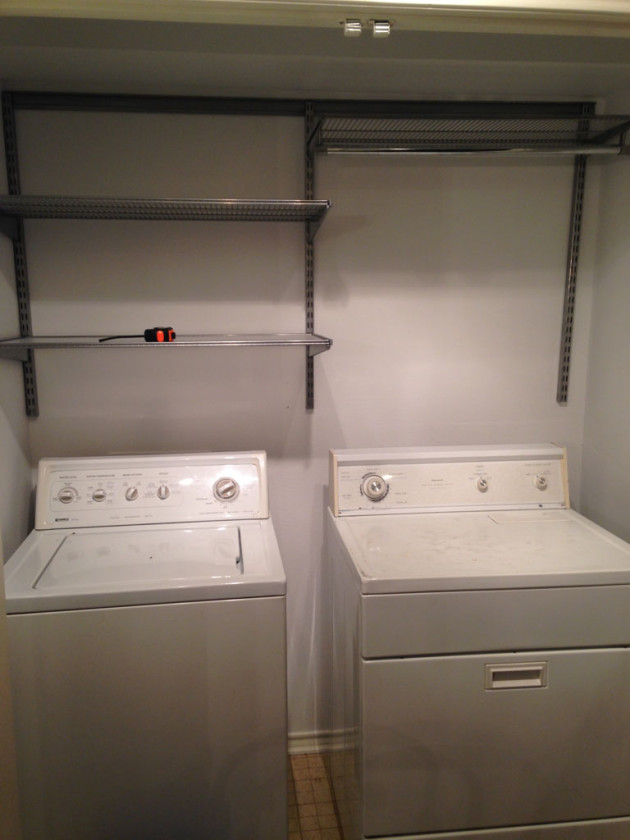
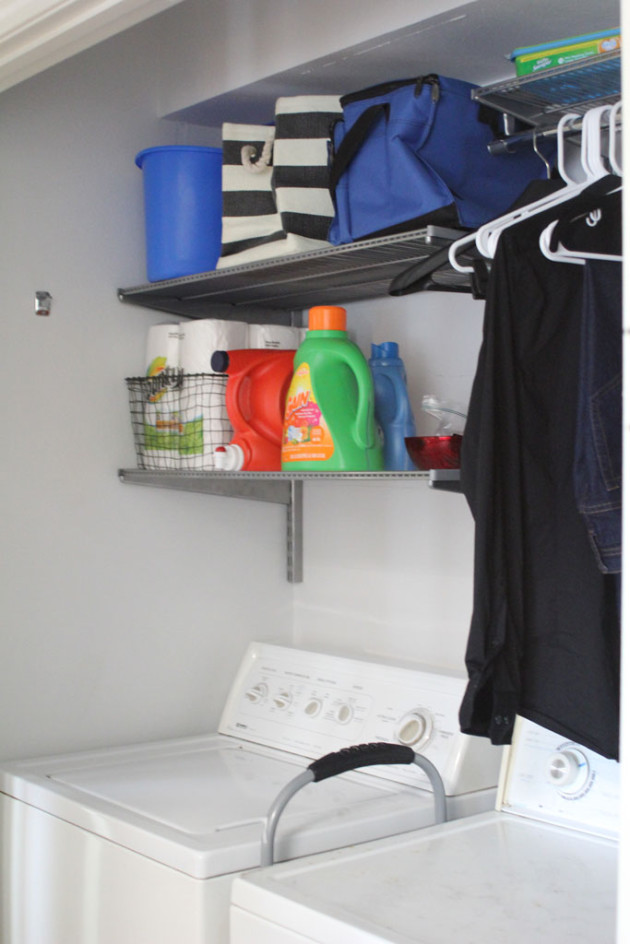
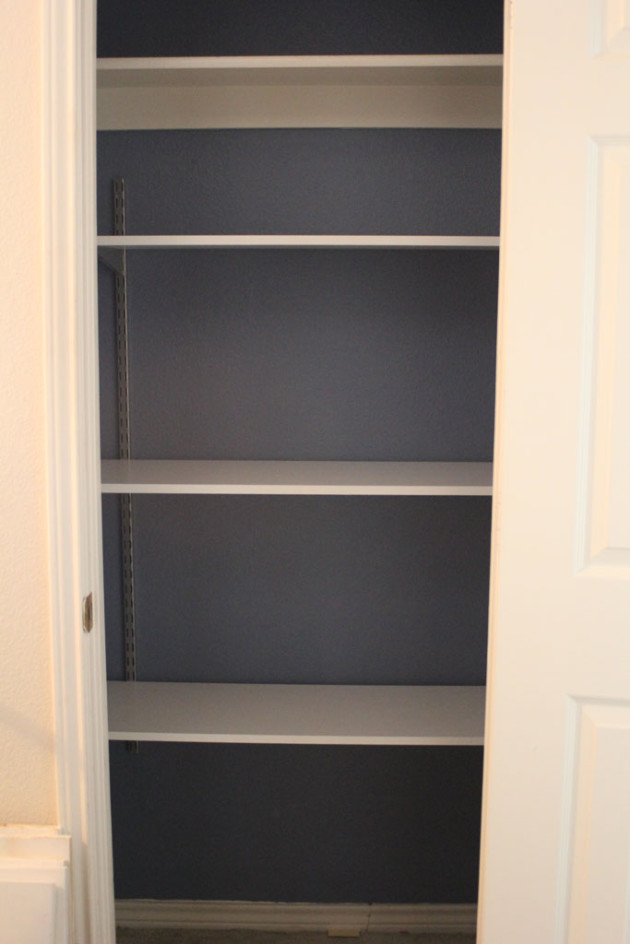
After we got everything cleared out, we painted the laundry room a pretty light gray color and then they hung the Elfa shelves.  It made a dramatic change!

ajlaundry8

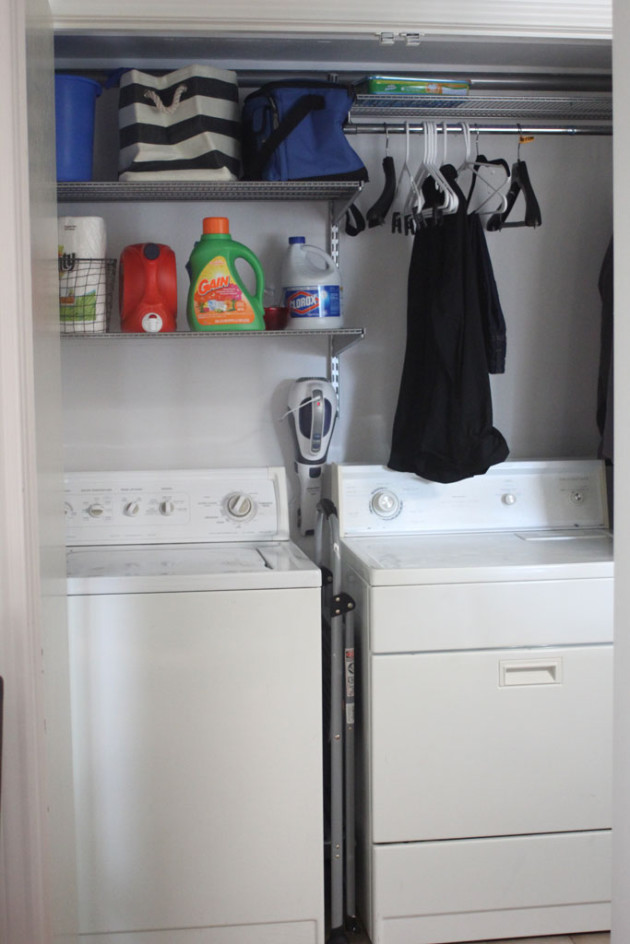
And has made it a much more usable space for laundry! Since it is in such a central location in their house, function is a top priority! Check out that difference:

ajlaundry4


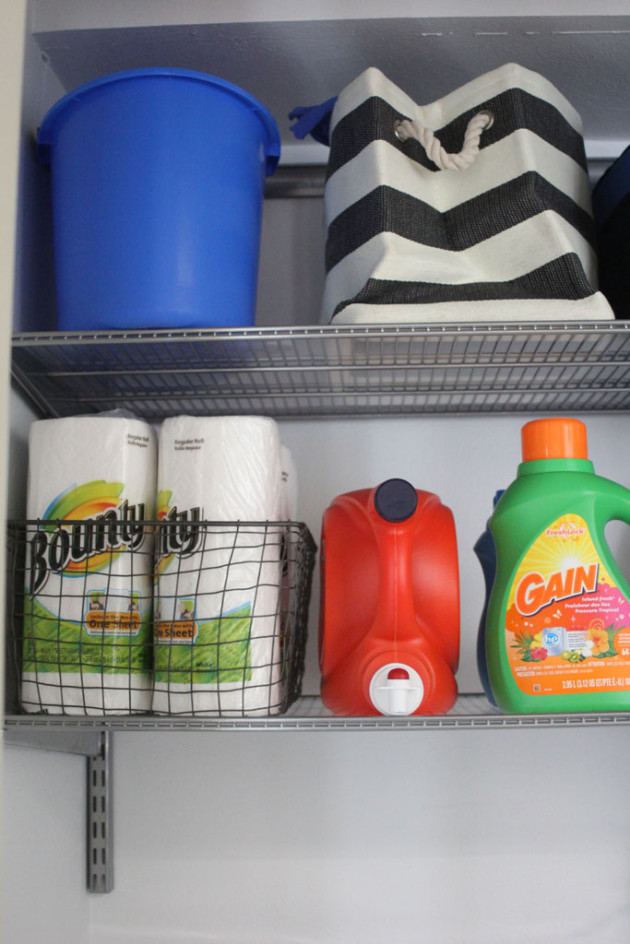
I love this navy and white striped basket… I bought the same one for the back of my car to corral all my junk!

ajlaundry1


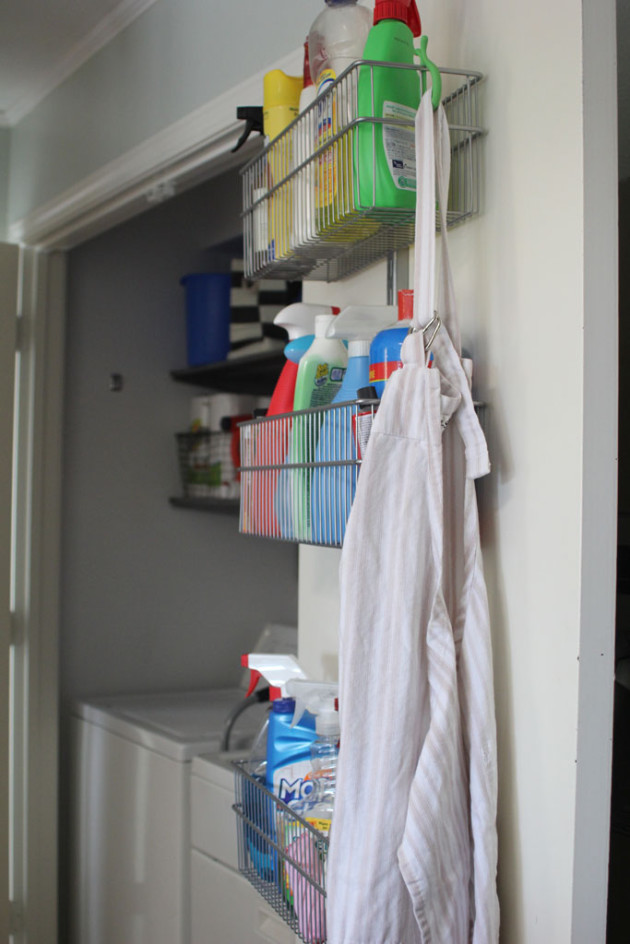
One of the things I love most about their space is that they used the insides of the doors to maximize the usable space (and make all those cleaners easily accessible!)

ajlaundry2

ajlaundry3


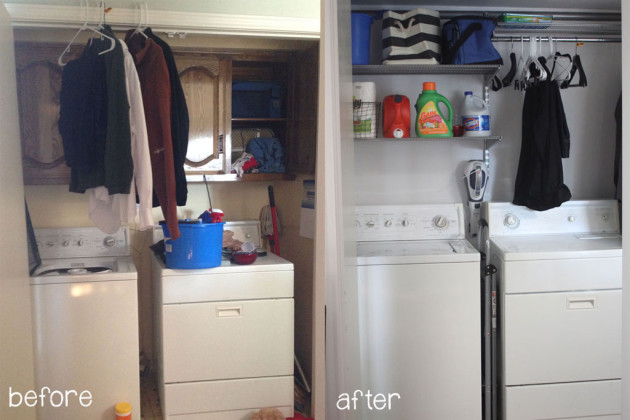
And because before and afters are so fun:

ajlaundrybeforeandafter


It is always amazing to me what a fresh coat of paint and some new shelving can do for a space.  By taking a cabinet away and adding the hanging space, this closet laundry room is so much more usable and bonus… the doors can be closed on the mess if there are clothes drying!

 

Easiest DIY Candle Holder Ever

So I was sitting in church the other day and saw a project that I haven’t shared here yet, since it was done prior to the blog!

If you are new here, my twin brother is the pastor at a contemporary church service at a United Methodist Church in Plano, which means I am the go-to any time he needs something built or some little odd job done for the church. So far at the church I’ve built two altar tables, helped redo a stage and I am about to do a fun project for the welcome center (more on that one after it is built!).  But a smaller project I did was for the Christmas Eve service two years ago.

On December 23rd, the worship staff decided that they wanted to add some candlelight on the stage for the duration of the service, but they needed them all to be at different heights. I had an easy solution: I went to grab a couple of cedar 4x4s (they were the only ones untreated at my HD… and I didn’t want treated ones since they would be used indoors).

Before we cut them I took my orbital sander to the full length of board to smooth out the sides because I find it easier to sand when it is one long board and just do the top edges after they are cut.  I used my miter saw to cut them into varying lengths: 4”, 6”, 8″ and 12”.  If I was trying to be fancy I could have routed around the edges to make them smoother or a decorative edge, but I was on the clock… I needed these guys cut, sanded and stained by that evening to give them the full 24 hour dry time.

After they were cut, AJ and I sanded the tops down to smooth out any rough spots and take away any sharp edges and then set about staining them.  I used Minwax’s Dark Walnut because it is what I had on hand.

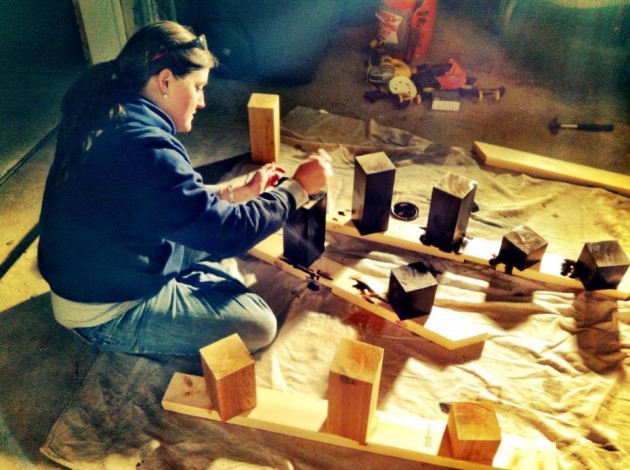
Here is the facebook picture AJ posted of me trying to madly stain them that evening.

Stainingblocks

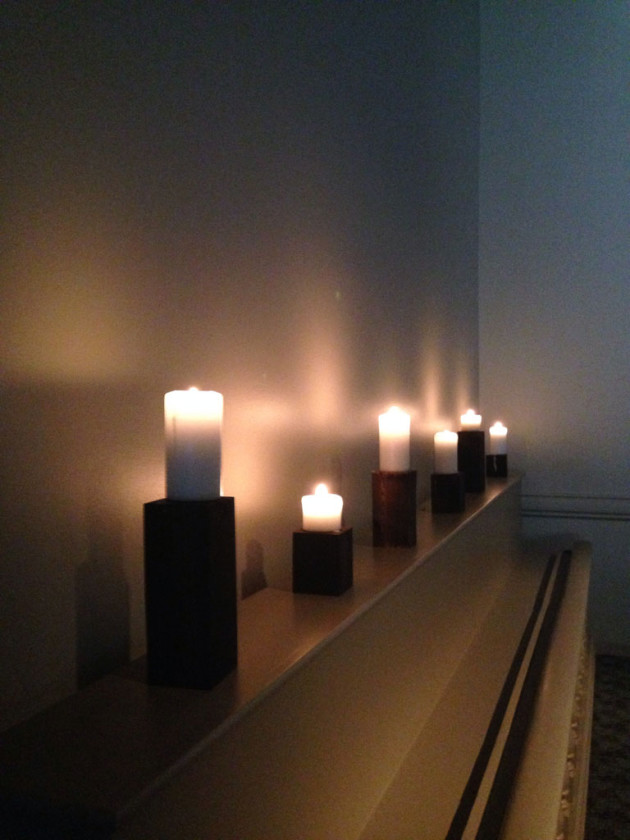
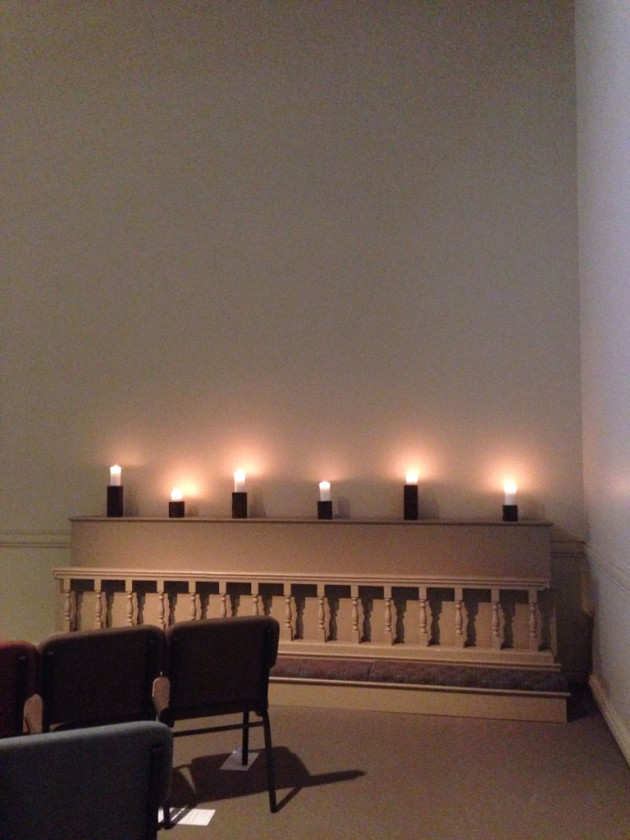
But they looked beautiful on Christmas Eve (I made somewhere around 20 of them) with pillar candles on top of them.  And I am so happy that they are still using them! Here is an iphone pic (shockingly enough I don’t carry my SLR camera with me all the time!) of them in use last Sunday.

candleholders

candleholders1

They are definitely nothing fancy, but they are a great way to add varying heights to any surface.  My mom has several that I have made her (and my uncle made her a set a while ago) that she uses for candles or even draped under fabric to add height for other decorations.

You can see a white one in this picture from my post about her nativity scenes to make the angel sit higher on the shelf.

nativity24

This would be a great project for any person wanting to learn to cut, sand and stain(or paint) because it is so easy!

Purging the Clutter Part 2

So a friend pointed out in yesterdays post that I’m not really purging the clutter because i’m not actually throwing out much, just reorganizing all of my things into a usable form; so my apologies if my title was misleading! So here is where we left off… everything pulled out, the closet painted and new shelves hung, so all that was left is organizing it into categories and putting most of it back.

decorcloset9

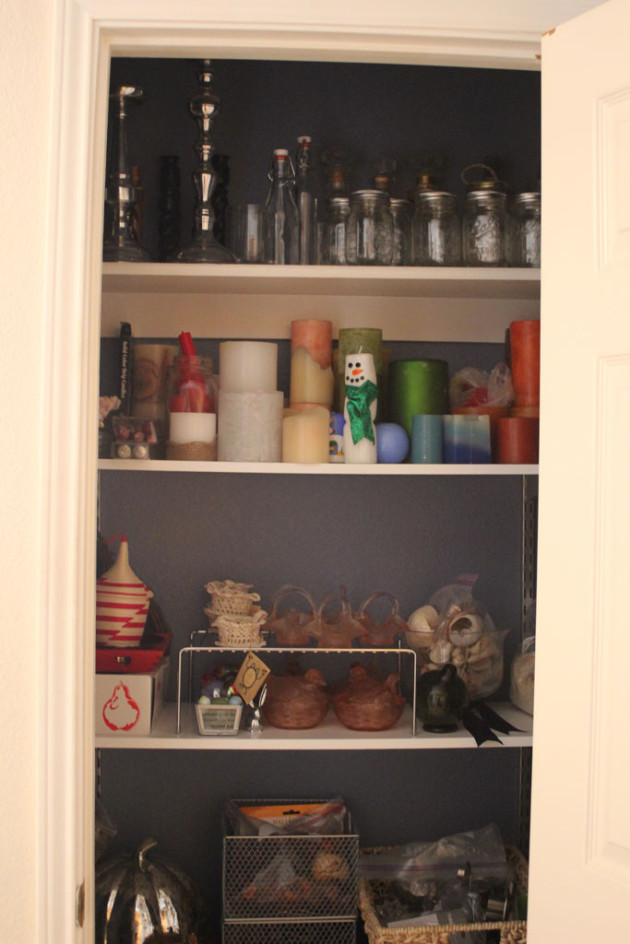
Whenever I organize an area I try to think about how I am going to use the things inside the closet. For this closet, that’s pretty easy, everything is pretty much in one of three categories: seasonal items, linens and decorating items used throughout the year (i.e. glass jars, candles, mason jars).  So I simply separated everything by its category, breaking the seasonal items down into smaller categories: Valentines, Spring/Easter, Summer, Fall (all of my Christmas stuff is stored in a separate location because I have so much).

decorcloset14

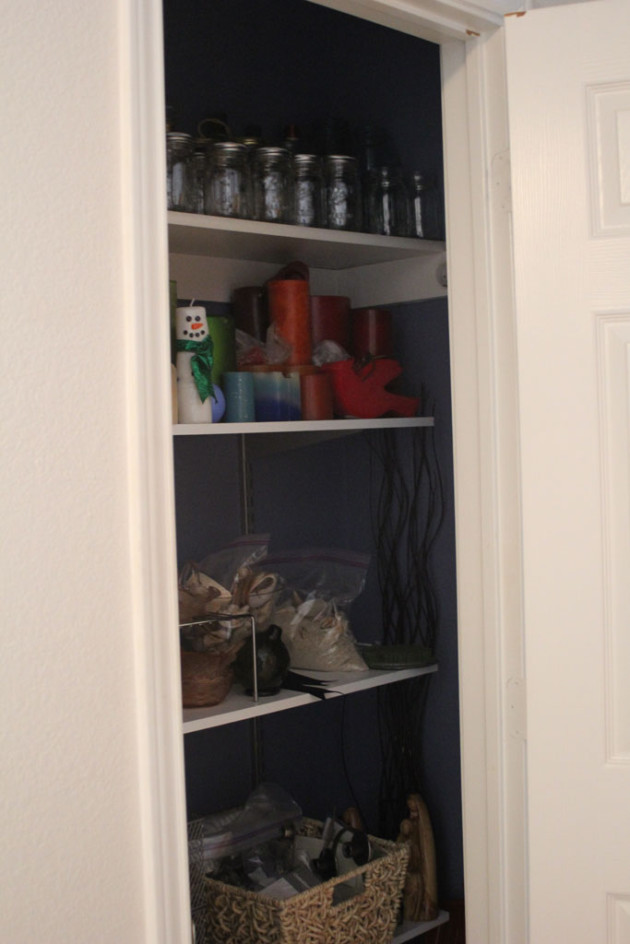
I put any glass bottles, mason jars, and candlesticks on the top shelf, even being as short as I am, I can still reach the top shelf without a step stool, so I put the things I use the most at the front.  The candles were put on the next shelf down, and in color order so I can easily grab whatever color I’m looking for. The only Christmas decor I have in the closet are my candles  since my Christmas storage is in the garage and I couldn’t let my cute little snowman melt in the Texas heat.

decorcloset13


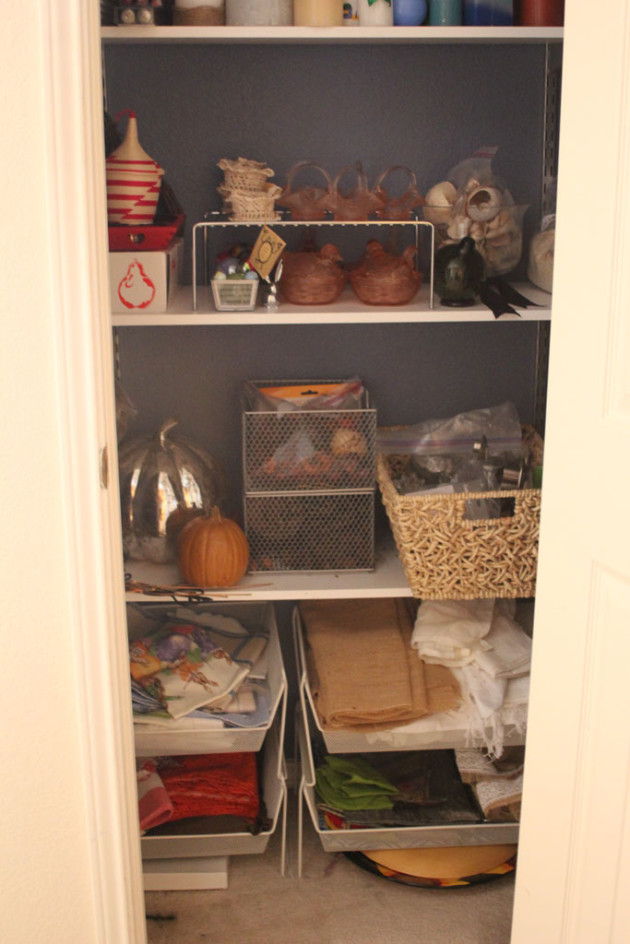
Everything else is stored by category with wire bins corralling the smaller items.  I love the wire bins because they are easy to see through so I can still see what is inside and find what i’m looking for easily. The linens fit into some old stacking white wire bins I had from The Container Store.  And again they are sorted by color: blue/springy, white & burlap, red and finally multicolor.

decorcloset12

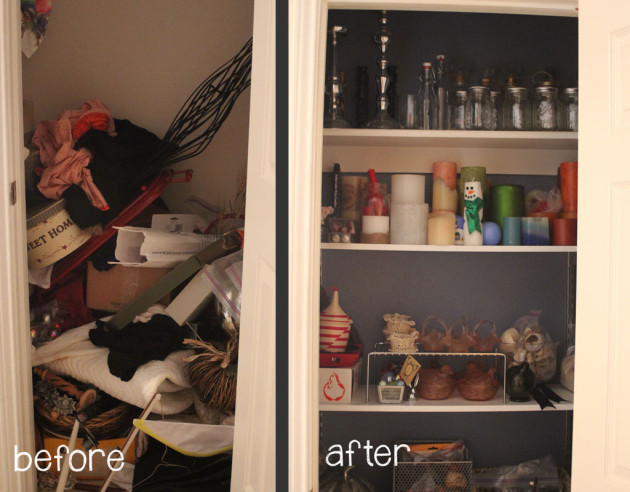
And just for fun, one more before and after:

decorclosetbeforeandafter


AHHHH that is way better!!!