Easter Table

For those of you who religiously (see what I did there) follow the liturgical calendar Holy Week starts this coming Sunday with Palm Sunday.  (I’m a preacher’s kid… its hard to get away from the church calendar!) Easter is one of my favorite times a year… spring is in full swing, its time to spend more time outside, flowers are blooming… and don’t forget Easter candy. And although I know Easter is definitely about more than bunnies and candy, it is the one time a year I decorate with any sort of pastels (I’m a bold kind of person), and I kinda like the change for a short while.

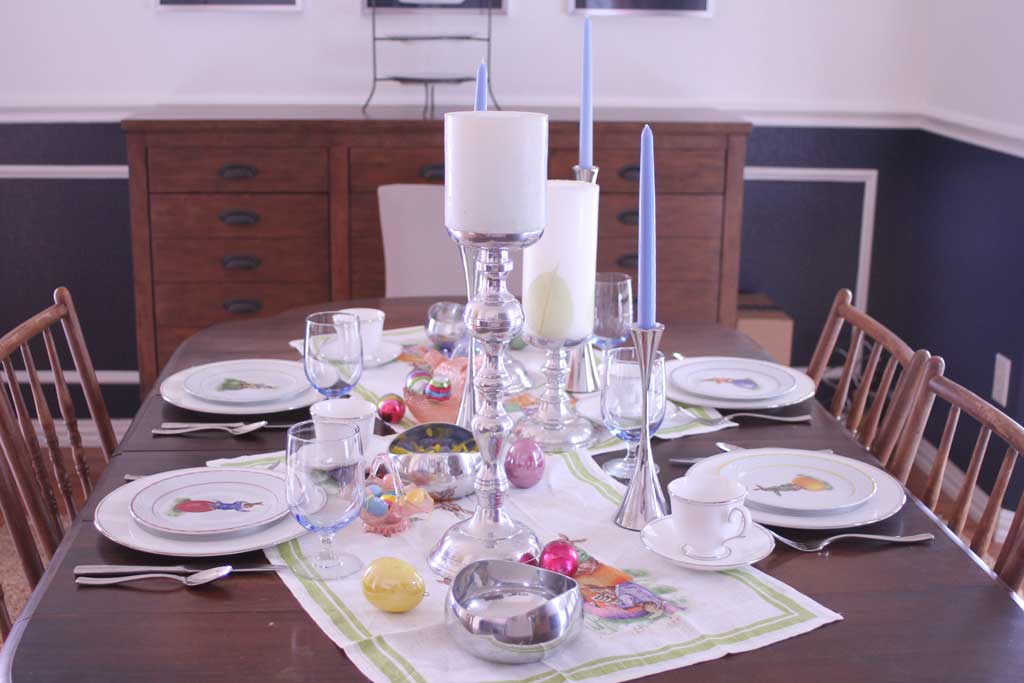
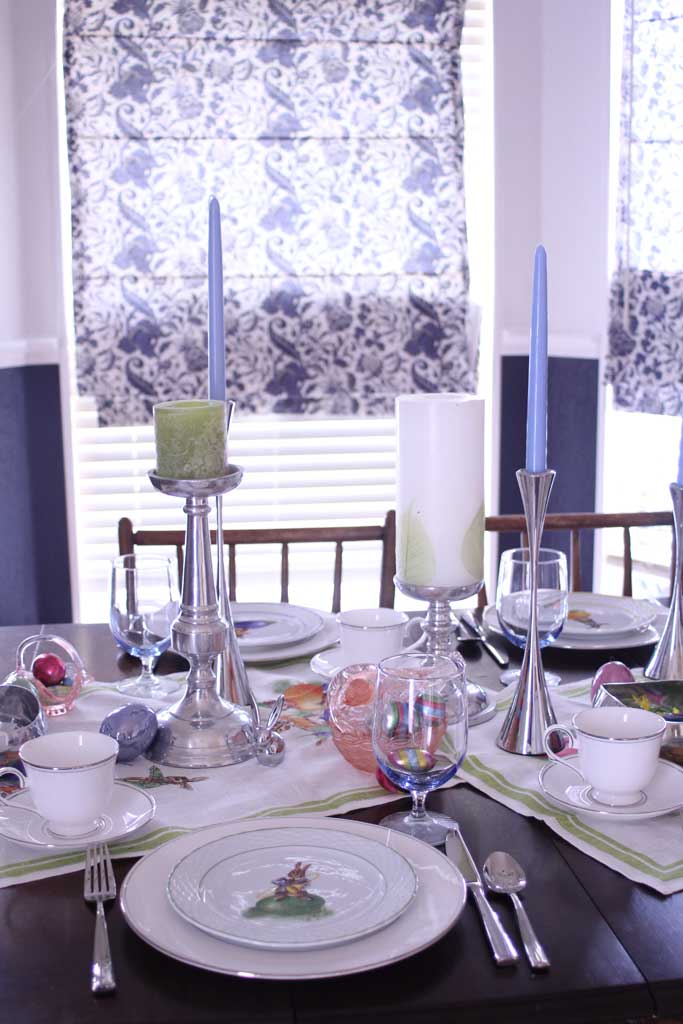
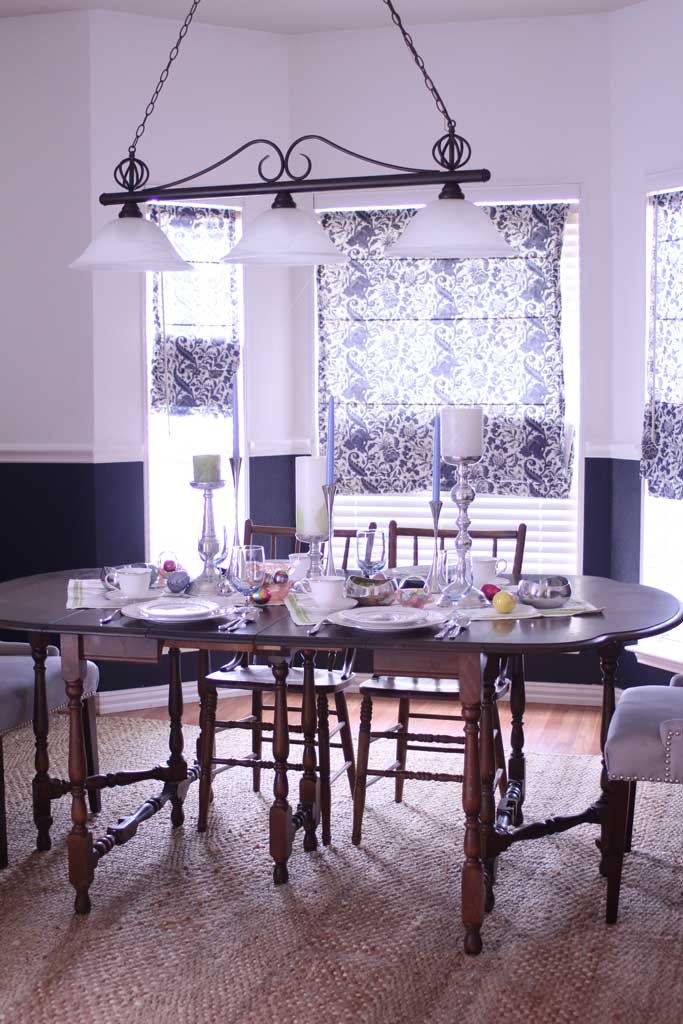
So this weekend I decided to decorate my dining table to get me in the Easter spirit.
easter5


Most years my mom gives us a little Easter basket.  Most of the things she gave us growing up are part of her Easter decorations now (which by the way is genius… give kids gifts you actually want to use as decor… BRILLIANT)  but I have a few that she has given me as an adult that fit right into my table theme.  The runner and plates were part of a line from Williams Sonoma a few years ago but they’ve switched their lineup this year.

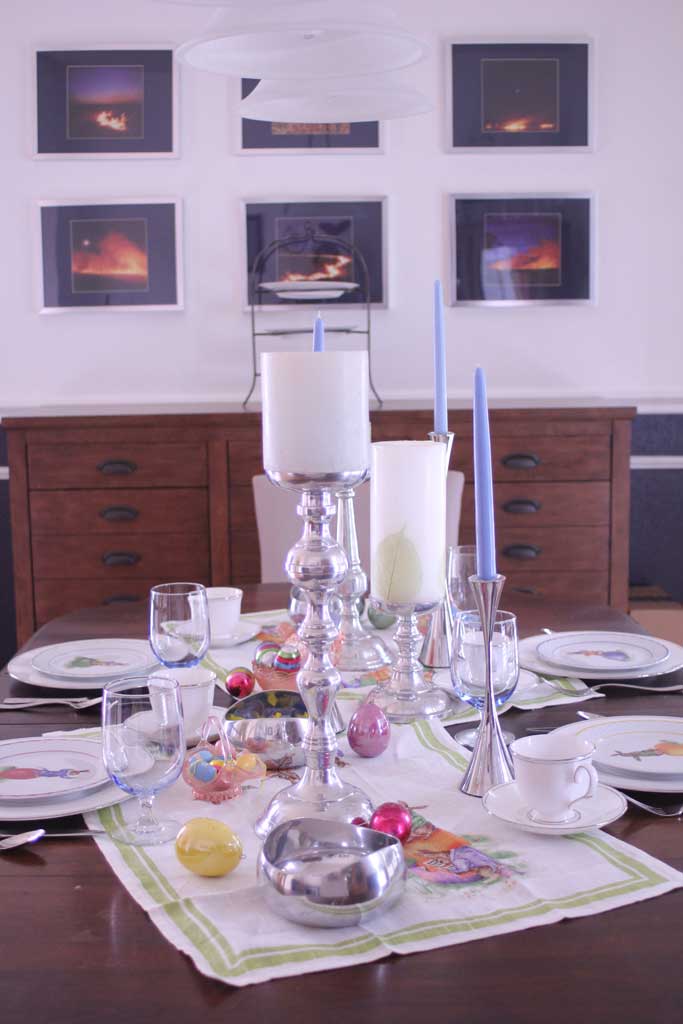
easter3

I took this picture before I’d picked up the rest of my Easter Candy… so those other two silver bowls are now filled with pastel M&Ms.  You can use your imagination right? (and lets be honest… M&Ms don’t last long in my house so its not like they’ll be full for long!)

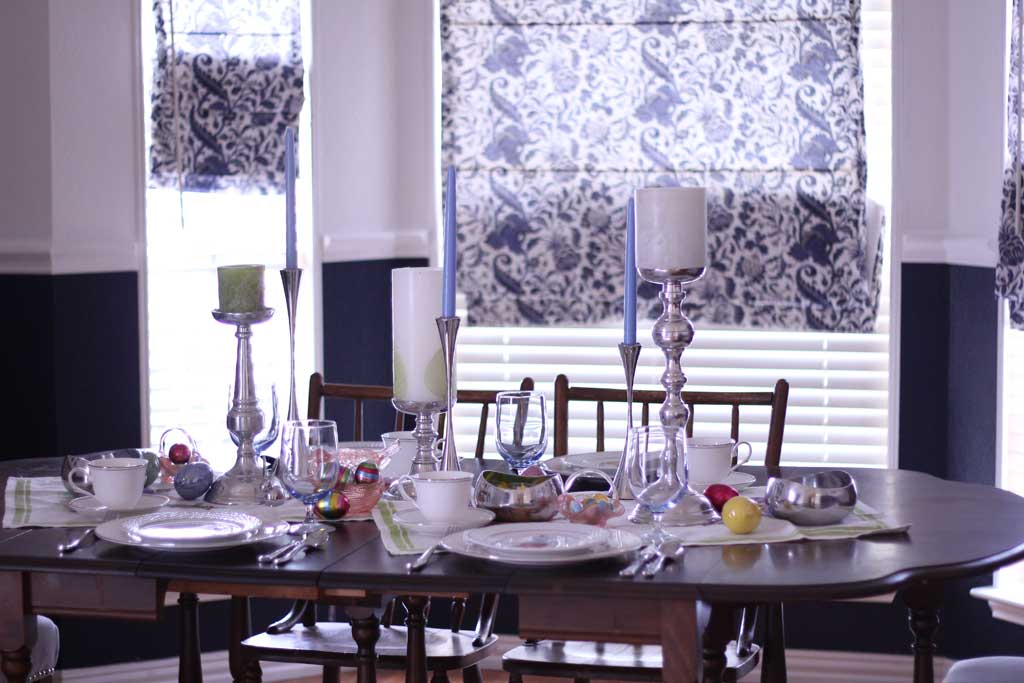
easter2


My family usually dyes and hunts Easter eggs and then has a big Easter Sunday Lunch, so a nicely decorated table definitely gets me thinking about delicious food and fun family time!

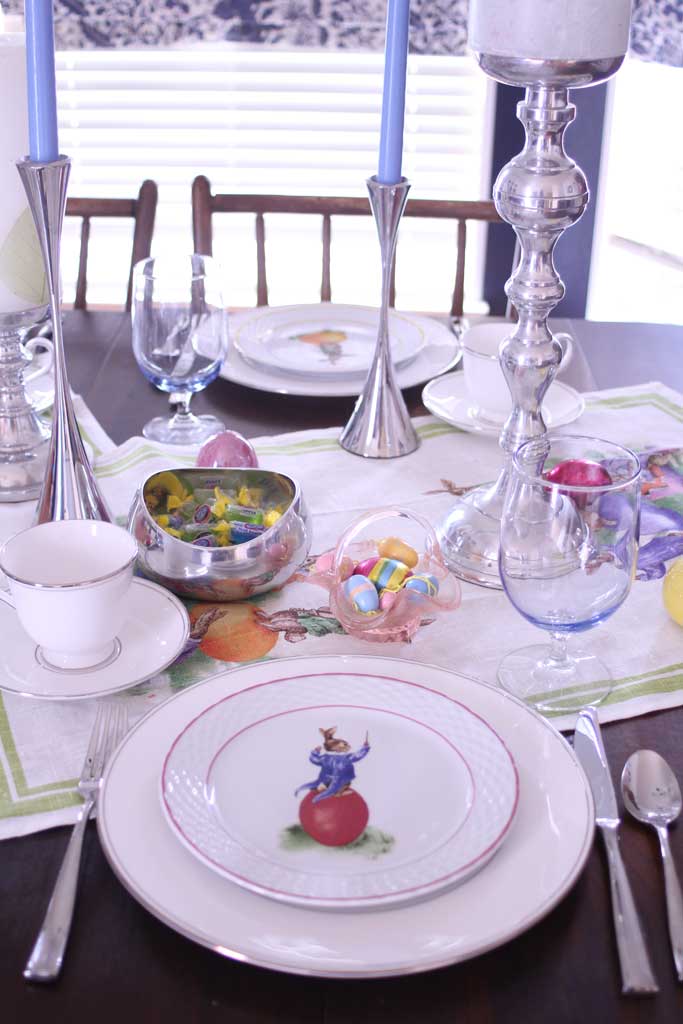
easter1

I love the blue tint of the water glasses.  That is actually a set my older brother bought his wife because she liked them so much at a restaurant.  My mom liked my sister in law’s so much that my brother bought her some too.  Now my twin brother and I both have sets and we bought a close friend a set of her own because she liked them so much!!

easter6

easter4


Are y’all ready for Easter?
Onesie Twosie

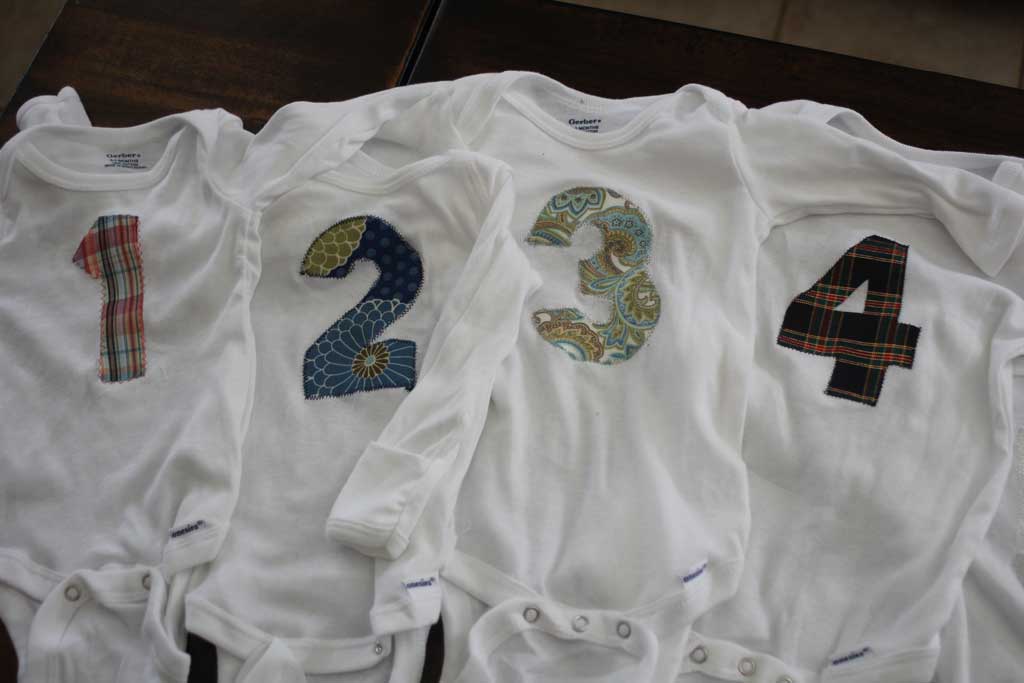
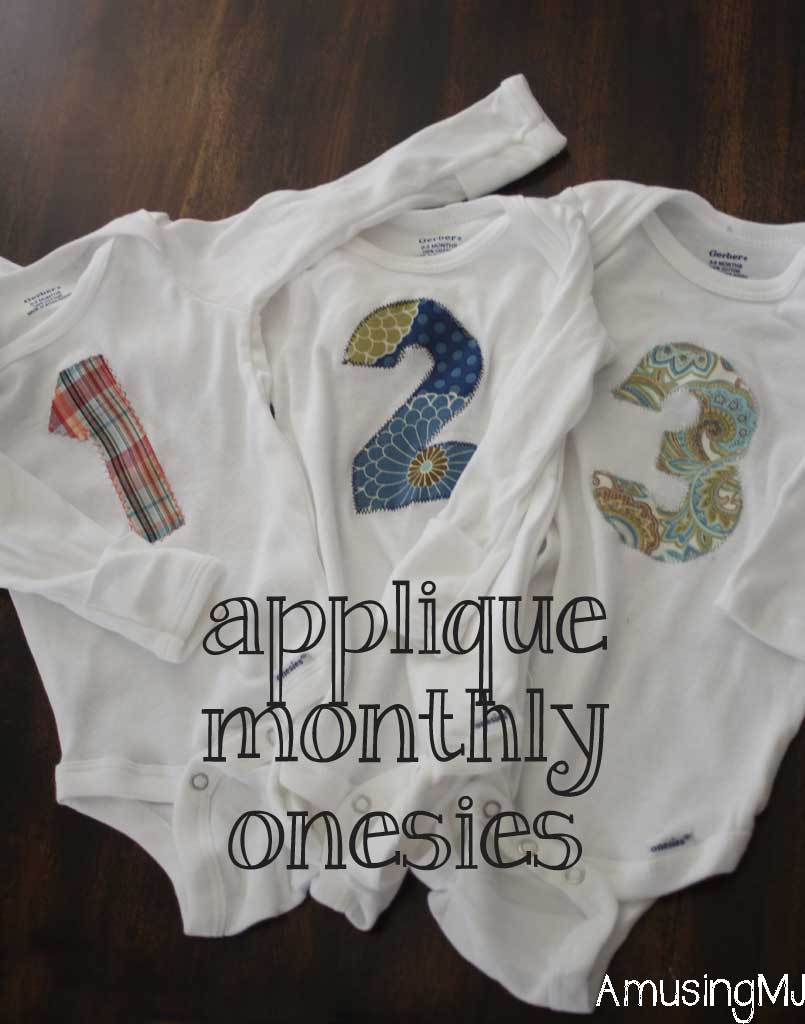
How were y’all’s weekends? Mine was UBER productive, and I can’t wait to share some of the projects that I wrapped up this weekend.  You know how I told you last week I was having major project ADD? Well this weekend was just the antidote I needed to get my bum in gear and finish a bunch of those up to share with y’all! This is one of those that I started a LOOOONG time ago, but didn’t get around to finishing until just this weekend.  7 months ago my brother and his wife had their first child and didn’t find out the gender until my niece was born.  I decided it would be fun to make onesies for him/her for each monthly birthday.

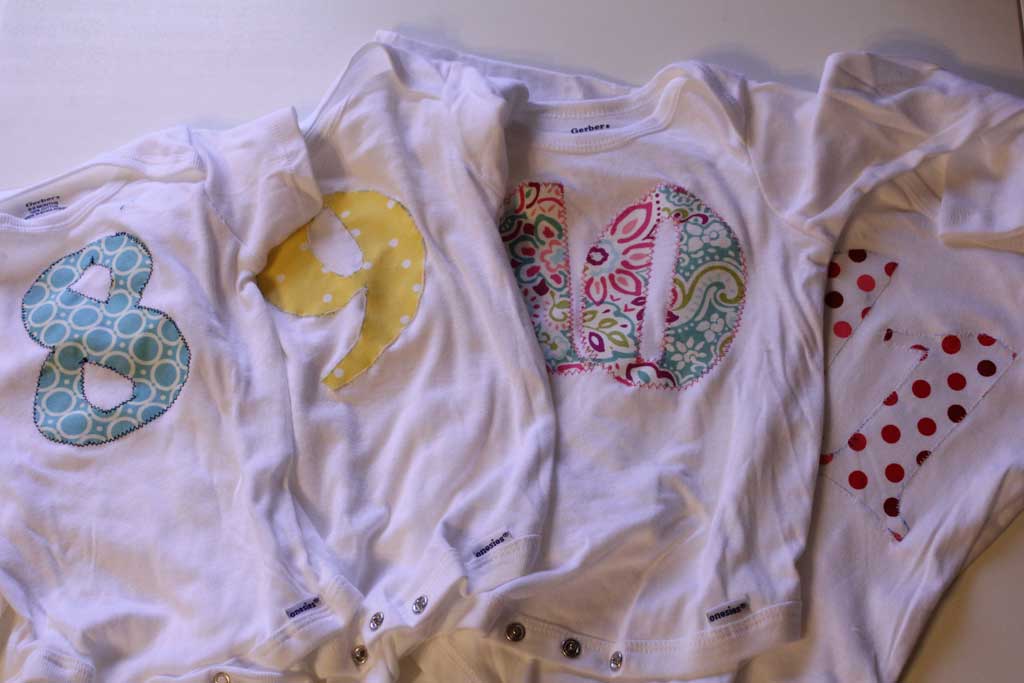
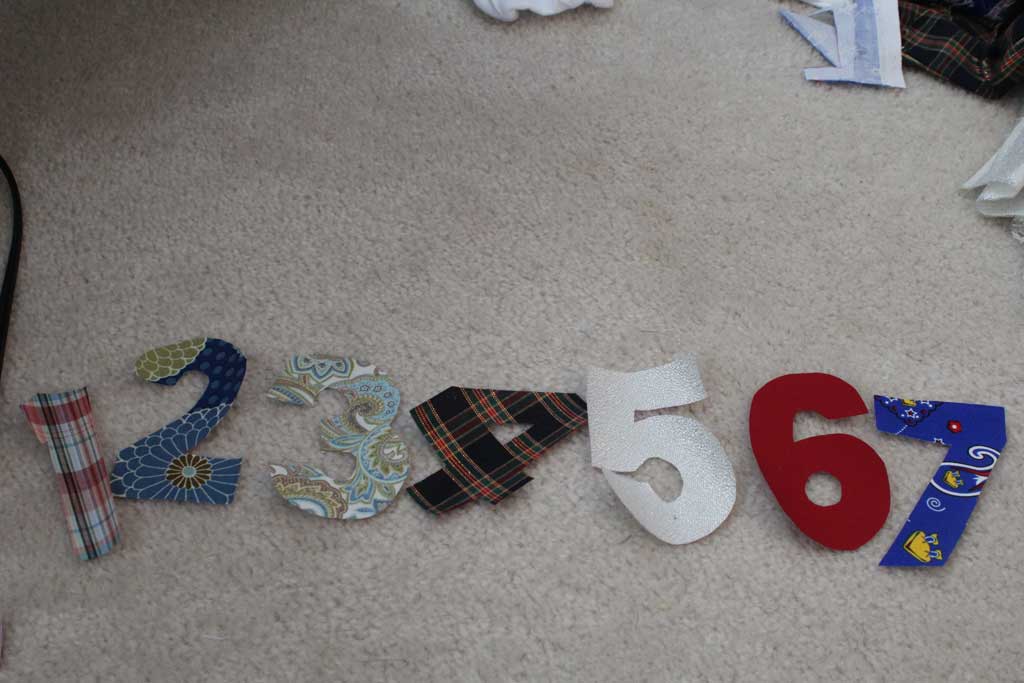
I didn’t know her gender at the time, so I tried to pick fairly gender neutral colors (btw it is very hard to find boy-ish fabrics).  I mostly used what I had on hand, but tried to match the fabrics up with the month–so I picked a black/red/green plaid for Christmas, a white/silvery one for January and a KU fabric for March (which sadly didn’t give us any luck!!).

onesie4


To make this project you’ll need fabric, wonder-under fusible web, thread, onesies for each age, and a sewing machine.

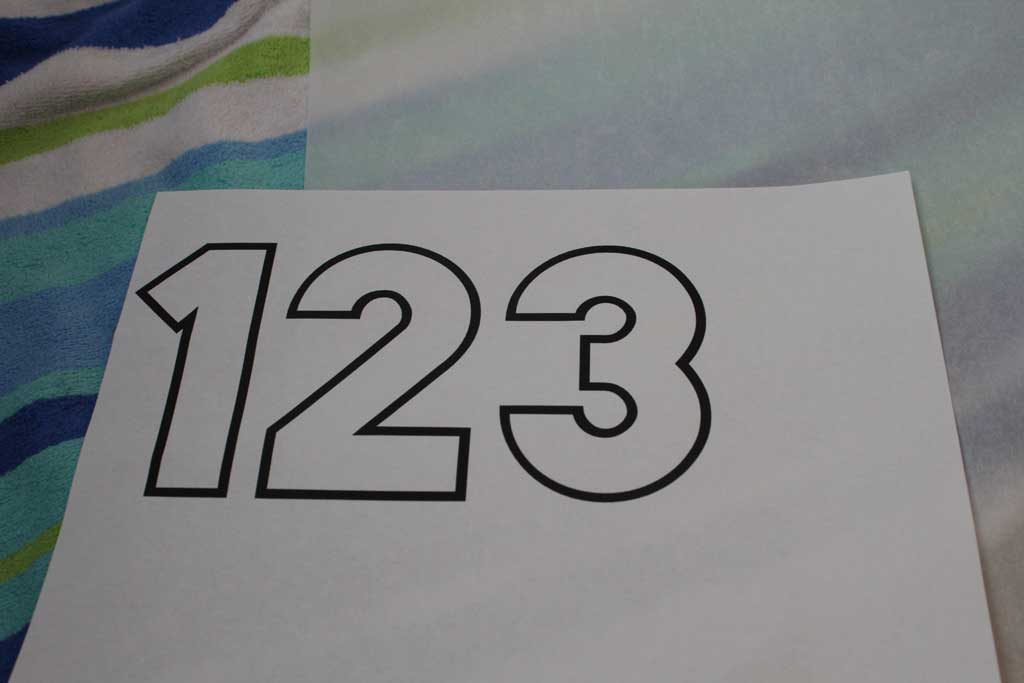
You can either freehand your numbers, or you can print them off and trace them onto the wonder under.  I’m not so good at free handing so I printed off some numbers on my computer in the size I wanted.

onesie6

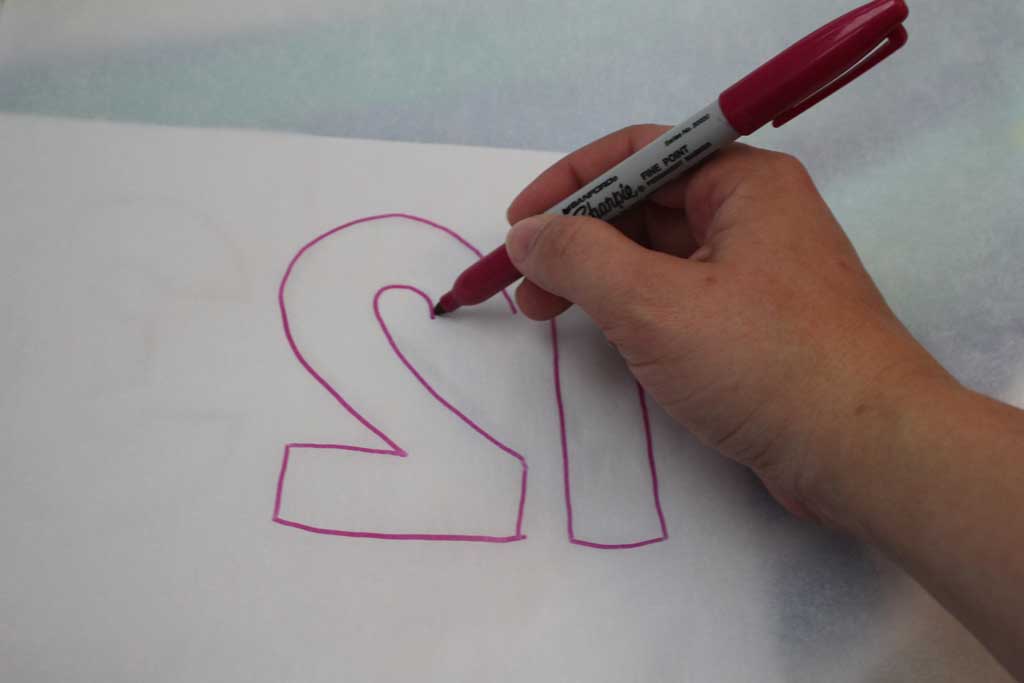
Be sure to trace it backwards on the paper side of the wonder under so that when you iron it onto the wrong side of the fabric it will then be right side up.

onesie2

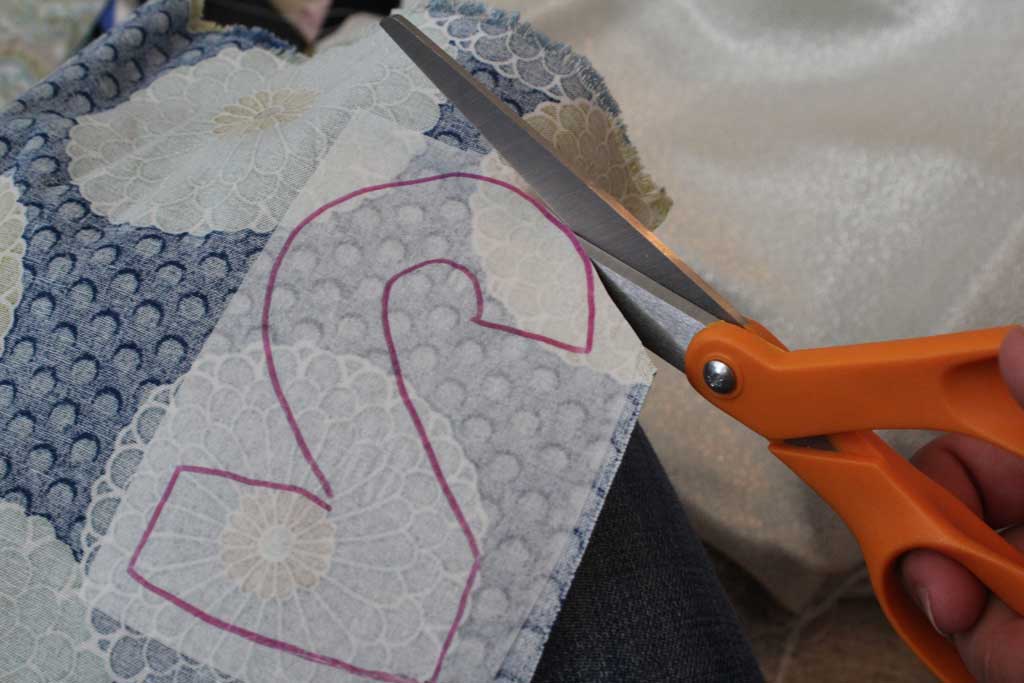
Iron it onto the wrong side of your fabric, then cut your shape.

onesie1

onesie5 Once you have that, iron it onto your fabric, following the instructions for your fusible web. Then using a zigzag stitch, trace around your number on the onesie. I’ll use this opportunity to explain that I am NOT an expert at applique-ing.  My onesies are anything but perfect. But I did learn a few things:

  1. GO SLOW.  It is much easier to be accurate when you are stitching very slowly.
  2. Related to the first one, but slightly different: don’t be afraid to go stitch by stitch. Using the wheel of your sewing machine, sometimes it is easiest at tricky parts to go stitch by stitch.
  3. At angles or turns, leave your needle down but pick up your presser foot to realign the onesie.
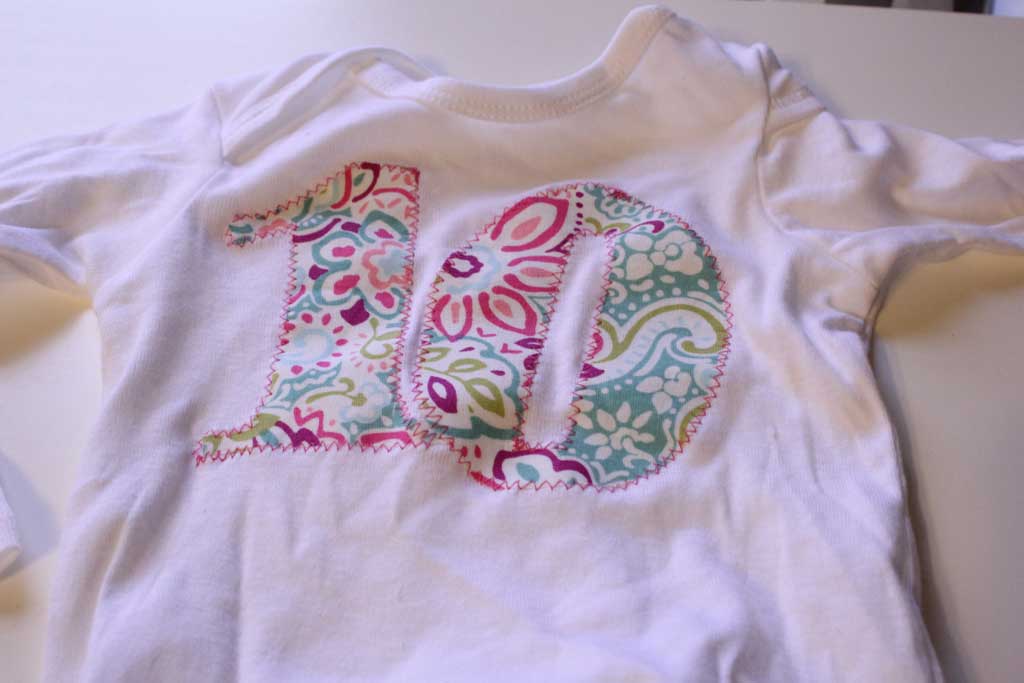
  4. Using a longer width (the Vs of the zig zag are deeper) gives you more grace at being inaccurate, if I had to start over, I would use the same stitch I used for month 10 on all of them:  onesie8 Even though I wasn’t 100% accurate, the stitch is on the fabric and the onesie for almost all of the way around, making it look more professional.
  5. Trace your number onto the paper, not the wonder under.  In the 7 months between making the first 7 and the last 4, I forgot this fact, and my #9 has a bit of blue ink bleed from when I ironed on the fabric.  So going about this again, I wouldn’t do that.  onesie7

And that’s how it is done! I didn’t do a 12 month one because I figured her mom would want to do something different for her first birthday, but I’ll probably think of some fun home-made gift to make my only niece for her first birthday… and you know me, I’ll share it here of course!

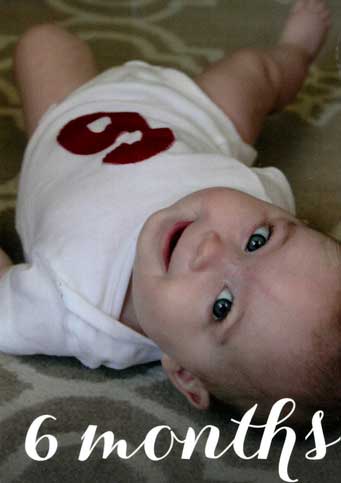
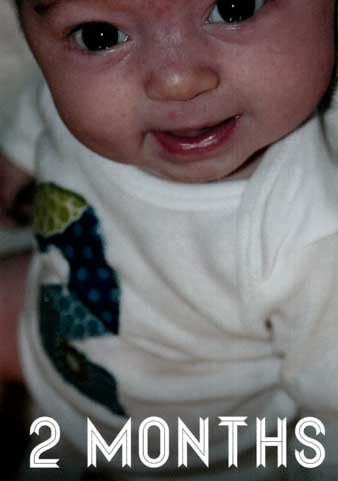
The best part of this whole project? Her mom has been sending my whole family adorable monthly photos of my niece that she has printed from inked.com Here she is sporting her 2 month and 6 month onesies:

onesie11

Isn’t she precious?? I’m kinda in love.

onesie10

And I’m mailing these last four today!

onesie9

onesie3


Project ADD

Do you ever feel in life like you have about 15 million projects started and nothing to show for it?!

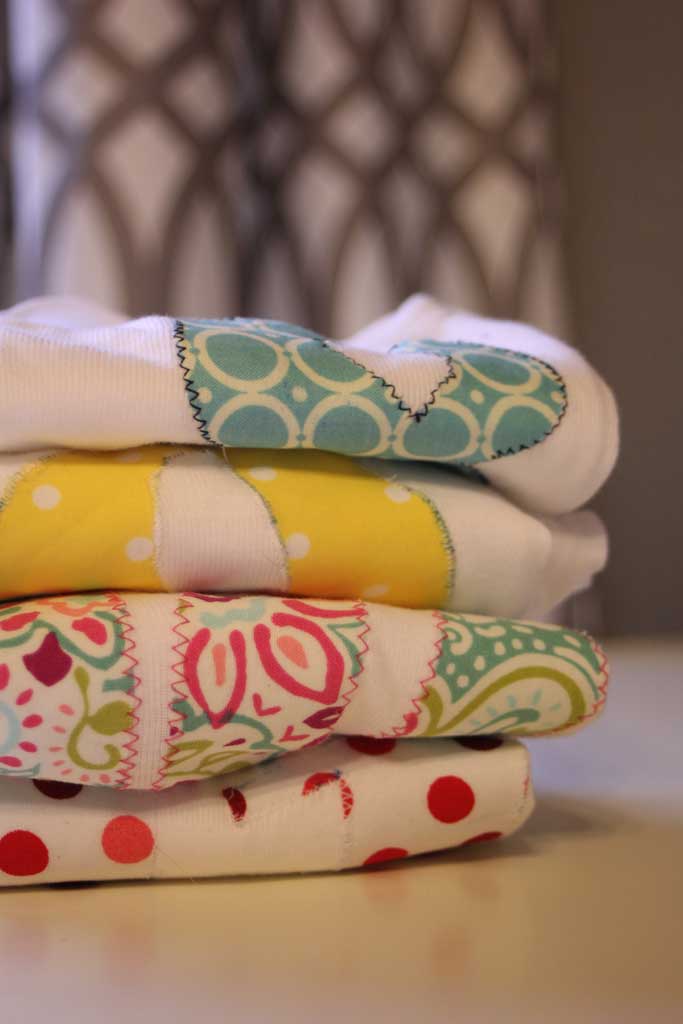
I’m in that phase right now.  I have been swamped at work this spring, and its all great and exciting stuff, but quite time consuming! And on the home front I’ve been making burp cloths like crazy, finishing up a project for my niece (that i’ll post about tomorrow), I’ve started planting some spring flowers, and i’m about halfway done with the construction of an awesome info desk for the church where my husband works.

I shared a sneak peak on my instagram feed this weekend… and I’m excited to get it finished up this weekend.

Meanwhile I’m going to keep chipping away at all my projects and hopefully I’ll have more fun stuff to show you in the near future!

I also shared on Instagram a new key rack we bought and hung from Young House Love‘s new Target Collection.

I’m actually stunned by how much that little key rack makes me feel like that area is more ‘finished’.  Plus I’ve spent less time rummaging around in the bottom of my purse looking for my keys.  SCORE!