Living Room Switcheroo

WHOA guys… I’ve been a little MIA lately, but I promise it hasn’t been because I haven’t done any projects lately! In fact quite the opposite! But between finishing up quite a few projects at home and work being crazy busy, I haven’t been able to keep you guys up to date! But I promise that’s going to change this week, get ready for a bunch of update posts!

This weekend the husband and I celebrated our one year wedding anniversary. (If you are nosy like me and want to see all the posts about our wedding, go here) And if you know me, you won’t be surprised to learn that we celebrated by doing a few major house projects!! (We also went to a fancy dinner, so have no fear… I wasn’t a slave driver all weekend).  I decided I wanted to get rid of the beige in our living room and hallway.  I’d been searching high and low for just the perfect gray color when I read Young House Love’s post about their show house and the master bedroom had the perfect color gray that I had been looking for. It is Benjamin Moore’s Stonington Gray.

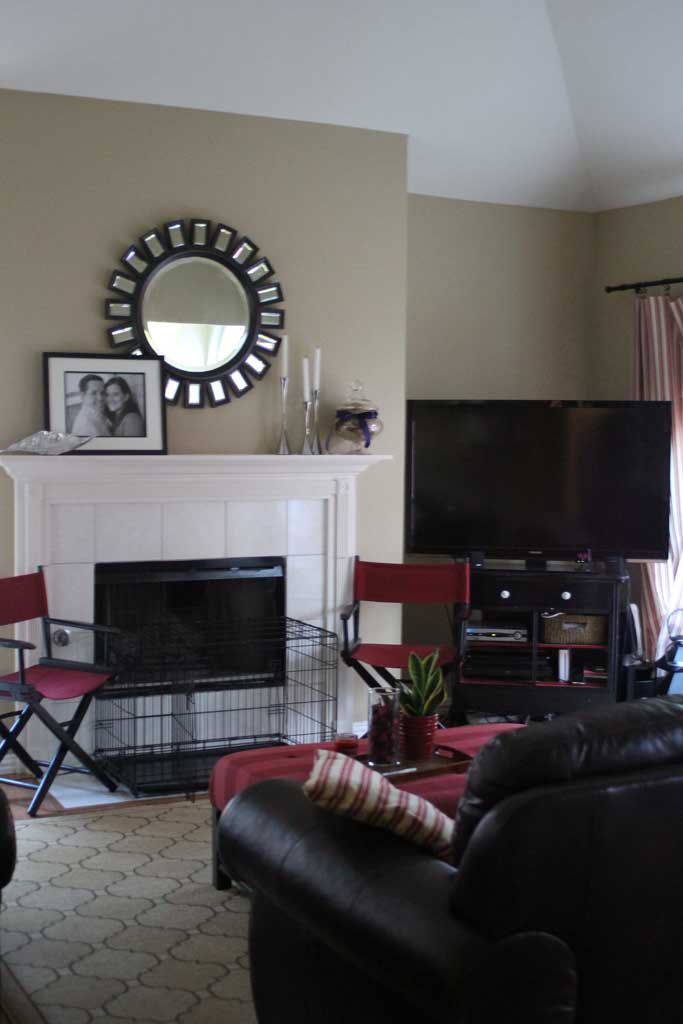
The husband and I tested it out (in several LARGE swatches across our living room walls) and the slightly darker color on the same little test page.  And just to show that I have NO SHAME, I did this right before we hosted our weekly small group at our house.  Meh, they didn’t mind.  Here’s where we left our little living room:

mirror12


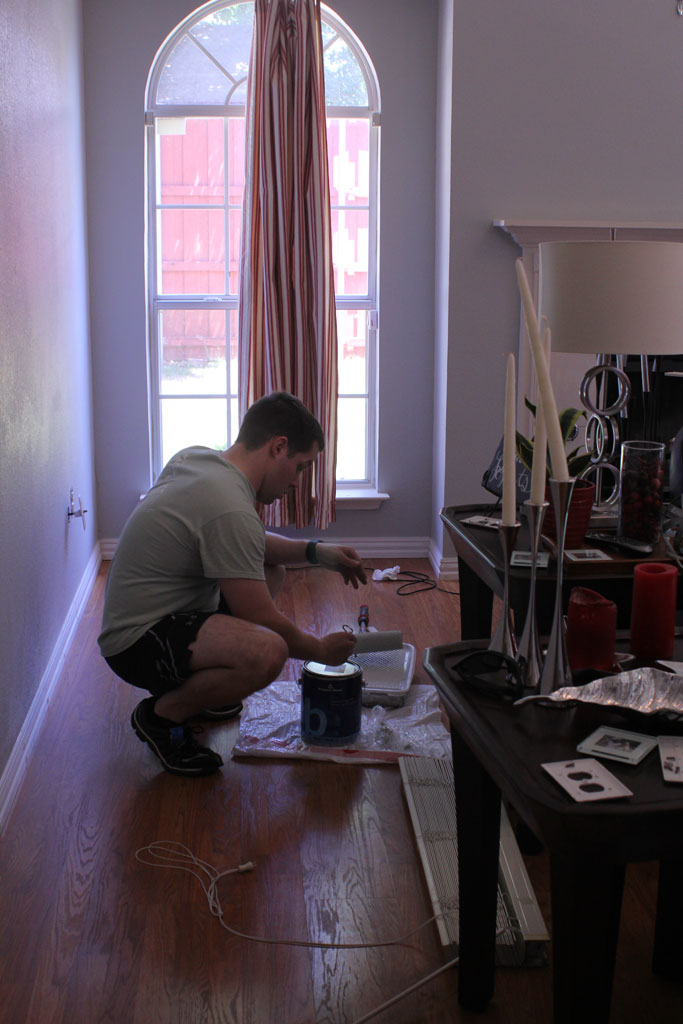
So we took all the things off the walls, rolled up the rug and moved the furniture to the middle of the room, and we were ready to paint.  livingroomgray6
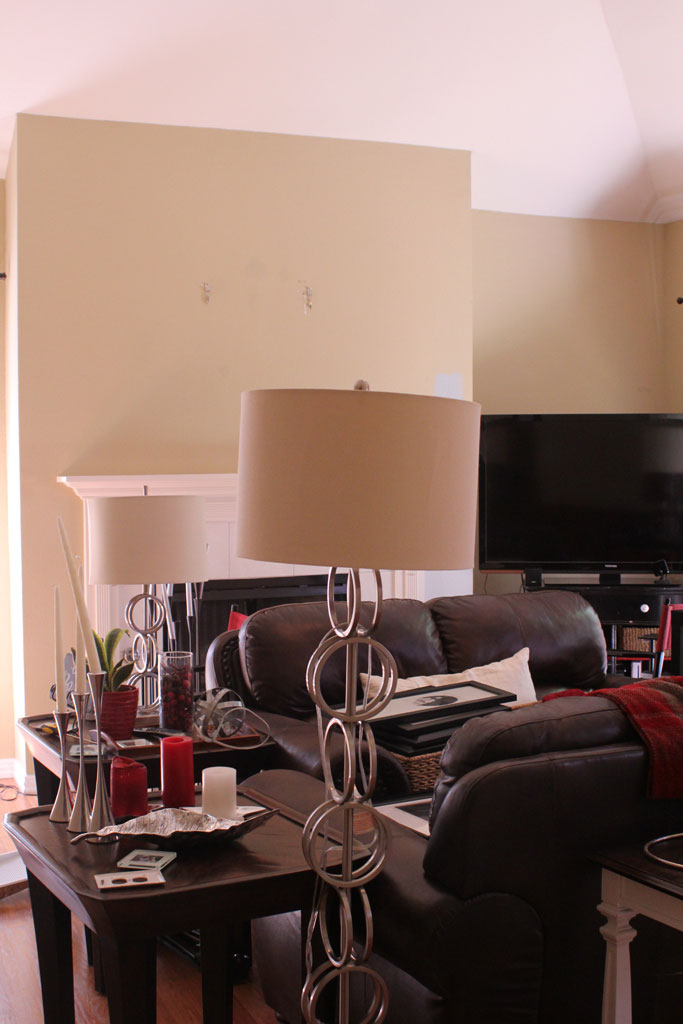
We didn’t bother to tape or cover the floors, I do all the edging freehand and the paint if/when it splatters, pops right off the laminate floors, so its not worth the hassle.

Here is my husband being such a good little minion and helping me paint all day Saturday.

livingroomgray7


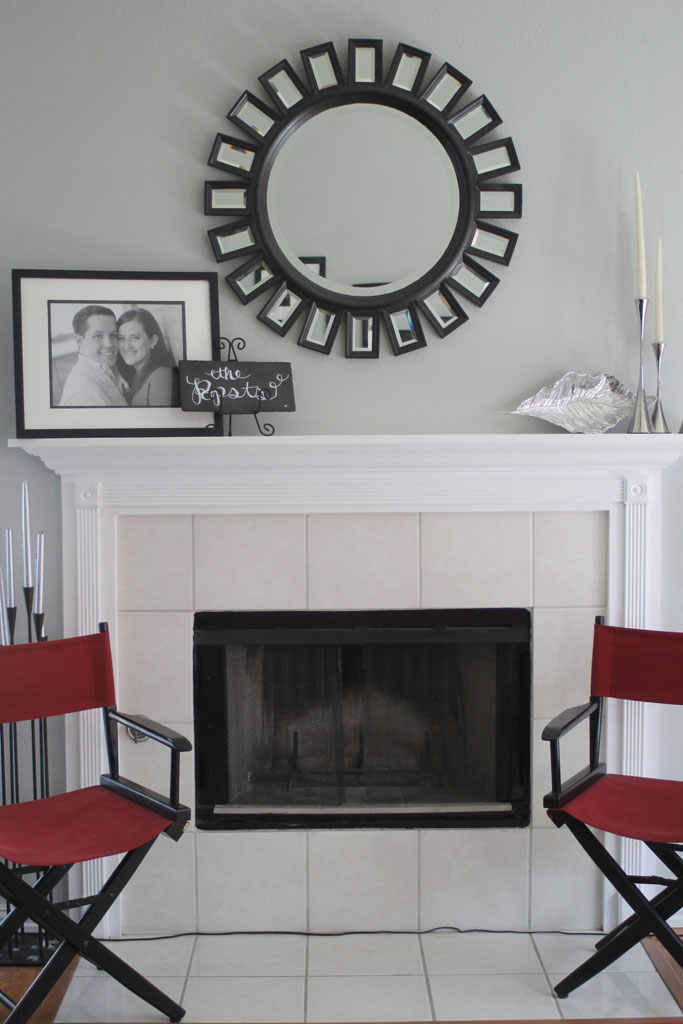
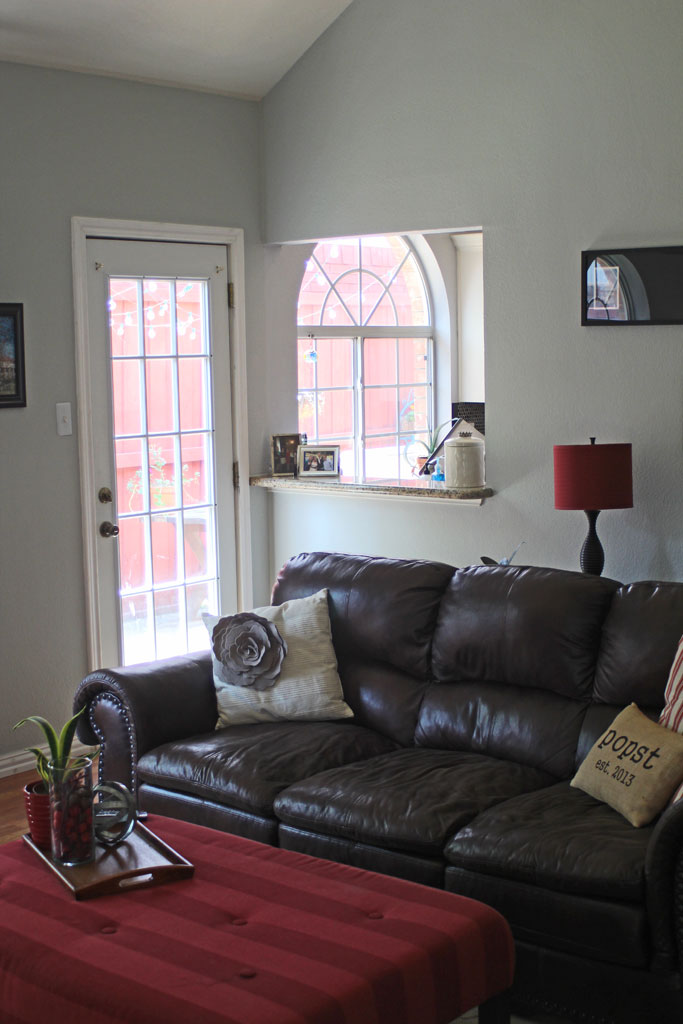
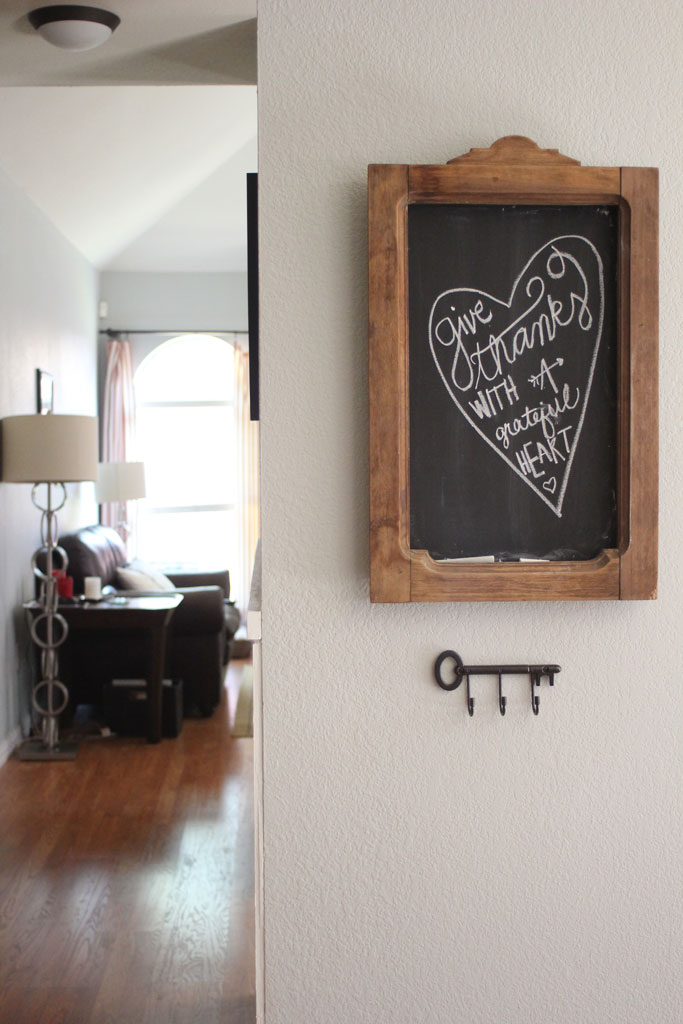
The color is a little off in that picture, but want to see what it looks like now??

livingroomgray4

livingroomgray

livingroomgray2

livingroomgray3


I love how much lighter and brighter it feels in there!! I haven’t decided if I’ll make a few more tweaks to the room without the beige, but I’ll let you know!

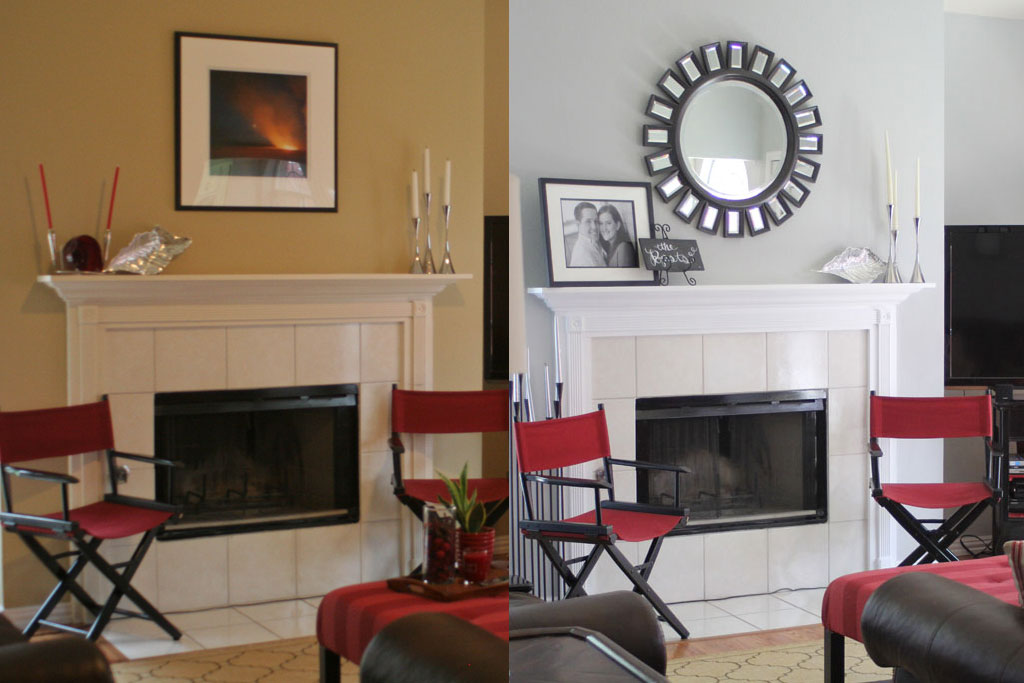
One more before and after:

livingroombeforeandafter


And no your eyes aren’t deceiving you, I also gave the mantle a fresh coat of white paint instead of the beige-y cream flat paint that was on it before. But I’ll post about that later this week!

 

A Tiny Update

I’m popping in here to give you guys a small short update.  I have a larger post later this week on the piece we just finished for my church, but it has a ton of photos and info and I just didn’t get it done this weekend… so I thought I’d share the quick and easy update my husband and I did last weekend that is making a big difference!

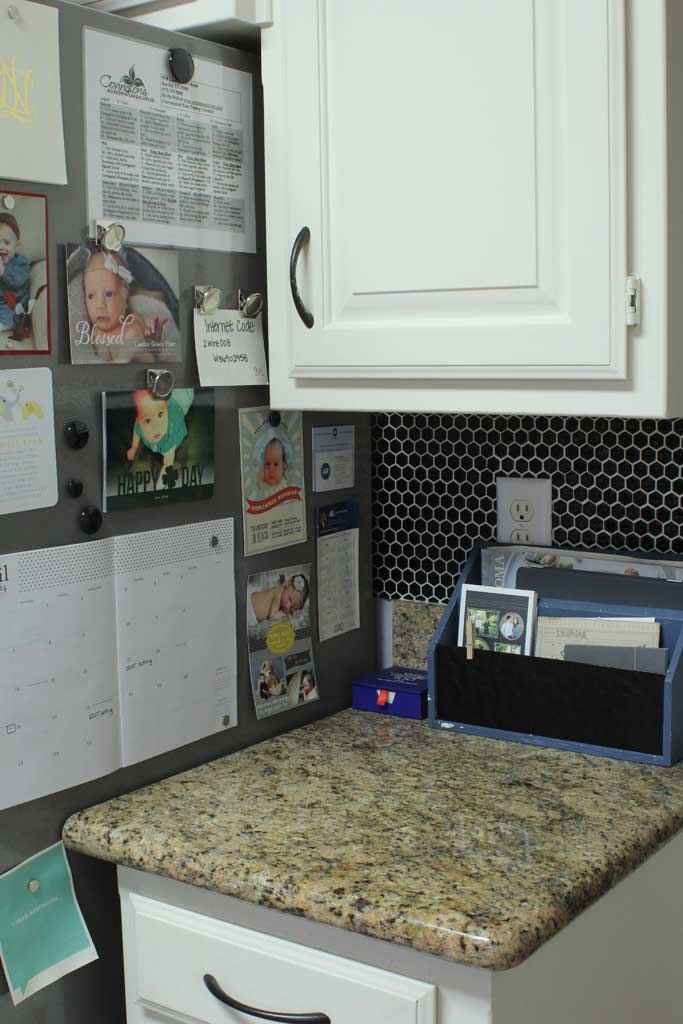
About a year (maybe 2?) ago I saw a USB/Wall Outlet and decided it would be PERFECT for my kitchen/mail area. I can’t remember where I bought mine, but you can buy a similar one here. Anyway, its been one of those projects that just has never surfaced to the top of my list, but last weekend  I stumbled across the box and decided that now was the time to switch out the outlet.  Last week I showed you guys our mini-mail/command center on our kitchen counter. 

junkdrawer2

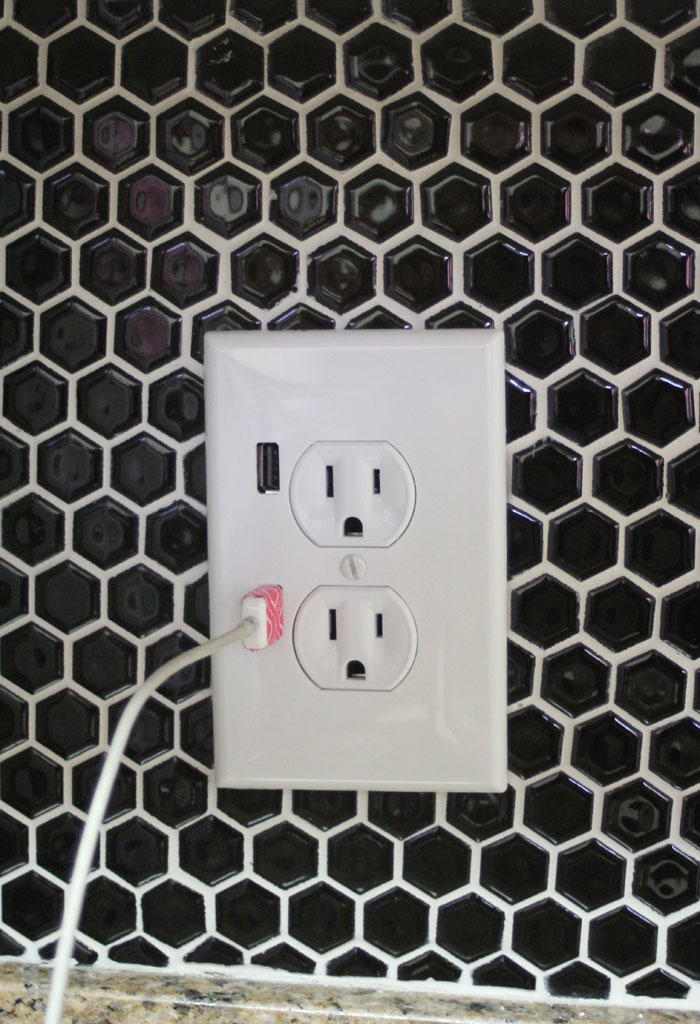
Well now, that tiny little outlet looks like this:

outlet

And I don’t have to go scrambling around to find one of those little square adapter things.  BRILLIANT! I would give you instructions but I know ABSOLUTELY nothing about replacing outlets, I just followed the instructions on the sheet of paper that came with the outlet.  The basic gist of it is: pay attention when you remove the first outlet and put EVERYTHING BACK WHERE IT BELONGS. OH… and remember to turn of the breaker for that outlet before doing anything.  I like to do these during the day so that I can turn off the power to the whole house because it makes me feel safer.

Safety side note: for my job I had to attend an OSHA 10 Hour Safety course, which is really an OSHA (Let’s show you pictures of every injury that could happen on a construction site) Safety Course. So I don’t play around with safety.  Neither should you!

And just in case you guys are as mesmerized by how fast vegetables grow as I am… here is my veggie garden right now:

garden14

Check out how much they have grown from just last week!


Fabric Organization

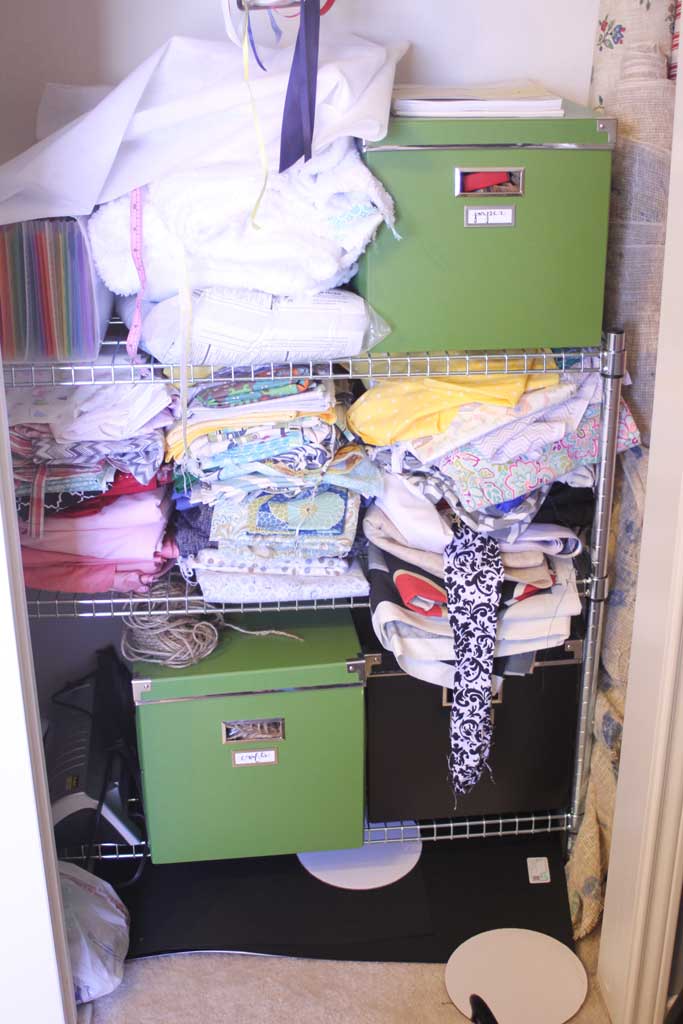
I’m a bit of a fabric hoarder.  I mean… I come by it honestly: my grandmother has the same affliction.  But really… its a good problem to have.  It means that whenever I have the itch to sew something, I don’t have to run out to the store to buy anything.  The problem becomes when it goes to storing it. In my office I have a closet where I keep my sewing machine and a few crafty things.  And while the boxes of craft supplies have suited me pretty well, the fabric was getting a BIT out of hand.

fabric1

So I went to my normal source for inspiration and found that LOTS of people on Pinterest were using comic book boards to wrap their fabric around.  So I went to Amazon, found these and ordered them. (You should have seen the look on my husband’s face when he opened THAT amazon package!)

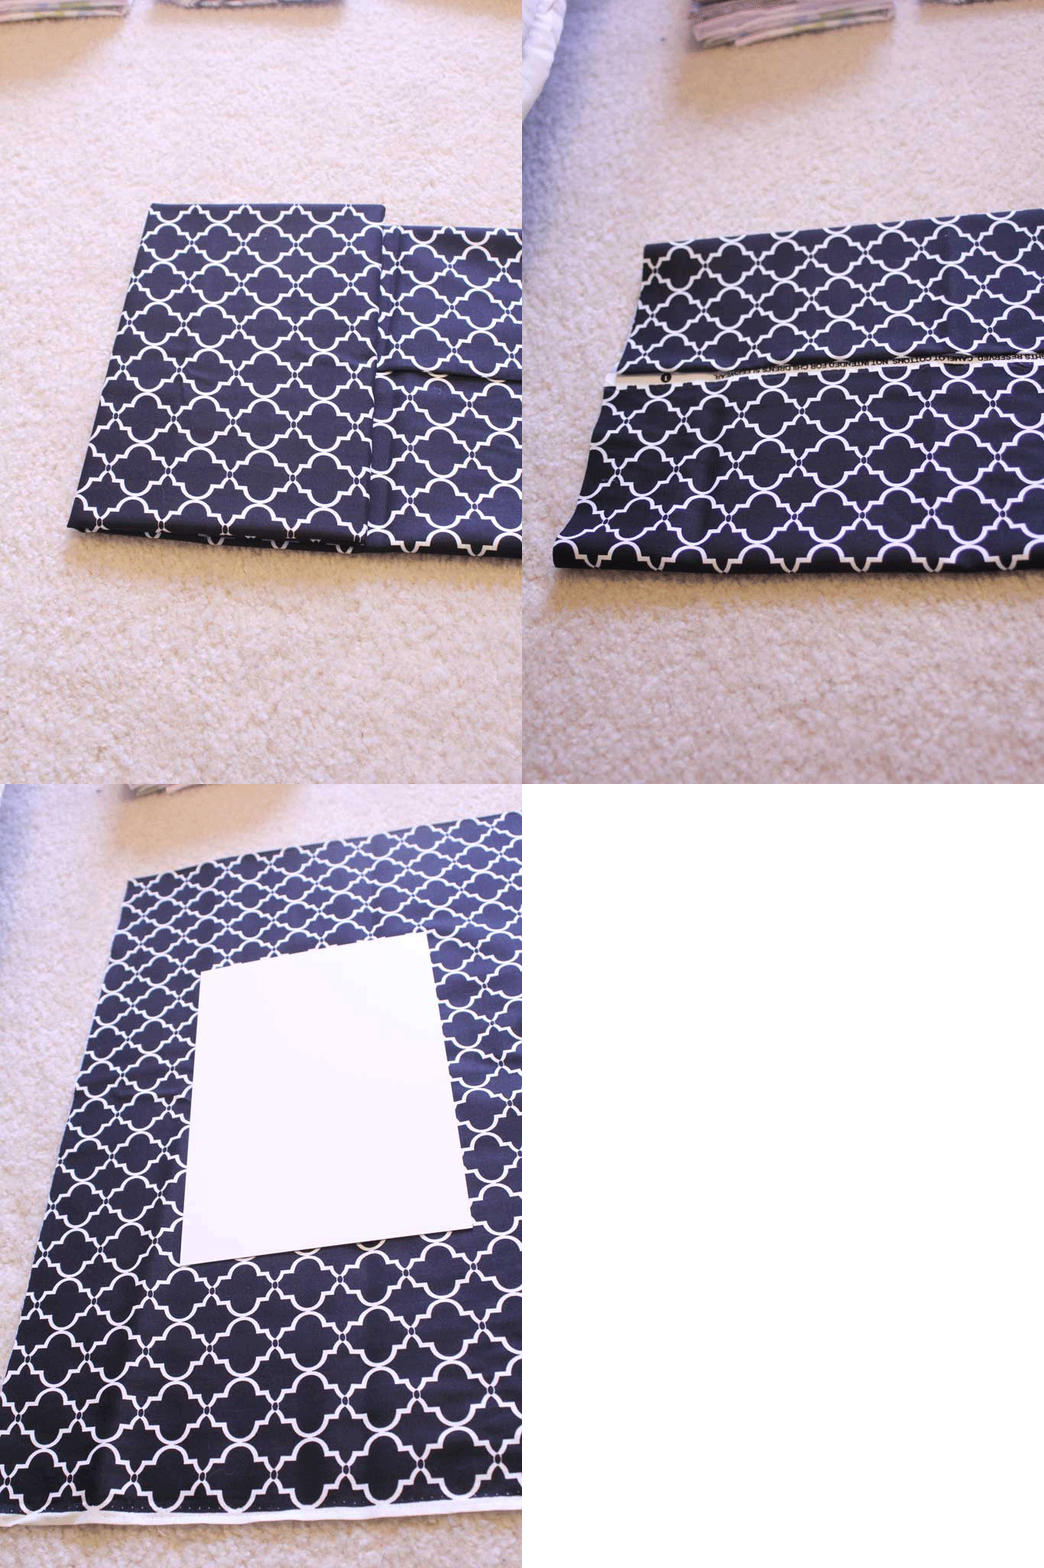
And one quick hour and I wrapped up my fabric onto their little cardboard pieces:

fabricgif


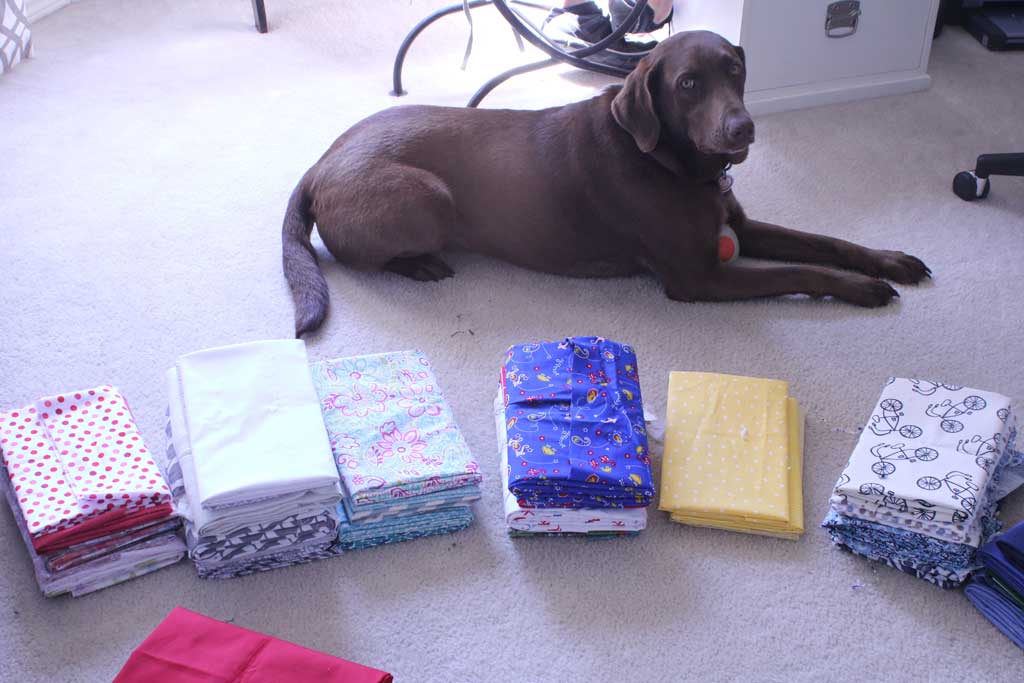
Lexie, of course, decided she needed to supervise.

fabric2


And when all was said and done it looked MUCH improved from before. I added a few Elfa dividers that I had laying around.  They don’t fit perfectly on my IKEA shelf, but they helped keep things somewhat upright and organized.

fabric


Now I’ll have to work on some more sewing projects!