October?

I feel like I have started just about every post this year apologizing that I have been busy and time got away from me so I haven’t posted lately! And today is really no different. I think it has just been one of those years for me! And I hope that things will calm down for me soon… but all evidence is to the contrary! But in the meantime, I’ve been working on a few projects I’ll share with you! Just because I’m busy doesn’t mean I have quit working on projects… it just means they take 3x as long to complete!!

And since it is October, that means Halloween is just around the corner! Halloween is one of my favorite holiday’s of the year (there aren’t many that I don’t love… but I do love Halloween) and I have thrown a Halloween party the last three years, and this year will be no different! I’ve already mailed out invites and am starting to work on a few crafty things to prepare for the party.

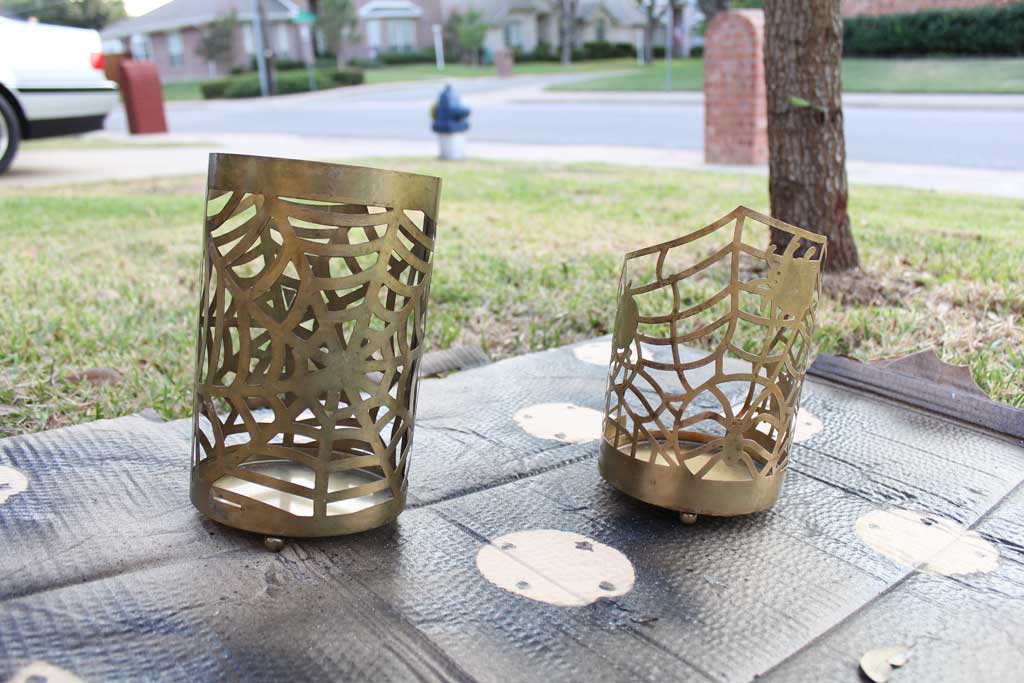
I stopped by TJ Maxx Homegoods a couple weeks ago (I told you projects take longer than they used to…) and found these gold beauties for $4.99 a piece. And bad blogger, I forgot to take a before picture with the glass in them! Scroll down to see what the orangish glass looks like if you want to have the proper mental image in mind.

spiderjars1

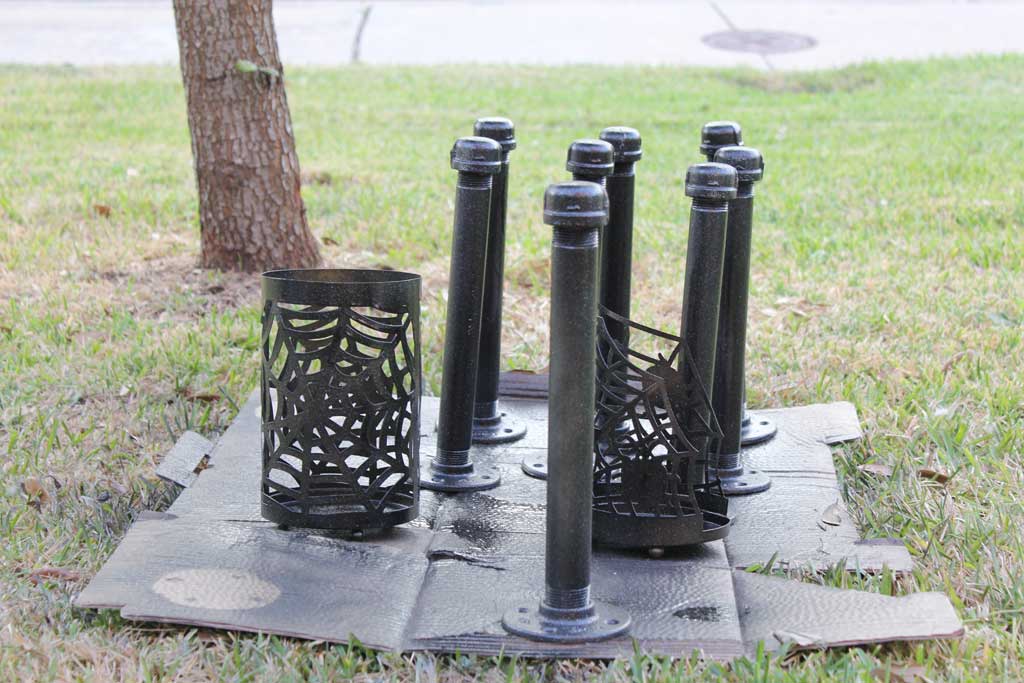
Well gold isn’t really my style, but I knew a quick coat of spray paint and they would be perfect for my front porch for Halloween! So I hauled them out into my front yard (I’m sure my neighbors love me).  And gave them a quick coat of black metallic spray paint, along with what will eventually be the shelves in the husband’s study (which is seriously the longest room transformation EVER).  So just ignore those pieces… and focus on the spiderwebs.

spiderjars2

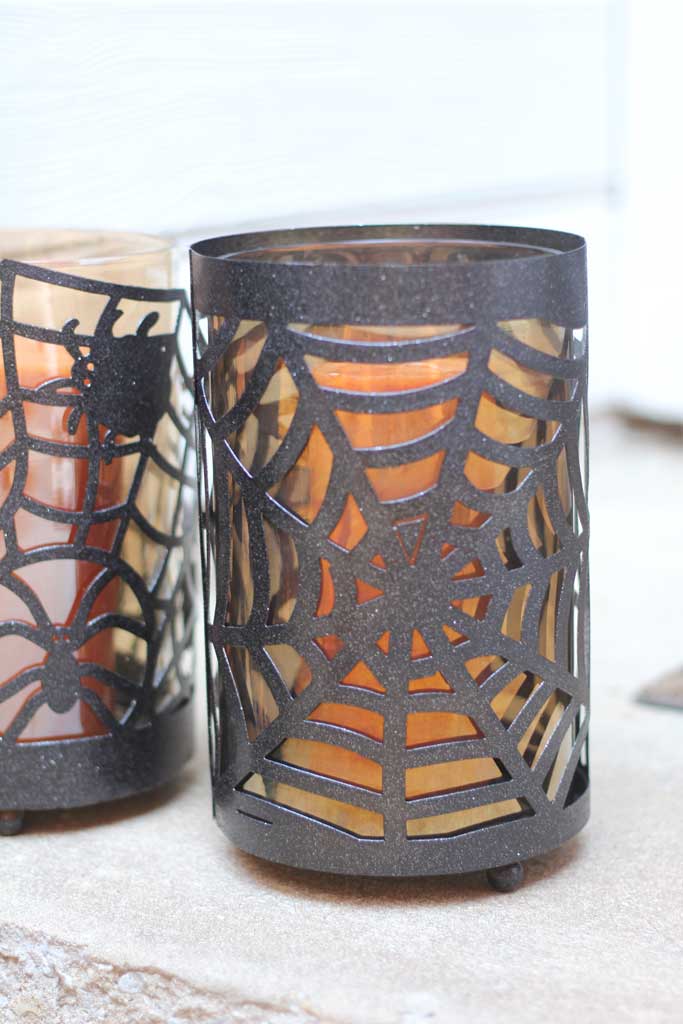
And then I let them dry, replaced the glass, and presto change-o they look perfect on my front porch! And I think they’ll look even better on Halloween all lit up!

spiderjars3


Stay tuned this week to see a few more things I’ve been working on!


Juliette’s First Birthday

So I might be a tad bit biased, but I have the cutest niece on the face of this planet.  Remember when I showed you guys the monthly onesies I made? She is the proud (as proud as an infant can be!) recipient of them!

juliette-first-birthday1

I got the opportunity earlier this month to go visit her for her first birthday party! My brother and sister-in-law have some great friends and definitely know how to put on an awesome party, so it was a great time. The party was complete with an Ice Cream Sandwich Truck which was a huge hit among kids and adults alike!! That and the bubble machine were a recipe for a successful first birthday party.  Well that and balloons:

juliette-first-birthday4

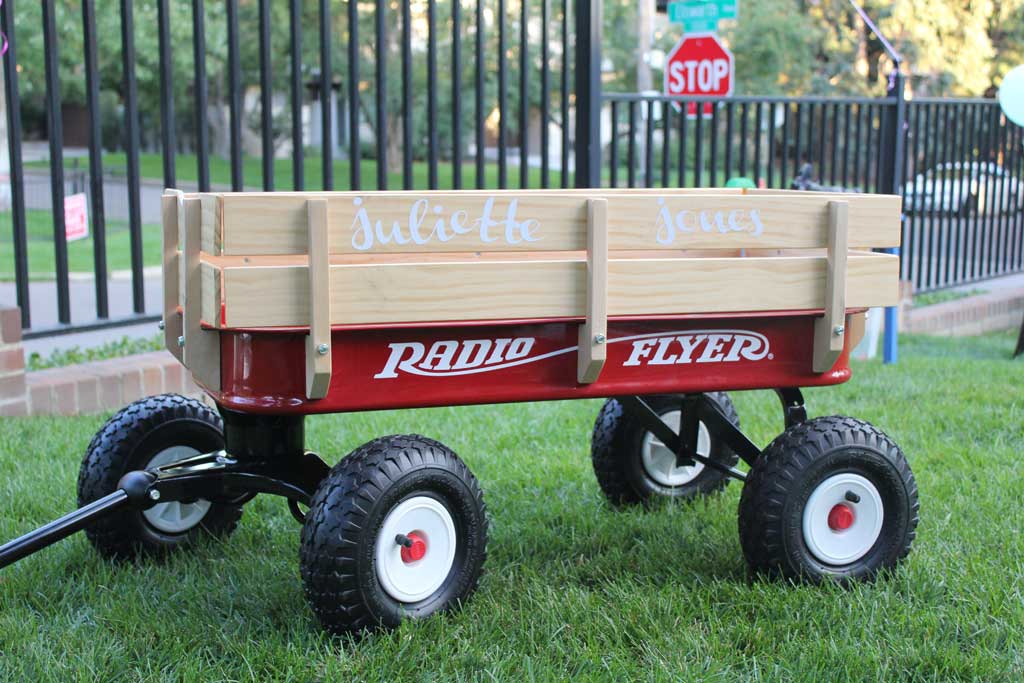
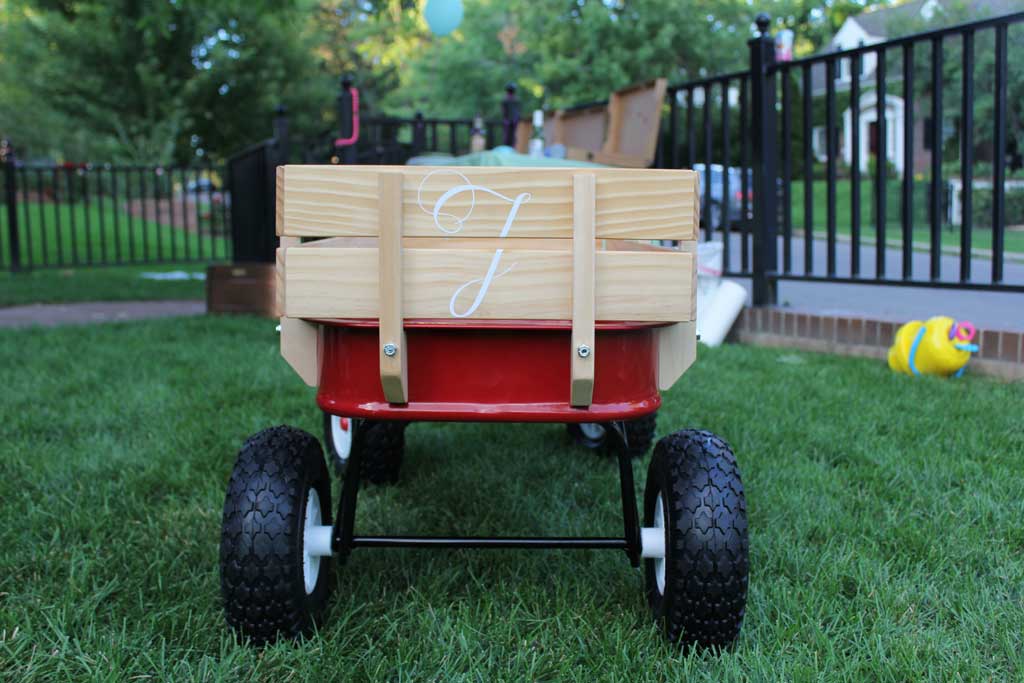
For her gift I decided every little girl needed to ride in style so I got her a Red Flyer Wagon.  And because really what gift is complete without a little personalization? So I put my new Silhouette Machine to good use and added her name in vinyl to the side.

juliette-first-birthday3

And so that all the other kids will know its still her when she leaves them in her dust, I added an initial to the back:

juliette-first-birthday2

I think she’ll look pretty cute going to the park in her new shiny red wagon, don’t you?!  She seems pretty happy about it!

juliette-first-birthday

Styling the Study

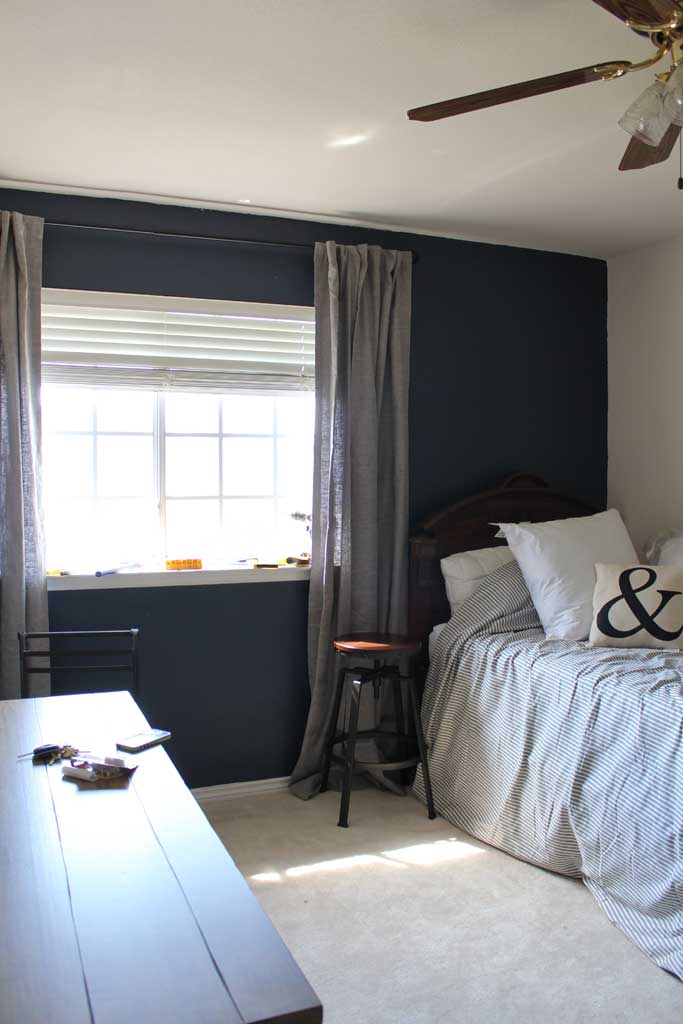
So last I left you guys, we had just painted the study navy and I explained some of the delays behind the fact that I have been working on this room for 2+months and am still nowhere near finished.  The other piece of that was the desk.

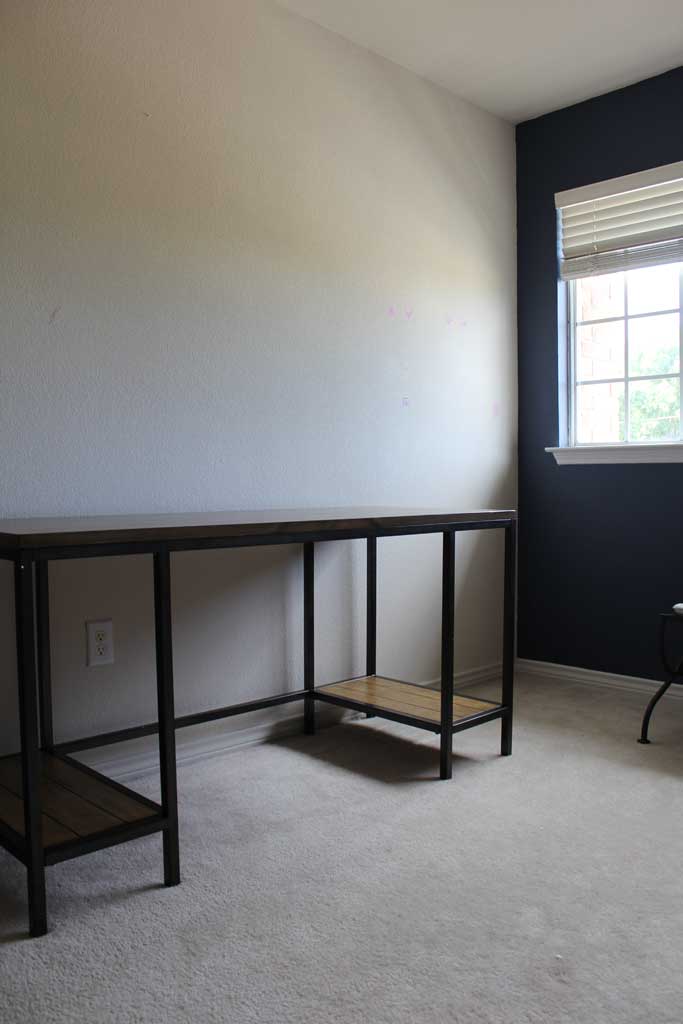
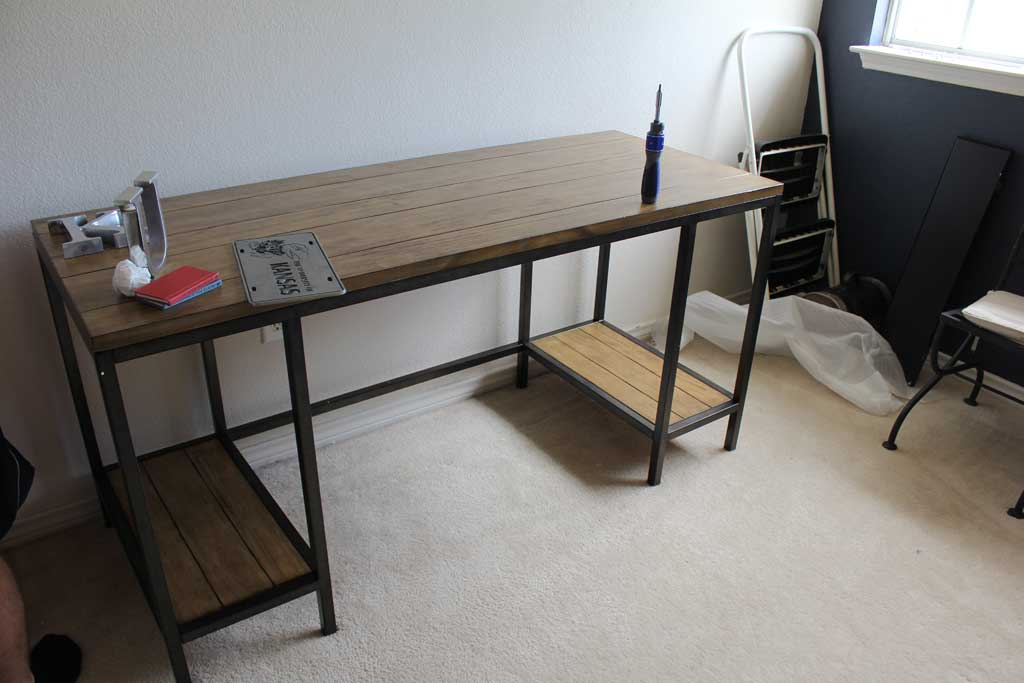
I ordered this desk for my husband for his birthday at the beginning of July. and it arrived last week. It kept getting backordered and delayed, which was frustrating, but since I ended up spending the bulk of that time travelling for work, it all ended up okay.  And the giant box sitting in my foyer was pretty good motivation to get my butt in gear and work on the study when I came home!

So the husband and I spent Saturday putting the desk together and getting a few more accessories for the room!

study5

For $500 it is a great desk for the price! It was super easy to put together, feels solid and sturdy, and doesn’t overwhelm the room.  (This is not a very large room, so wouldn’t be able to accommodate a huge wooden desk and a bed. And since I love the bed so much (and find it useful to have 2 guestrooms), this was the direction we went.

study4 We have intentions to hang shelving on either side of the desk, and he has artwork that he had as a kid that he would really like to hang above the desk, but I very much disliked the gold frame it was in, so we are in the process of getting it reframed.  Eventually we will also add a gunsafe in the corner to house my husbands hunting rifles (one of our concessions to his affinity to go shooting and my dislike of having guns in the house).

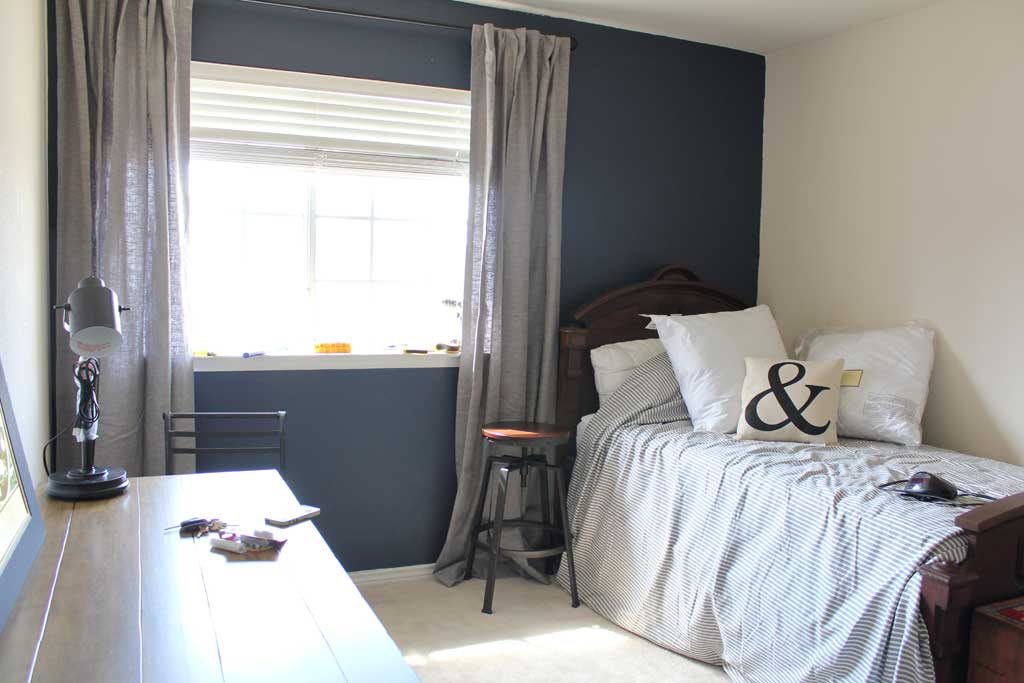
On the other side of the room we added drapes and a side table and an amperstand pillow that somehow leaped into the cart at the last second at Hobby Lobby.  I hate when that happens.  (no… actually I not so secretly love when that happens)

study1

The drapes are these from Pottery Barn. Normally I only buy things at Pottery Barn when I have gift cards from my credit card points because seriously who has the money to pay that much for everything?! But I loved these curtains and they coordinated well with the bedspread. And they were 15% off this weekend, so I bit the bullet and paid for them.  We did hang the rod down about 6 inches because one of the things left on our to do list for this room is to install crown molding, but since I’ve only done that once and it was one of the more frustrating events of my life, I’m not too excited about jumping back onto that wagon. (the experience had my twin brother and I staring at each other saying: we have multiple masters degrees between us… how on earth is this too hard for us?? Well I’m not sure how, but I am sure it is too hard.

study6


Our to do list left for this room is:

  • crown molding
  • tailor the bedspread to fit a twin size
  • find pillow cases for Euro covers
  • frame and hang picture for over desk
  • frame and hang diplomas for blank wall
  • hang bookshelves

Easy peasy! 😉