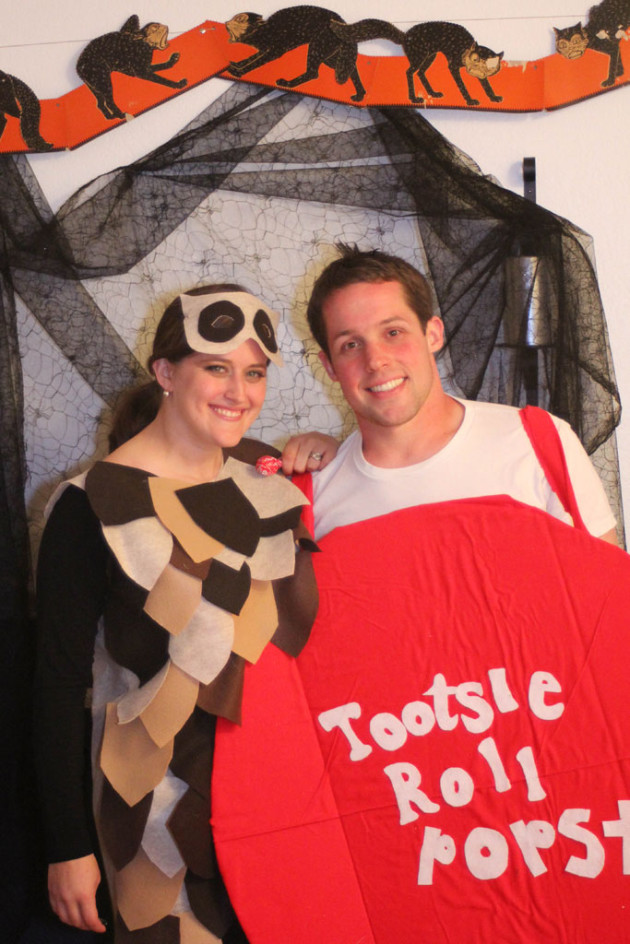
First of all… HAPPY HALLOWEEN! I hope everyone is safe and indulges in a bit of fun imagination and a LOT of candy. For a Halloween Treat I thought I’d show you guys how I made my owl costume. I got this idea because my (new!) last name is Popst and we thought it would be a punny play on words to have my husband dress up as a Tootsie Roll Pop (st) and I had long ago pinned this little cutie and thought it would make a cute adult Halloween costume too! And although it wasn’t an exact replica of the Tootsie Roll Pop Owl it was close enough that I thought it would work.
If you follow through on the Pinterest link above, you will eventually find this tutorial on how to make the costume, but 1. I didn’t have time to sew all those feathers on and 2. the beautiful thing about Halloween Costumes is that they only have to last one night.
Here’s what you need:
- 1 or 2 yards of light colored brown felt (the felt I bought was extra wide, so 1 yard would have done just great)- 1.99/yard
- 12 rectangles of varying colors of brown felt (usually about .25 cents at a fabric store)
- Hot glue gun
- elastic banding- 1.99
Total: $8 dollars!
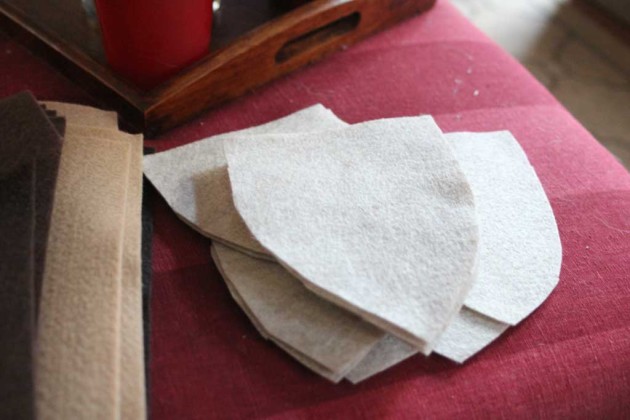
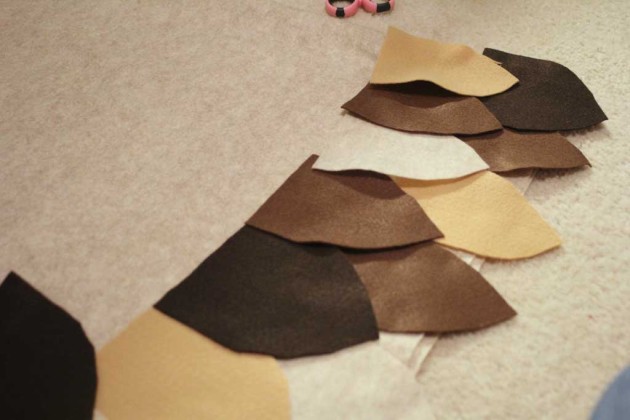
I bought a stack of those rectangles of felt in a few different shades of brown and just freehanded feather-ish shapes and cut them out, I got 4 feathers from each rectangle.
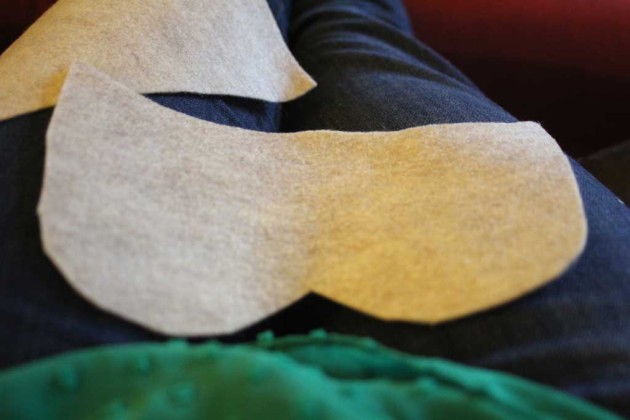
Since this is the tedious part of the project I just cut them out while watching TV. And while I was at it, I cut out a piece for the mask:
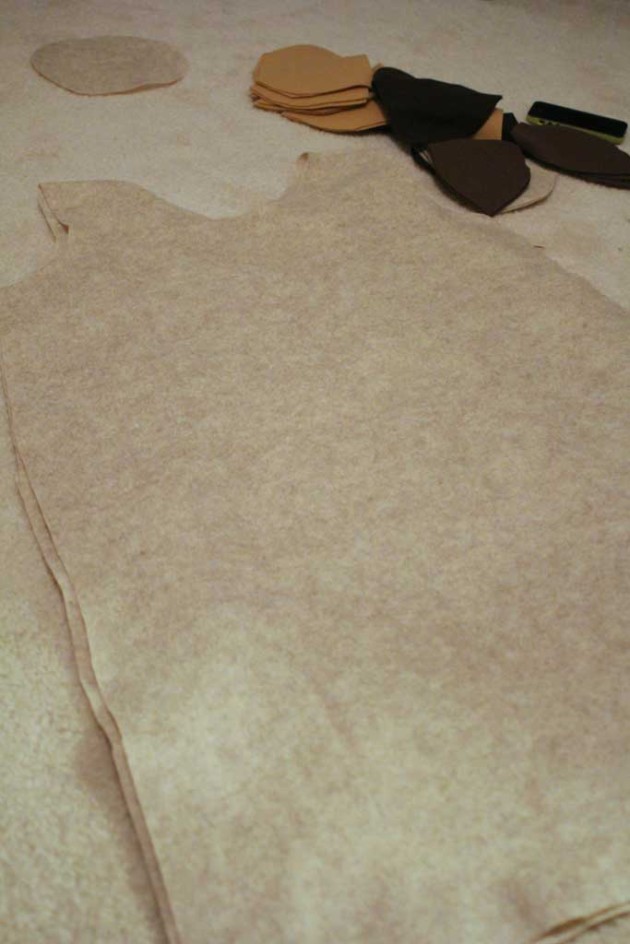
Once that was done, I went immediately upstairs to assemble the project waited until a day before the party to start assembling the costume. For the part to glue it onto, I folded my large piece of felt in half, and traced a simple A-Line dress onto the fabric. I erred on the side of too big so that I would have a little room for error. Don’t forget to cut the hole for your head!
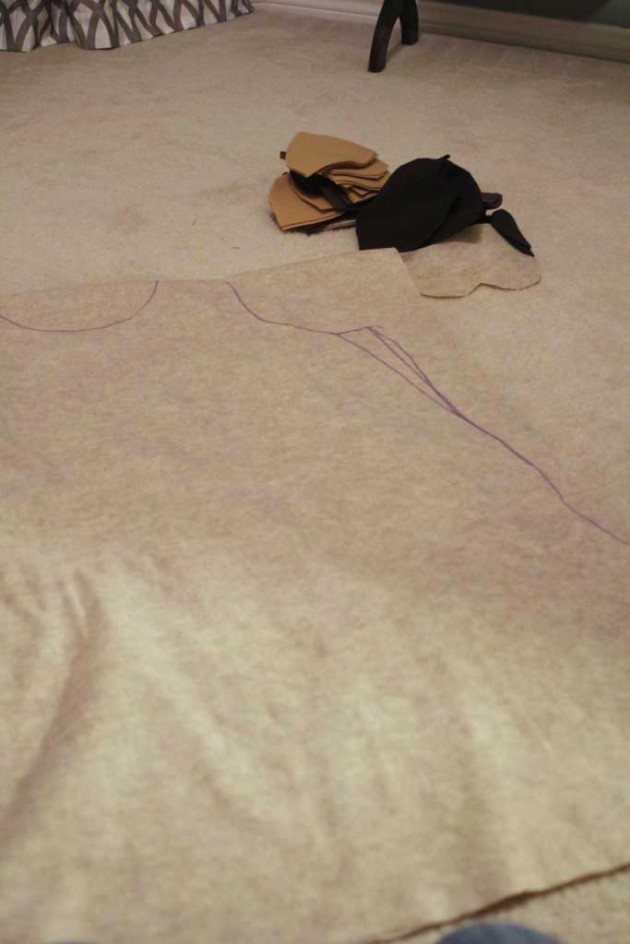
Once I got that cut out, I tried it on and adjusted the width a bit so that it would be a good fit.
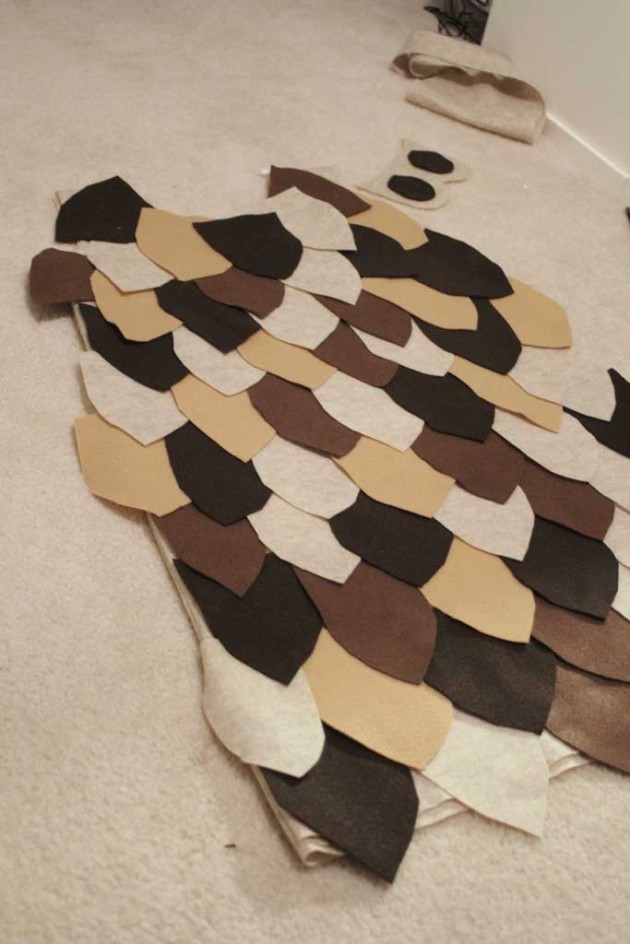
Then I got out my sewing machine and did an EASY single stitch up each side leaving a 1/2 inch seam on each side. Ooops… sorry, bad blogger… I don’t have any picture of that step. But close your eyes and picture a sewing machine with this fabric in it… that’s all you are missing! Now it is time to put your feathers on. I laid them all out to figure out where I wanted which color. I didn’t follow any sort of pattern, I just laid them out and if it looked like there was too much of one color, I switched a few up.
I secured mine using felt glue, but I DO NOT RECOMMEND that method. I should have just used a hot glue gun. The felt glue worked on about 75% of them, but I ended up patching them here and there with hot glue right before the party. No kidding… I had a hot glue gun plugged in on my bathroom counter during the party. Lesson learned. Always trust my handy dandy glue gun. I picked up each row and stacked them to the side so that I could go ahead and glue the bottom row first and go up from there. Pretty soon it was all done!
And I think it looked GREAT!



 Hi, I'm MJ! I'm a DIY kind of girl and this is where I share my projects. I'm taking you along for the ride as I learn how to do woodworking, sew, bake, and renovate!


Speak Your Mind