Women and Tools

So this blog is mostly about my DIY projects with a secondary purpose of documenting my life, and very rarely will I share a rant or a whole post about my feelings… that’s just not my purpose in starting a blog, but yesterday I was reading my Glamour magazine over lunch.  It is a magazine I have subscribed to for several years and I like the balance it strikes in covering both real women who are strong and independent as well as the fashion, makeup and ‘girly’ side of our lives.  This is a balance I try (sometimes more successfully than others) in my life.

I am a woman who loves power tools and manicures. I like when my husband buys me flowers, and when I can fix a running toilet.  I wear both stilettos and work boots; make up and safety glasses.  These things are all me, and in my life one doesn’t contradict the other.  I am unbelievably proud of myself for figuring out how to build a table from scratch, and equally proud of myself when I learned how to untangle the thread from my sewing machine.

But yesterday I read one of their normal monthly ‘columns’ entitled ‘Hey, It’s Okay’.  Its a column I traditionally love, and regularly laugh at and agree with.  Most of they entries finish the Hey, Its Okay… with things like…

  • …to decide that if wearing Uggs is wrong, you don’t want to be right
  • …to shove it in the closet and consider your place cleaned. (all courtesy of Glamour here)

But the first one listed in the October 2013 Magazine was: “… if the only tools you know how to use are an Ikea allen wrench and a flat iron”.  And this got me a little bothered.  That’s really not okay.  Now I know that every woman is different and I definitely don’t expect every woman to own a saw and be able to make their own table from scratch, but I do think every woman (and man for that matter!!) should have a basic understanding of how to use a few tools.  Everyone should be able to change their own tire, hammer a nail in the wall, and other minor home repair. Although I almost NEVER write a letter to the editor (in fact I think this is my first) I wrote a short note to the Glamour editors:


Dear editors,

One of the reason’s I love Glamour and am a subscriber is because it is a magazine that is pushing the boundaries of the stereotypical woman.  I love that you feature women who fight against the glass ceiling and aren’t afraid to venture out of their comfort zone.  So you can imagine my shock when I read the first thing on the list of October’s Hey it’s okay… which read: “if the only tools you know how to use are an Ikea allen wrench and a flatiron.” I’m one of only a few women in the construction industry (we build highways and bridges) and in my personal life I own all the tools, not my husband.  It is MY miter saw and drill in the garage that my husband and brother borrow when they need one, and some of my expertise that helps them accomplish projects.  The virtual world is flooded with talented women who do it themselves and aren’t afraid to wield a power tool or two, even while maintaining their femininity and love of good fashion.  I believe Glamour (and you aren’t the only ones!) does a disservice to young women to tell them that It’s Okay if you don’t know how to hammer a nail into the wall or learn how to tighten a loose screw.  This world desperately needs more women trained in ‘tool-wielding’, male-dominated roles, specifically in engineering and math and science oriented positions.  But even more than that, it is powerful (and way more frugal) to be able to handle the simple tasks of owning a home or apartment on your own… which you most decidedly are not able to do with an Ikea allen wrench and a flatiron.

Sincerely,

MJ

When my brother moved into his house, we had a housewarming party for him.  At the party we were discussing the possibility of building a treehouse in his massive backyard tree. One of the boys quipped… yeah and we can post a sign… no girls allowed.  My brother quickly remarked… well except we would need MJ’s tools to build it. And another added in… Let’s be honest… you’d need MJ to build it.

If you are unable to use any tools, it makes you helpless, constantly relying on others to come bail you out (and if you are constantly calling in the pros, it gets expensive!) Being able to wield a tool or two will get you pretty far in this world (and feels pretty good on your self confidence too!).  If I could teach a lesson to the younger generations it is that you do not have to be helpless. There is power in knowing how, or being willing to try.

I love when my husband does things around the house for me or fixes things, but I also know (from years of being single) that if he isn’t there, I can do it myself.  And if I don’t know how… Google does.


Owl-fully Cute

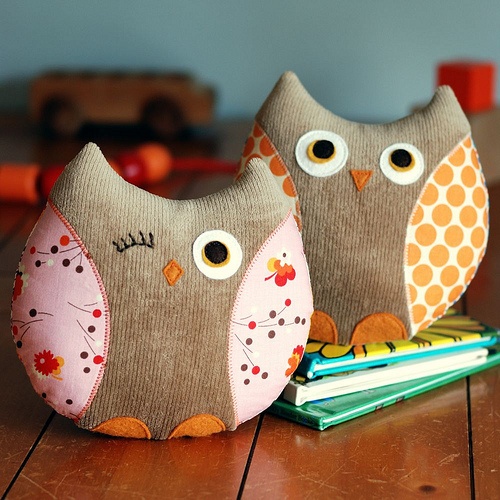
I shared a post last Friday about my favorite baby shower gift and there is something I just really love about making gifts for little kids.  So a few weeks ago a friend had a birthday and I wanted to make something for her and her brand new baby girl, but I was fresh out of ideas.  So I went to every girl’s virtual wish list Pinterest and scoured her boards for something fun to make.  I saw these cute little owls and thought… I can do that! The one I’m about to show you how to make is version 2.0 which I made for my brand new niece.  I made a few upgrades to this one!

This was my inspiration piece:  pinterestowl


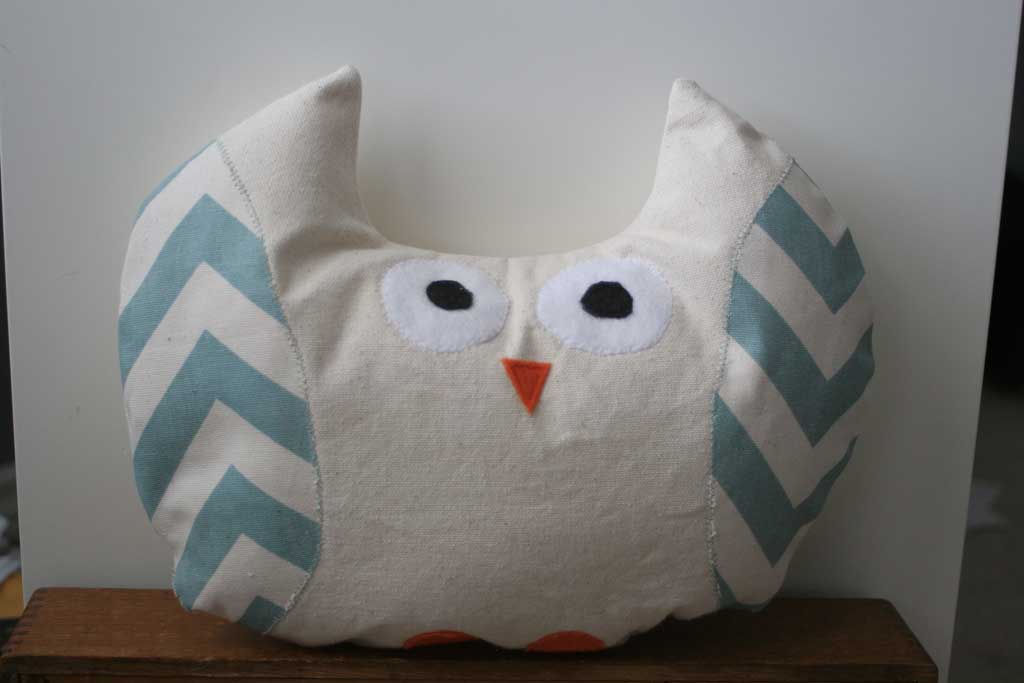
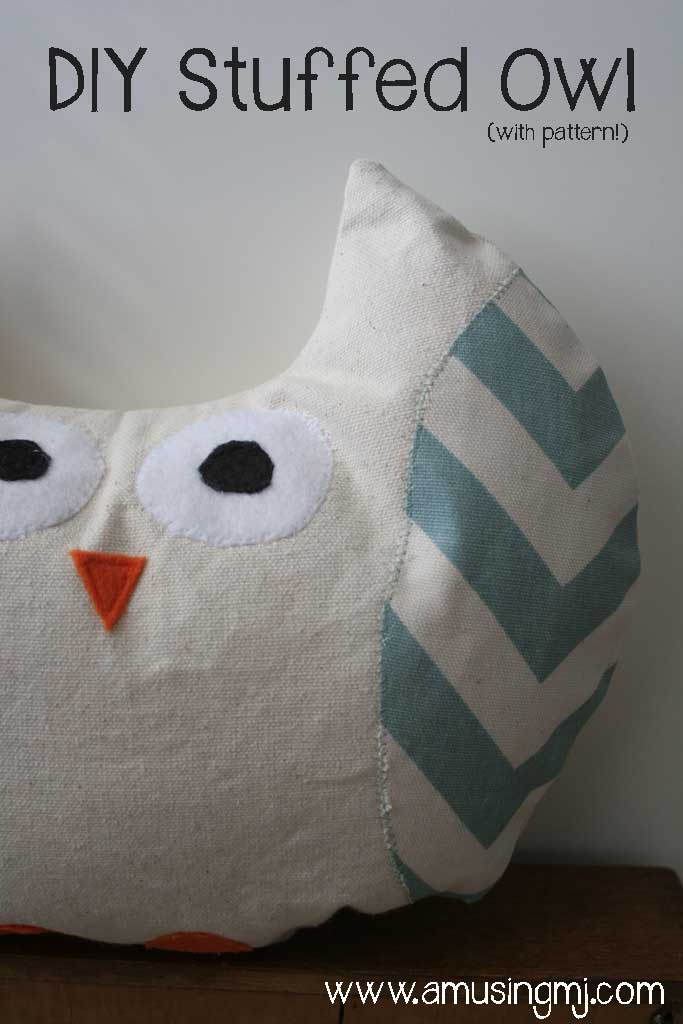
And here is my final result:

owl12

Funny enough, they don’t sell corduroy in Texas in August, so I found a canvas type fabric that I thought would work.  For my pattern I just free-handed half of the owl onto the piece of fabric, but for those of you who want to make this but don’t feel so comfortable doing that, there is a pattern at the end of this post.

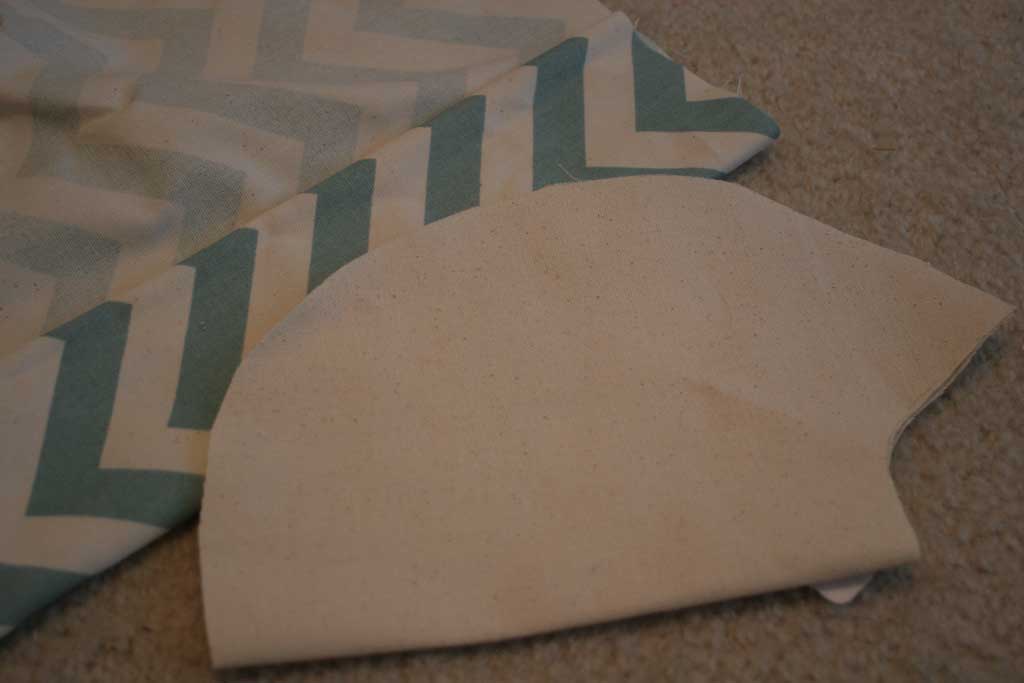
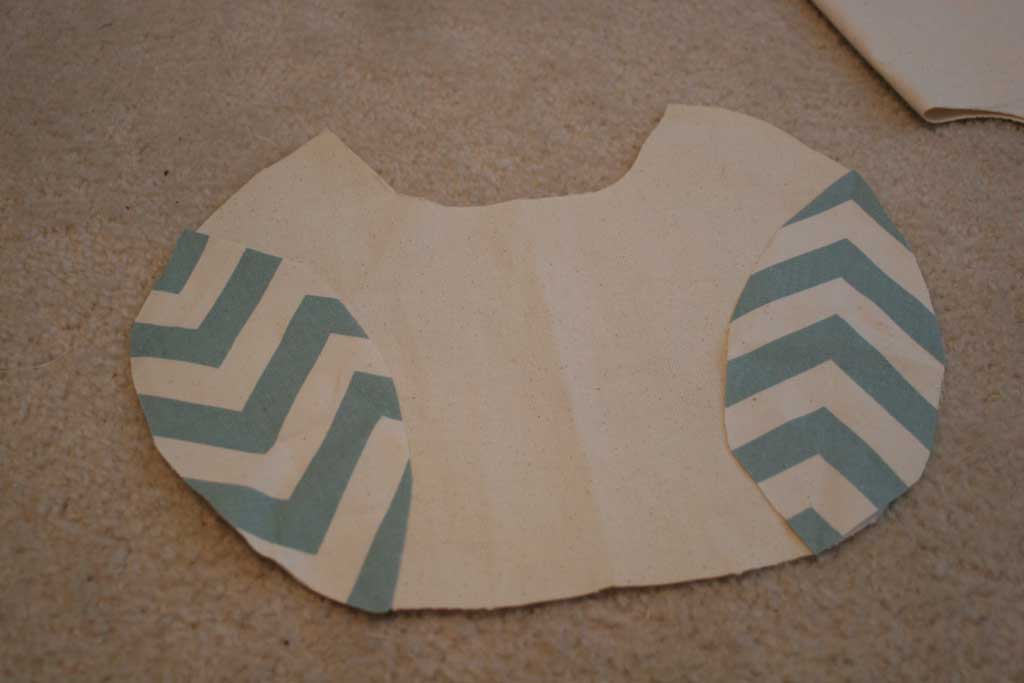
owl4 After that I folded my decorative wing fabric into fourths and traced the same arc as the side of the owl. You’ll want to place the owl on top of the fabric where you will want the top and bottom points of the wing to be.   owl3 Now cut your fabric in that arc, since you folded your fabric in fourths, when you cut it out you should have two wing pieces like in the picture below.  (Again… if you are using the same size as me, you can just trace the pieces on the pattern at the end of this post, but if you want to make them smaller or larger, here is how to make your own pattern).

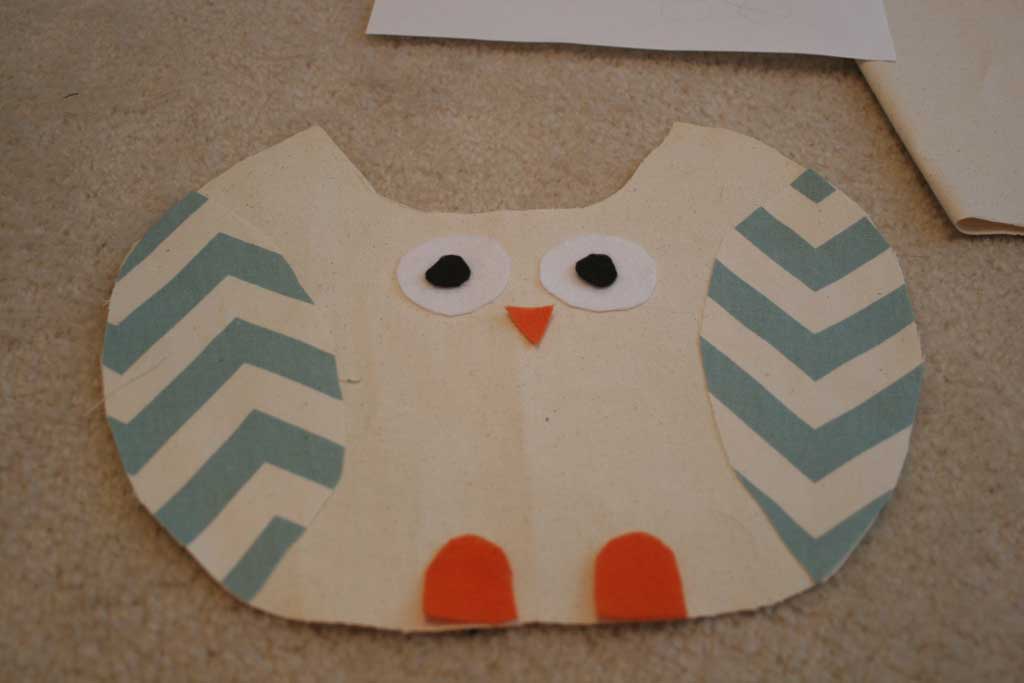
owl2 Now it is time to cut out the eyes, feet and beak.  I used orange, black and white felt for these parts and just eyeballed the sizes.

owl5

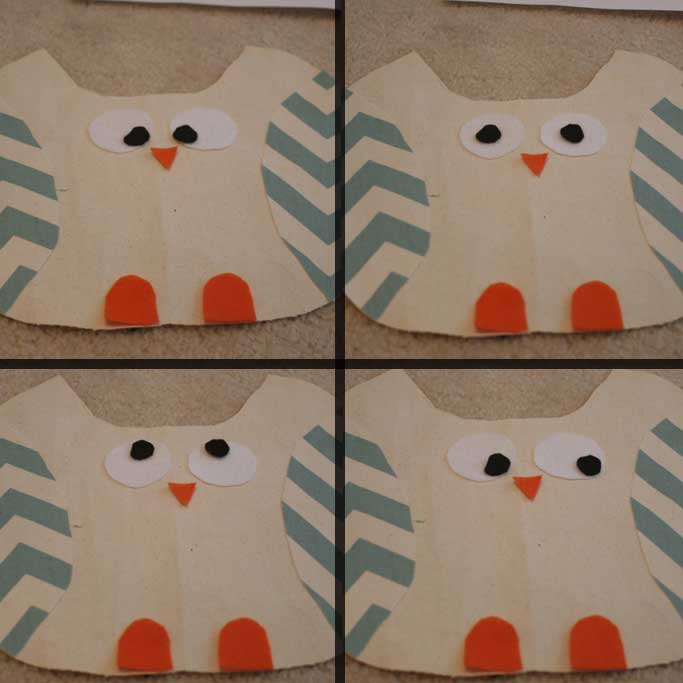
Here is where you can have fun with his layout… I tried out several different eye placements:

owl-faces


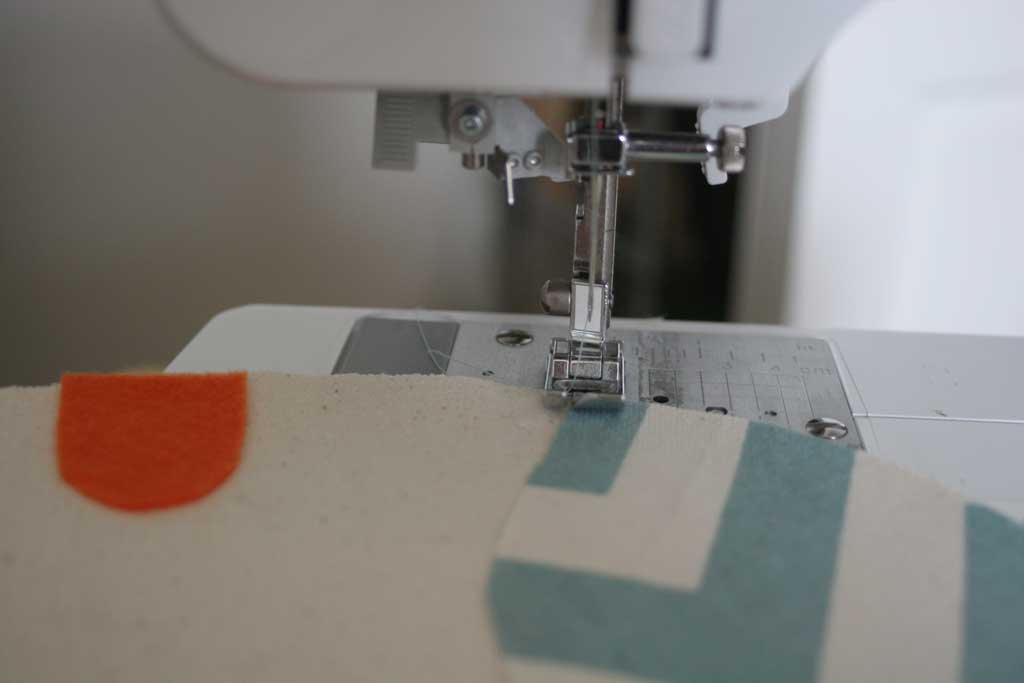
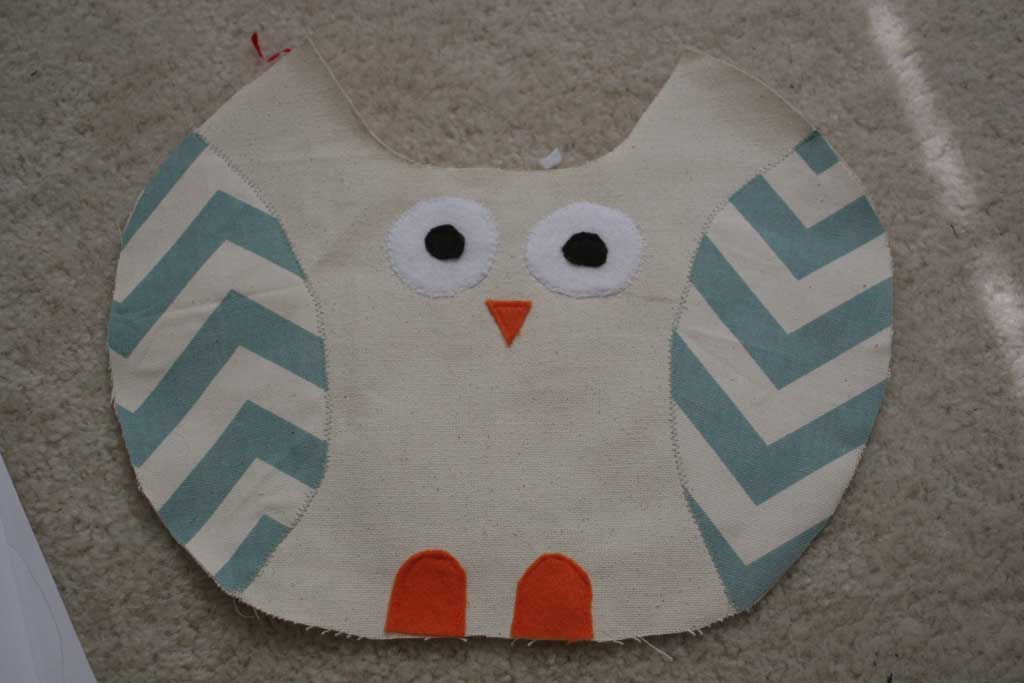
Once I had him laid out to make sure he was going to look cute I sprayed some basting spray (similar to this kind) on the back to keep all the pieces in place.  Next I took him over to my sewing machine and did a little applique sewing to spruce him up and make sure the fabric stays in place.  But you just want one of the beige canvas pieces (the one that you put all the decoration on… the other one should be blank still… leave it where it is, you’ll use it later.  owl1

Now here’s the deal, I’m not a great seamstress. I have mastered a straight line, but curves? Not exactly my forte.  But since I already sprayed the pieces down with basting spray, as long as I MOSTLY got it covered with thread, I figured he was okay. I used coordinating thread on all the parts, but you could easily use contrasting for an added bonus.

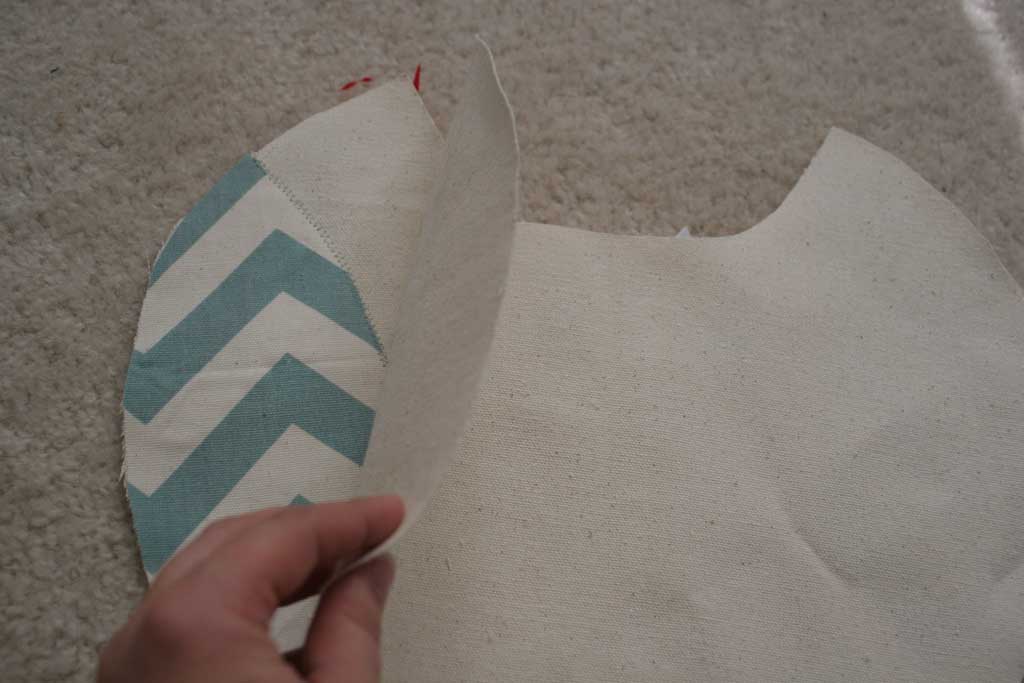
owl13 Here is what he looks like after I’ve traced around all his parts with thread.  I used my zigzag stitch for his eyes and wings and a straight stitch for his feet and nose.  And see even this close you can’t see all the places where my lines aren’t straight.  Imperfection=part of the love of homemade. Now lay your other piece of owl fabric face down on top of the piece above (you don’t want to see all the decorations now). Like this:

owl10

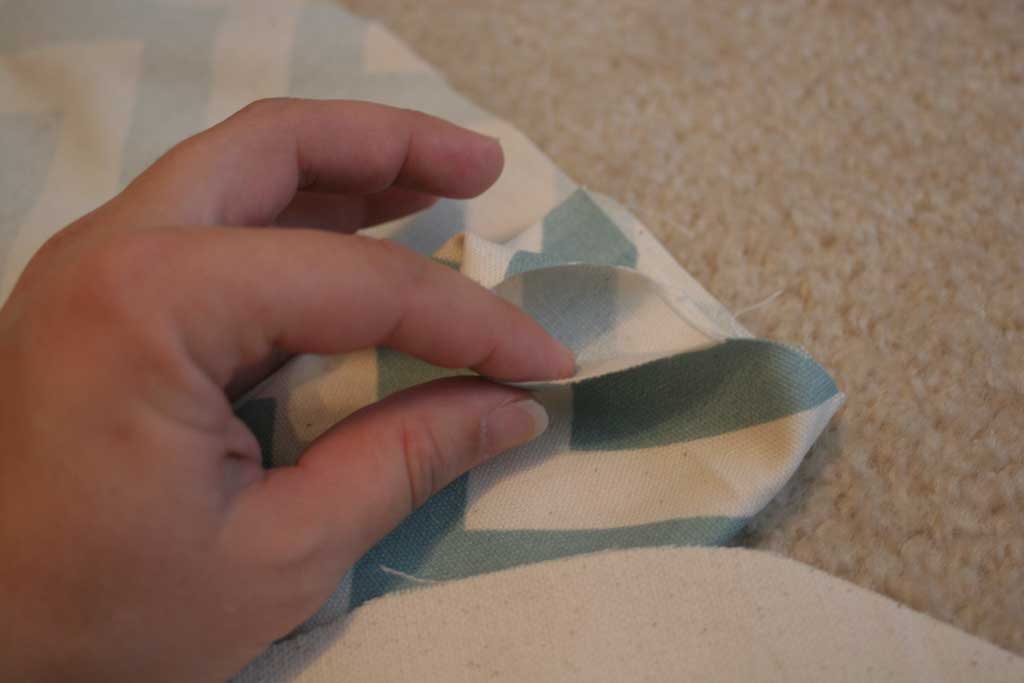
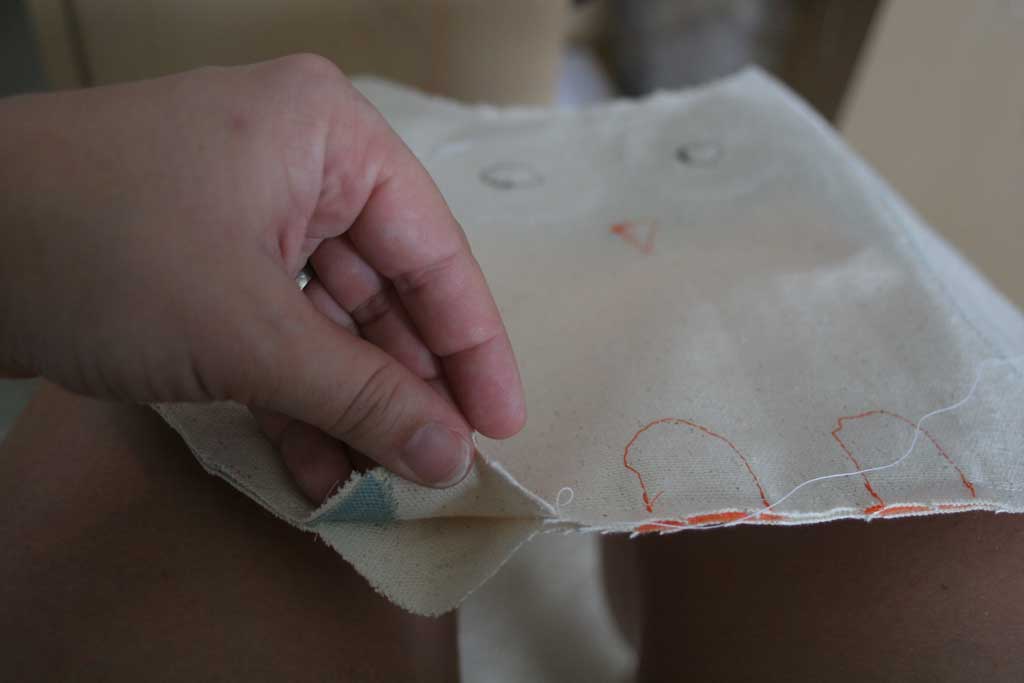
Now take him back over to your sewing machine and start at the bottom, sewing about a 1/2 inch seam allowance, but leave a small opening at the bottom that you can stuff him with.  Make sure to back stitch both sides of your seam since you’ll be turning him inside out you don’t want your thread to start to unravel.  He should look like this now:

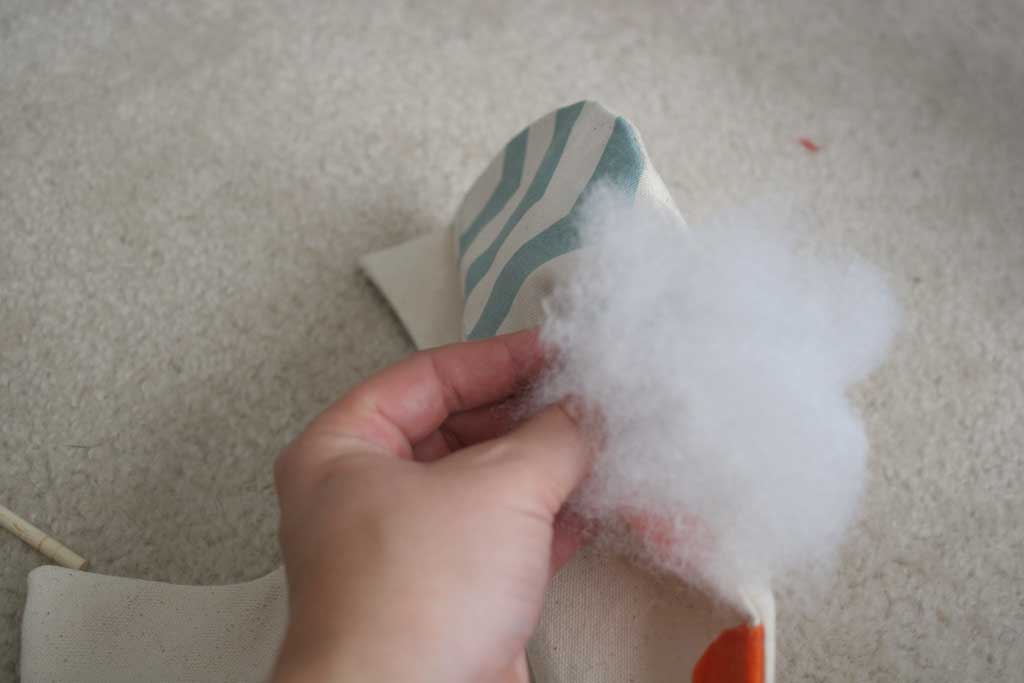
owl8 After turning him inside out (my fabric was pretty stiff so it was kind of hard to do, I needed to iron mine.  Once you have ironed him, stuff him full of cotton batting:  owl7

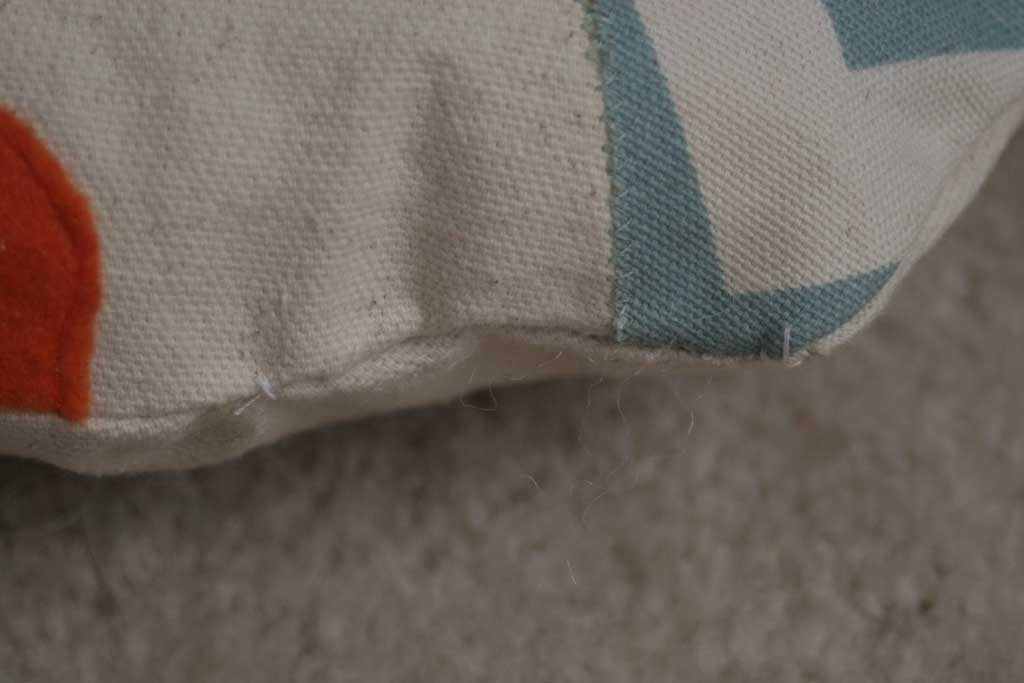
Now I had a problem… I had a hole in the bottom of my owl.  On owl 1.0 I topstitched it with my machine, but it didn’t look quite as good as I wanted him to.  So I did what I always do when I get stuck and Googled it.  I found this tutorial on how to do a blind ladder stitch. It is a pretty simple stitch, but hard to explain… so go watch her tutorial.  But its quite effective, here is an up close of where I did the ladder stitch… and my first time, so I’m sure if you are more patient than I am and guinea pigged on a different piece of fabric yours would look even better, but from far away you can’t even tell!  owl6

And here is my final owl, I think he is awfully cute:

owl14

 Here is the pattern:

NOTE* They are not drawn for perfection… perfection is boring, but they should be good enough for you to make your very own owl!

The owl shape: owl pattern1

The “decorations”: owl pattern2

The Flowers that Lived

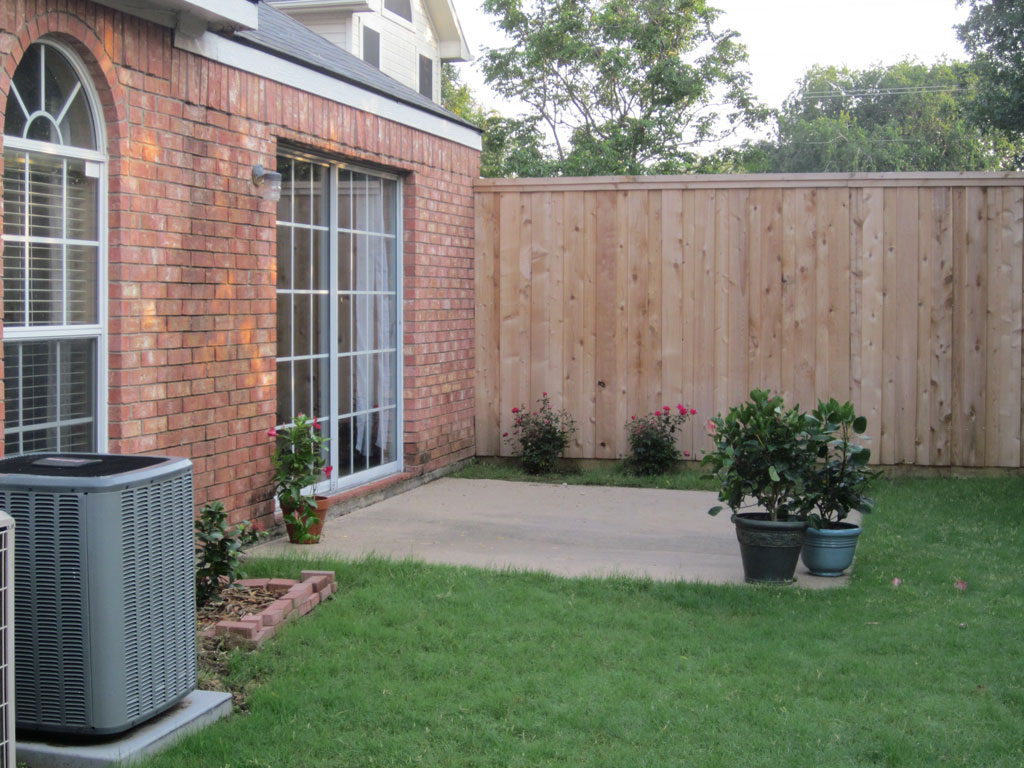
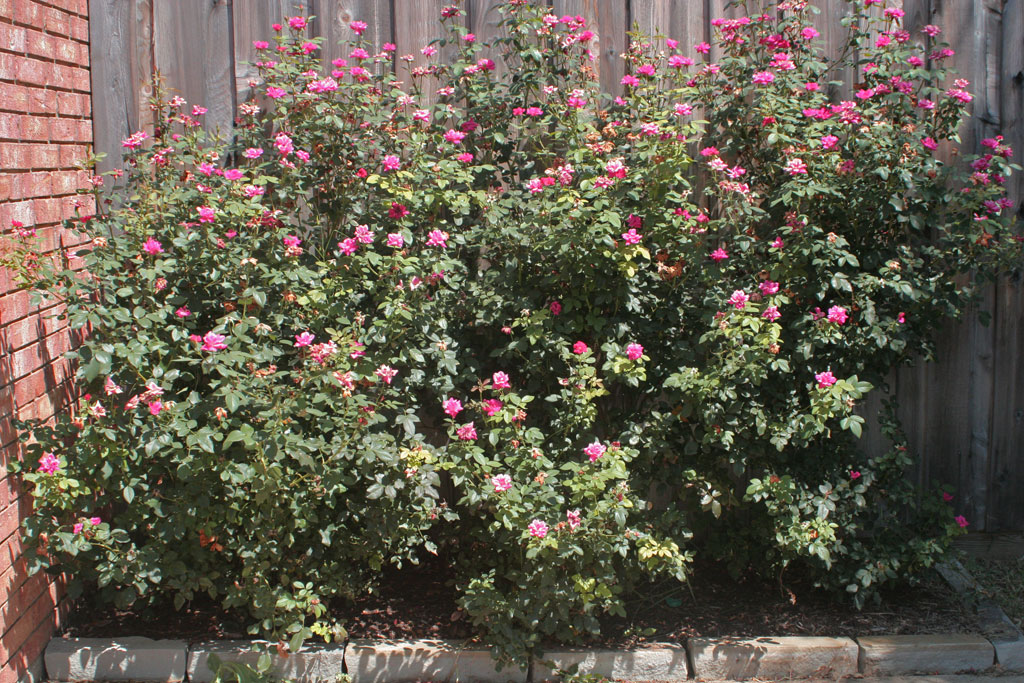
So I told you guys last week about my major garden fail so I thought I’d show you the part of the backyard that looks AWESOME, although to be honest, very little of it has anything to do with me.  For our wedding last May we were going to host the Bridesmaid’s Luncheon in my backyard. But my backyard left a LOT to be desired.  When I moved in there was ONE plant in my backyard. Not one flower bed- one plant.  Which you can see in the picture below.  (I added the potted plants and my dad planted the roses two years ago).  The one plant that was there at move in is the tiny little desert looking plant hiding behind the air conditioner.

backyard-at-movein

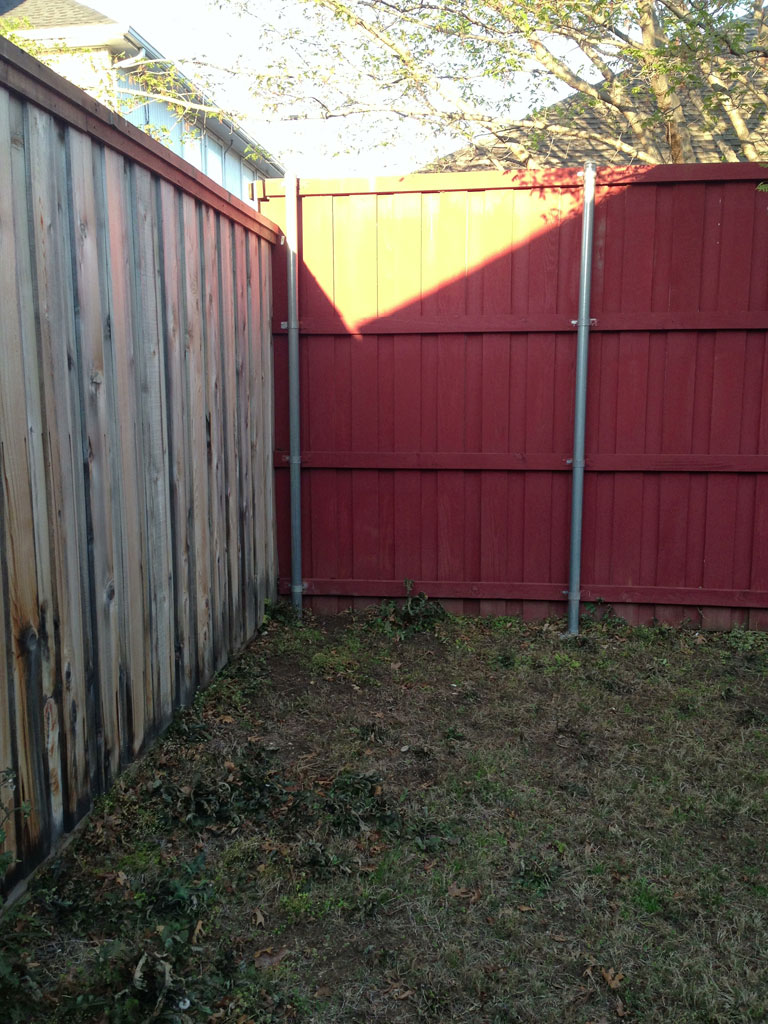
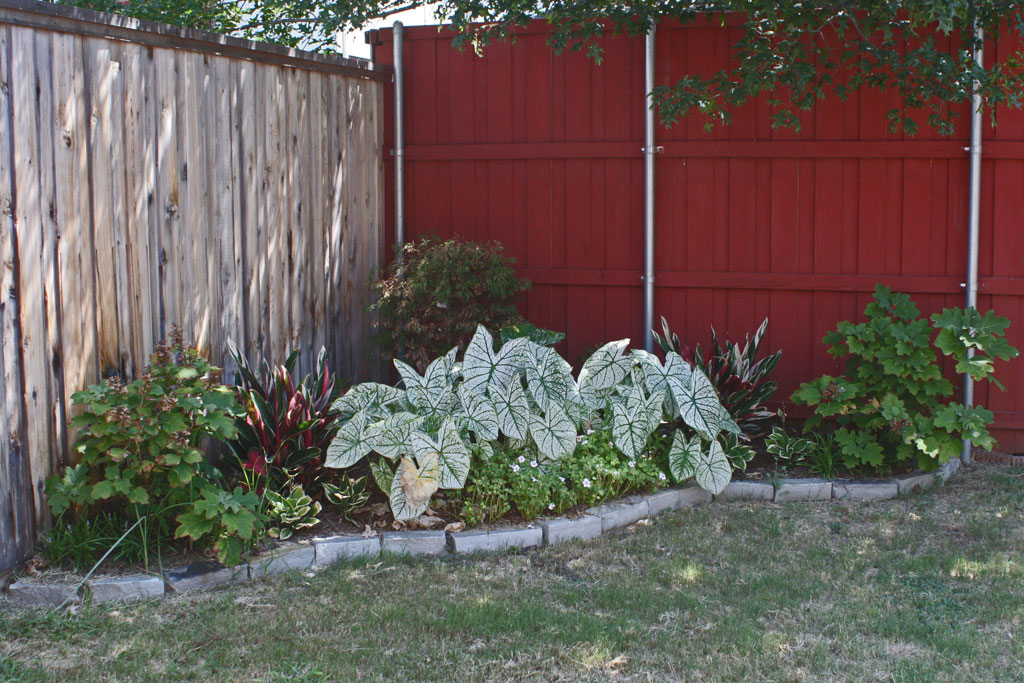
My grass still leaves a lot to be desired (although it looks pretty good in the picture above not long after move-in… so probably the problem is me!), but I wanted to add some landscaping in to add a little extra va va voom.  I found a local landscaping guy that a friend recommended and hired him to do a little work.  I sent him a few photos, he drew up a plan, and for a very reasonable amount of money he came out with all the plants, edging, and mulch to improve 2 different parts of my lawn.  I wanted him to focus on the back corner (which is under my neighbor’s tree and couldn’t grown any grass)

backyard-before backyard-before1

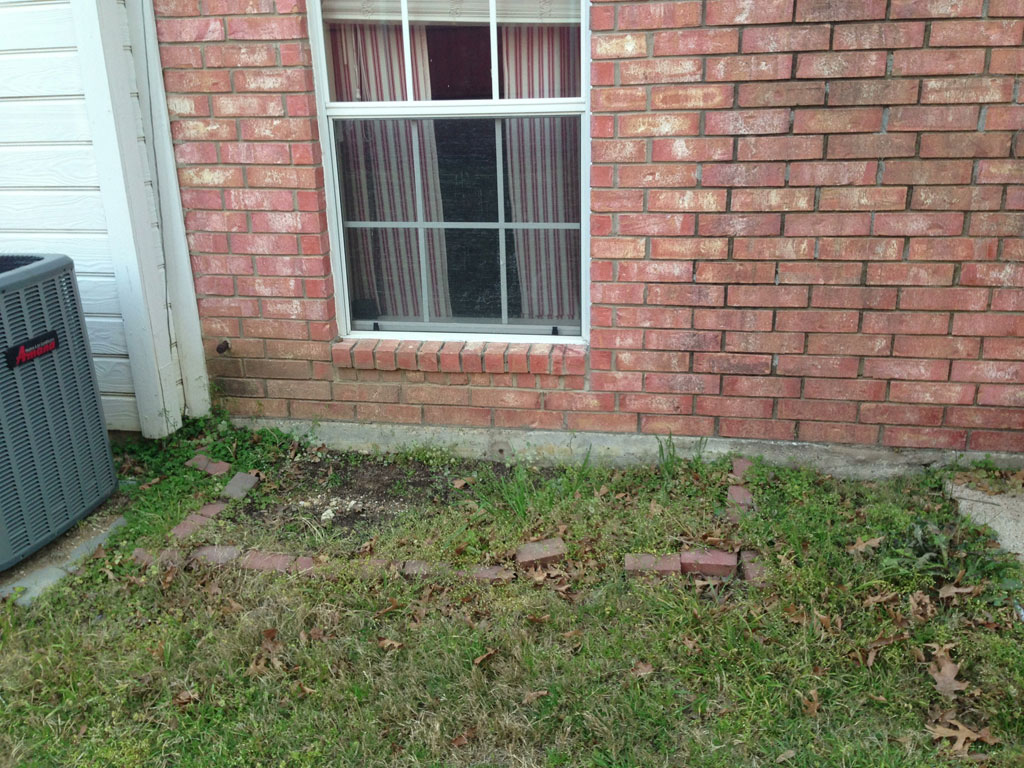
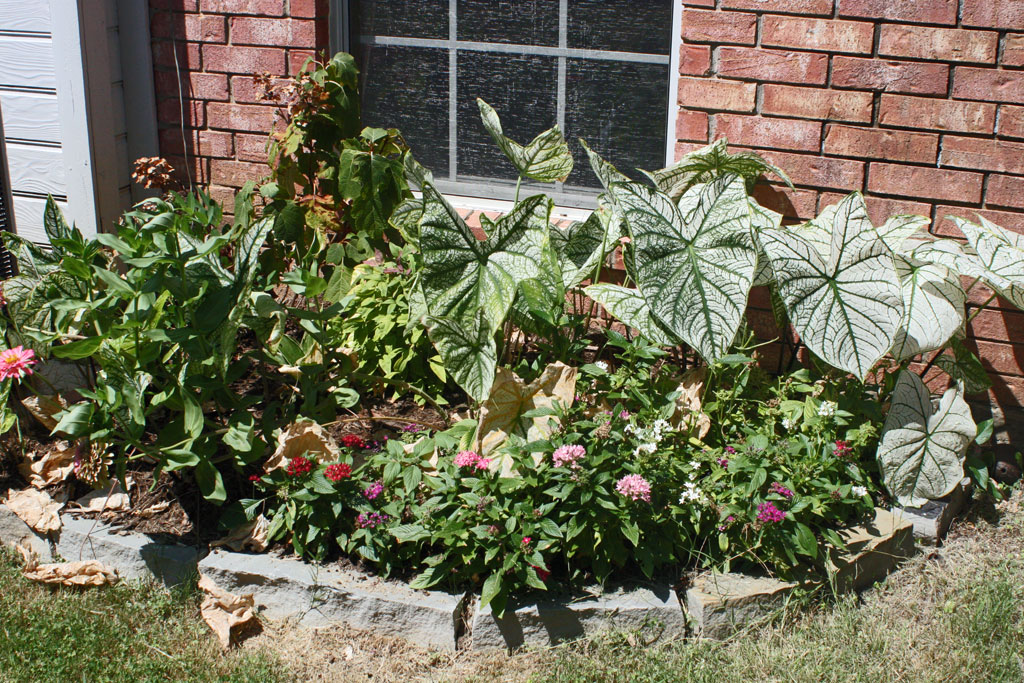
And the part right by the air conditioner where the lone plant in the backyard was, which I had let weeds grow over after my zinnias died last fall. backyard-before2

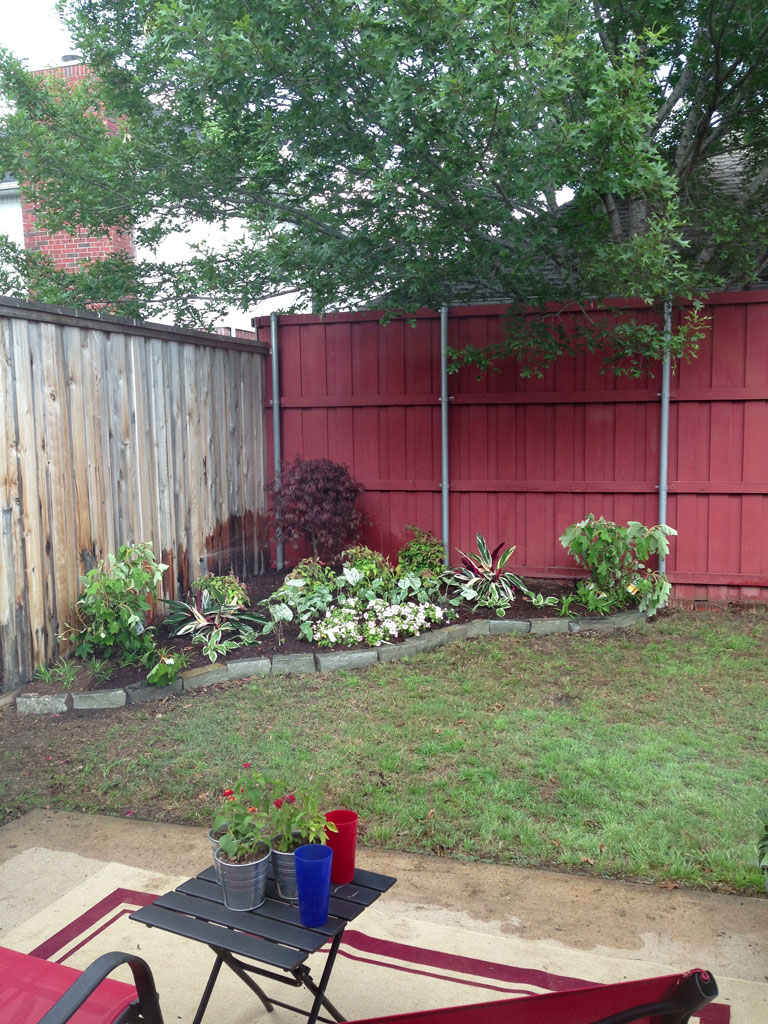
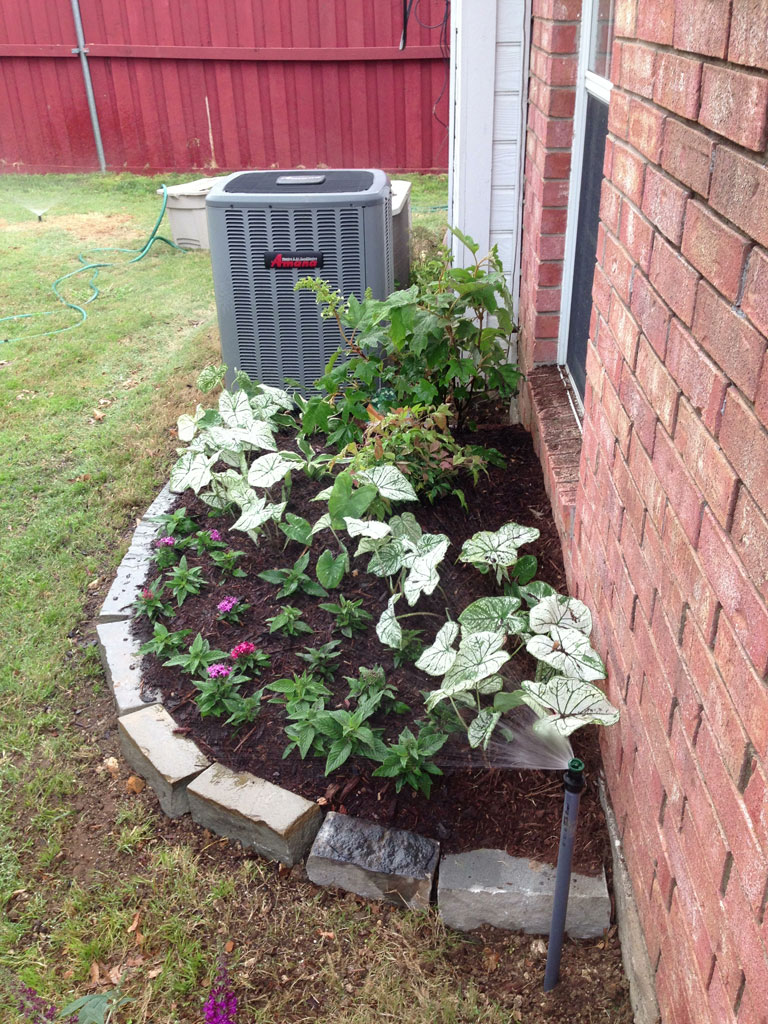
I wanted something a little more permanent and something I didn’t have to worry about hand watering all the time.  Fortunately the landscaping guy (for anyone who is curious it was Timberline Lawn and Landscape) who came out to do the work also rigged up my existing sprinkler system to water how it needed to be watered.  Here is what it looked like right after he left:

backyard-after backyard-after1

Check out how awesome they looked after he came and spruced them up!! And I’m happy to report that despite the interminable July in Texas heat… those areas still look pretty great! Here is what they look like today:

flowers-after flowers-after1

For the most part they look pretty great despite the heat! (I may lose the Oak Leaf Hydrangea in the top pic.  And just for a fun comparison (you’ll have to scroll back up to the very first picture) the roses I planted myself my dad planted in 100+ heat two years ago are clearly thriving! They are a little sunbleached, and I’ll have to show you what they look like in the spring, but man oh man are they beautiful.  They truly live up to their ‘knockout roses’ name.  roses