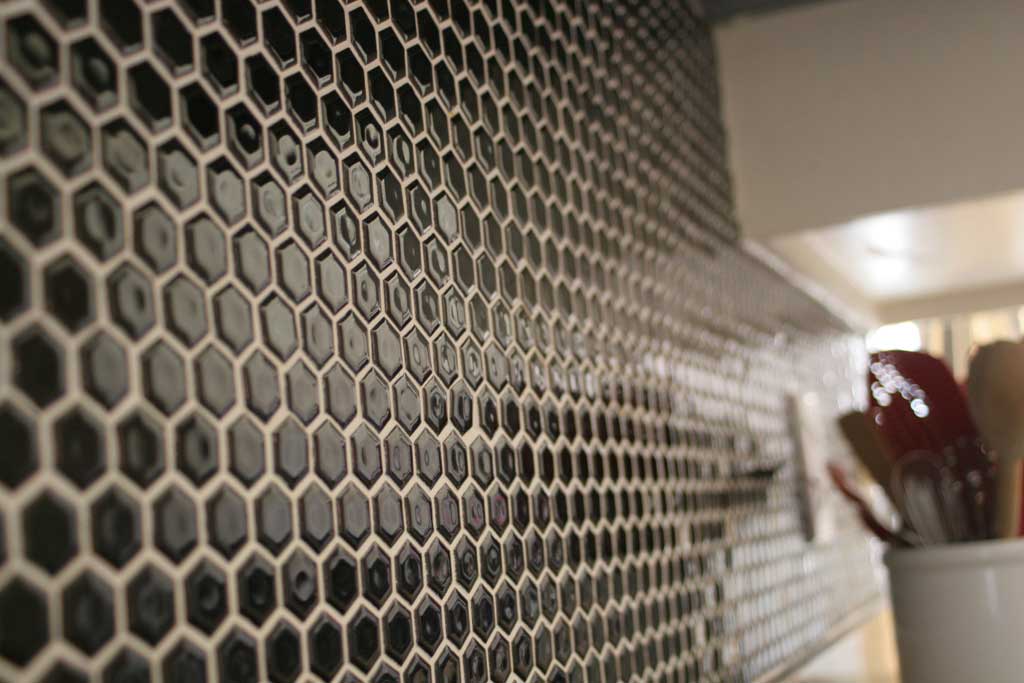
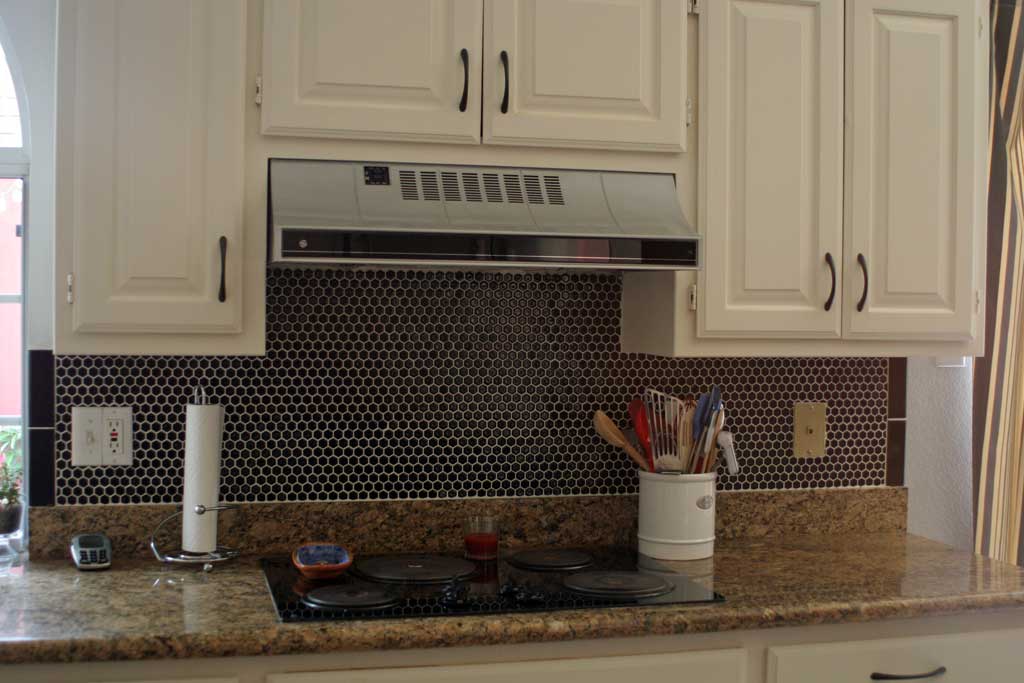
One of the biggest projects we undertook in the kitchen of this house was tiling a backsplash. I found this black hex tile from The Tile Shop and ordered a box (without even measuring… which I don’t recommend since I have a TON of black hex tile leftover…oh well, I’ll just have to find another project to tile!)
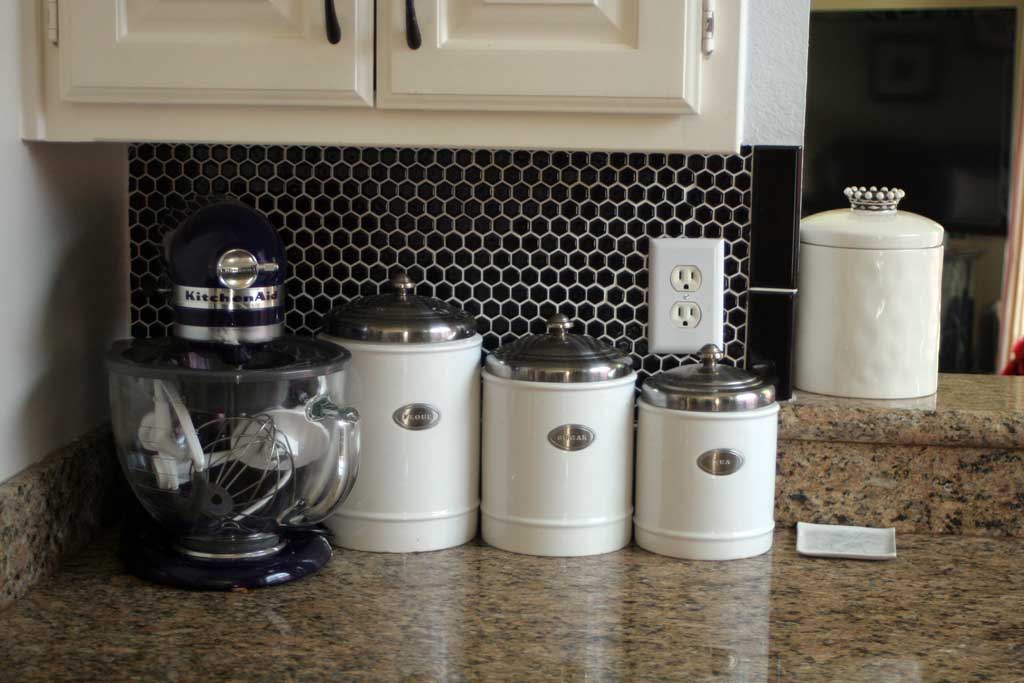
It sat in my garage for about 6 months before I got the nerve to start my first tiling project. But it turns out, tiling is super easy! The hardest part for us was ‘nipping’ the black hex tiles to fit smoothly around the edges and the outlets. It was a good thing we had lots of leftover because it took a lot of trial and error to figure out how to do it best. My best recommendation is to follow this tutorial from Young House Love. That was our go to way of getting them all cut and laid out to fit. Is it perfect? Nah… but perfect is boring. And I love how fun the backsplash is and definitely ties the black from the granite counter tops in.

Since we did this before I started blogging, I don’t have any in process shots for ya, but its pretty straightforward. We used the already mixed thinset since this project didn’t take more than the one little bucket HD sold, then placed our tile up in its 12×12 sheets. For the parts that didn’t take a full sheet, we laid it out on the floor to get the layout/cut the sheets prior to slathering them up on the wall. And for the larger portions we staggered the sheets so that you couldn’t tell where one started and the other ended. Once they were all up, we took a step back to make sure there weren’t any obvious seams or gaps since the thinset was still soft enough to adjust a little here and a little there.

And as you can see there aren’t very many places where is looks uneven, so I was pleased with the results and the process. For the edges we just place black bullnosed subway tile from HD. I think we ended up needing 8 of them, so they weren’t a big added expense and really provided a great way to mark the edges!


 Hi, I'm MJ! I'm a DIY kind of girl and this is where I share my projects. I'm taking you along for the ride as I learn how to do woodworking, sew, bake, and renovate!


