Master Bath Update

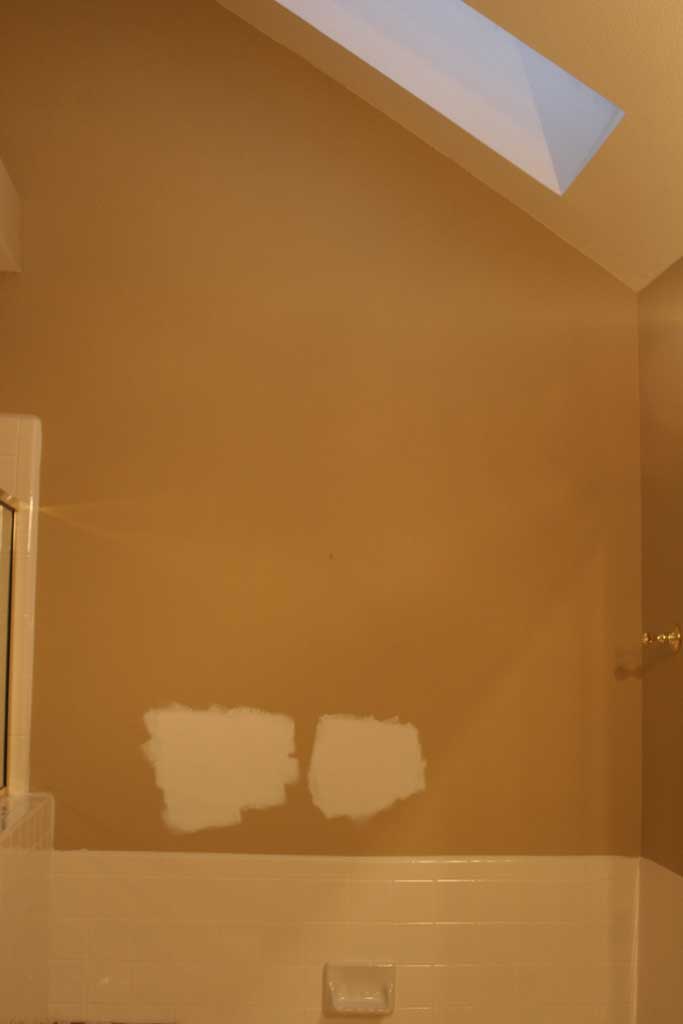
My twin brother has been painting some rooms in his house, so I’ve had quite a few conversations about paint colors lately.  I’m one of those people who goes to the store, looks at the paint colors, picks a color and paints a whole room with it. THEN I decide if I like that color.  For the most part that process has worked out for me.  Sometimes the colors don’t work out exactly like I had in my head, but it usually looks pretty good and ends up fine.  With that said, I’m not sure what prompted me to break tradition in the master bathroom.  My original room plan had me painting the cabinets a dark gray and the walls a crisp white.  So I picked out two different color whites, and painted test swatches in 3 places around the room.

masterbathafter7

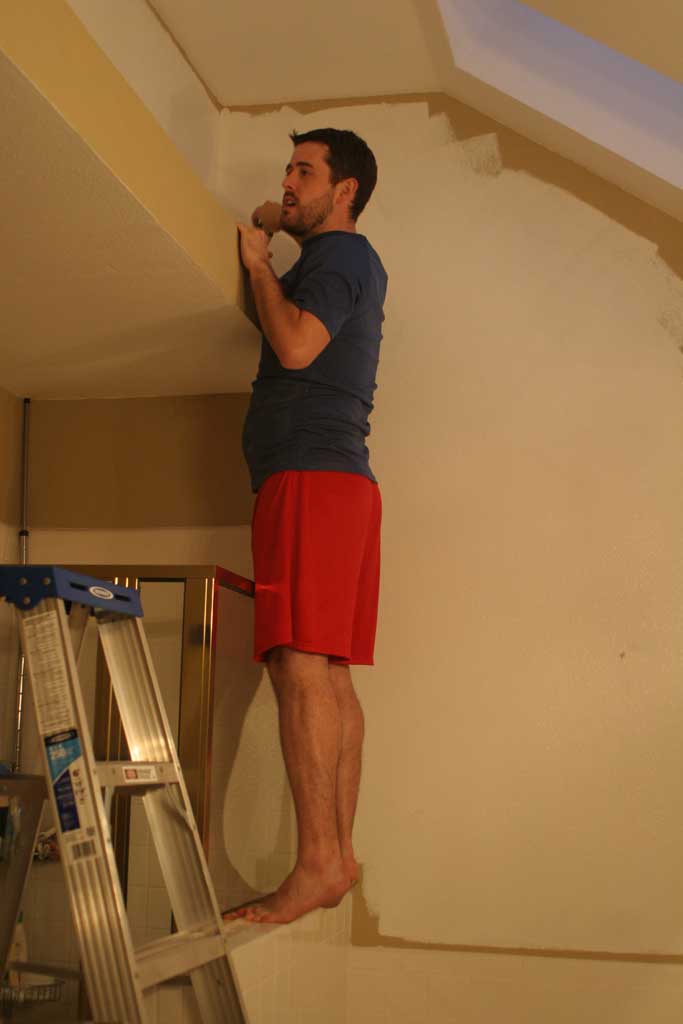
After a week, I still couldn’t figure out what the difference was, so I just picked one and went with it.  My husband was busy and I had a free night so I invited my brother to come over and help me paint the bathroom.  In one evening we got about 3/4’s of the room painted before calling it quits.

masterbathafter6

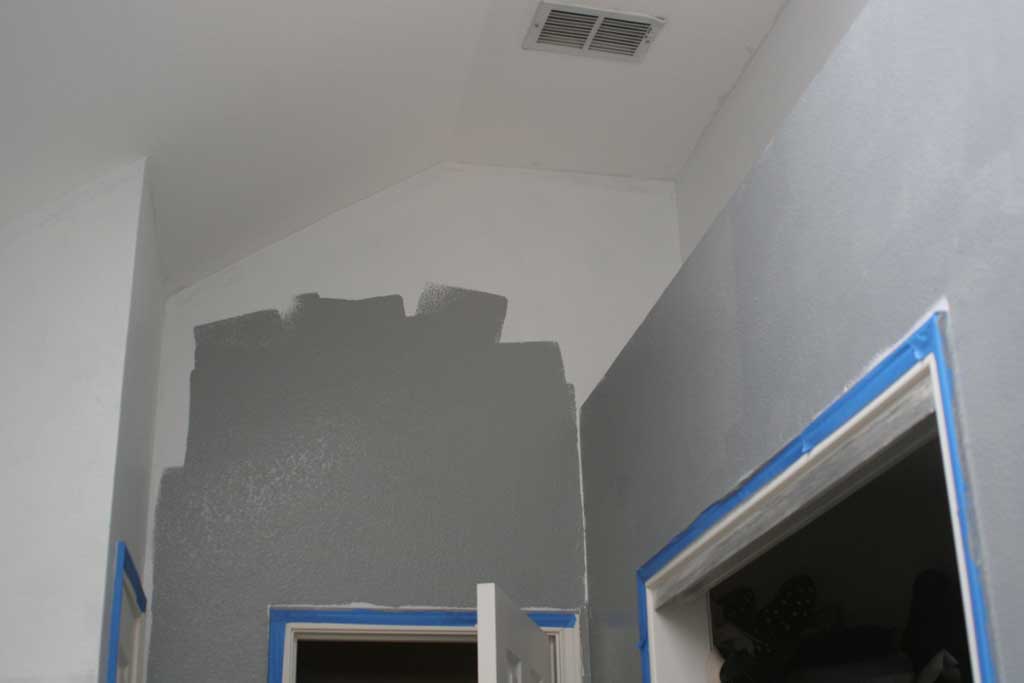
But the white didn’t turn out like I wanted it to.  It made our previously seeming white bathtub and countertop look yellowish.  Since I was busy the next few nights two weeks, we just lived with a mostly-painted-in-a-color-I-don’t-really-like state.  Once I settled on the fact that I wanted something different I decided a light gray would be better.  So I went back to my tried and true just pick one method at the store and came home with a gallon of Behr’s Gray Area paint and primer in one.  I was planning on painting it Saturday afternoon and Sunday, but Reese had a few free hours so volunteered to get it started for me, while my BFF and I did an owl craft project upstairs.  After spending several hours in my office/makeshift craft room we went downstairs to see his progress.

masterbathafter5 My best friend who knows me and my paint picking ways pretty well said… wait… isn’t that the same color as the office we were just in? And yes sure enough, this is the second room in my house where I have gone to HD, picked out a light gray that I liked and painted a whole room in it.  They were just two years apart and fortunately also across the house from each other… but hey, at least I know what I like right?  masterbathafter3

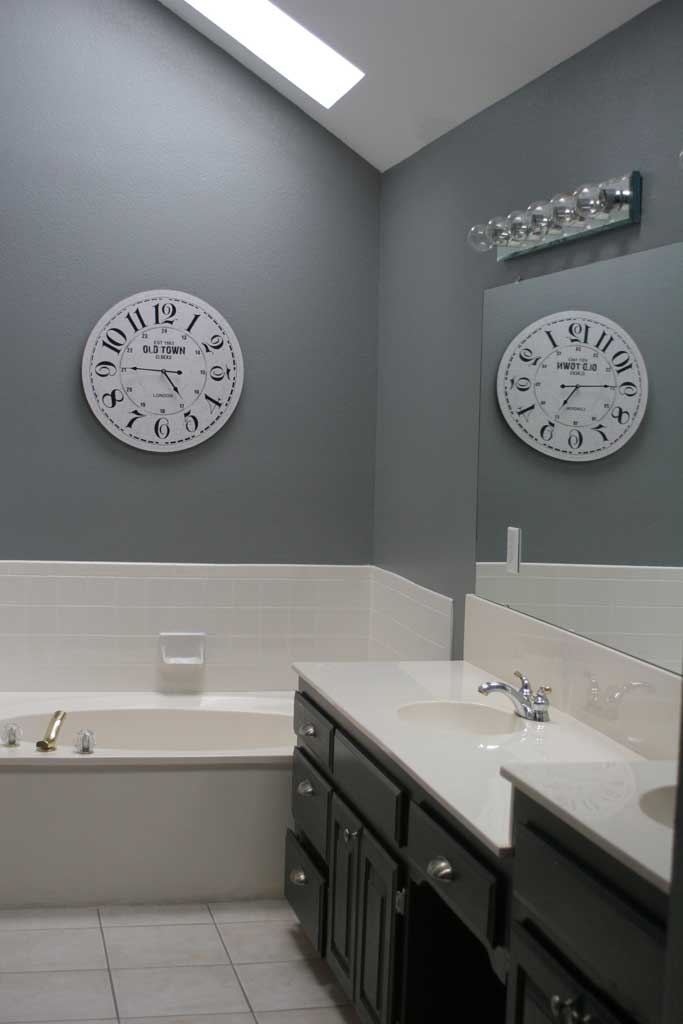
Reese ended up painting the majority of the bathroom all by himself by the time I was done crafting, but I love the way it looks now! Builder basic- no more!

masterbathafter1

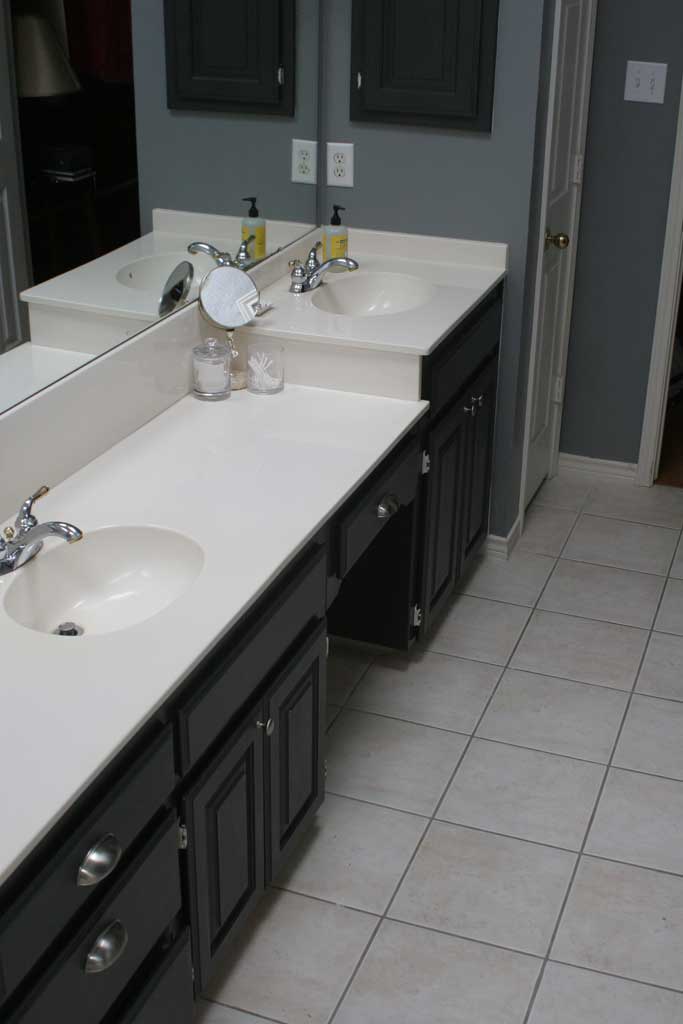
It definitely needs a few little pops of color in some wall art or accessories, so I may be replacing the giant clock sometime soon.  And with the gray, my bathtub and counter tops don’t look yellow anymore.

masterbathafter2 
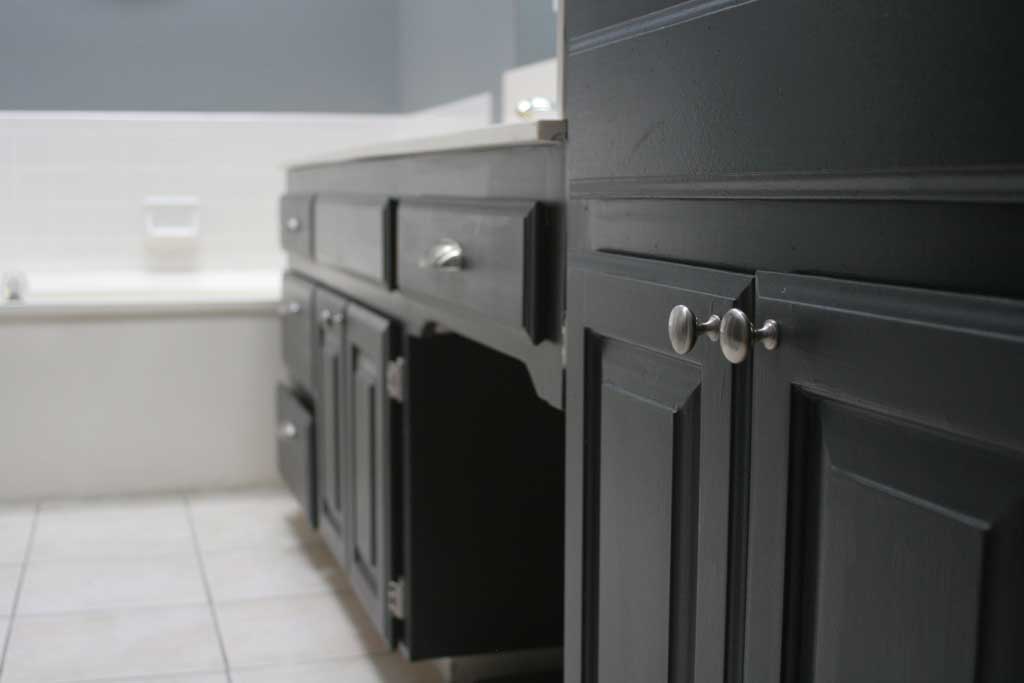
I have some plans down the line to add a little more interest to the tub surround by adding in some other tile, and I would love to change the gold shower surround, but that is all for another day! Thanks for following along with my little mini bathroom reno! Paint makes a world of difference.


The Ladies in Red

Back in the day, my great grandfather did a little bit of woodworking and a few of his pieces are still floating around in family member’s homes.  Two of them were small twin dressers which had been separated, but neither were being used anymore. My aunt had one she was willing to get rid of and my mother had another in her basement that wasn’t being used.  So I decided these two would be perfect side tables for my guest room (additional storage for the win!).  My aunt’s had been painted a creamy white color and my mom’s a blue one, somewhere through the years. So I decided these two needed to be spruced up in a matching spray paint before they made it into the guest room.

Here’s my super fast tutorial on how to spray paint a piece of furniture (ps… if you haven’t used spray paint in a while… that stuff is magical… I think its come a long way in the last ten years).

  1. Remove hardware and tape down/cover any parts you don’t want spray painted
  2. Lightly sand (with around 150 grit sand paper or sanding block)
  3. Prime
  4. Spray paint LIGHTLY a first coat
  5. Add second LIGHT coat
  6. If necessary, add a light 3rd coat

And so you can see the steps in action:

Step 1: Remove the hardware and cover any areas you don’t want painted.  The paint jobs on these before had not been all that careful about where the paint went, so I didn’t cover any parts of my drawer, I didn’t mind if the sides got some red paint on them.

side-dresser-bef1 Step 2: Lightly Sand- I use whatever I have on hand, but somewhere around 150 grit sand paper or a medium grit sanding sponge.  You want to take off a little bit of the sheen, but mostly just rough it up a bit.  (WARNING: If what you are sanding was painted prior to 1978 you should check it for lead paint.  IF it has lead paint DON’T SAND IT. Sanding lead paint releases toxins that you don’t want to release.  If that is the case, just skip this step and go straight to priming.) side-dresser-sanding Step 3: Prime it- I usually use Rustoleum’s Spray Paint primer in white.  You can use their dark gray primer if you are painting it a dark color, but I’ve never had a problem using the white.  You’ll see below I paint these a fairly dark red it had no problem covering the white primer in 2 coats. Check out steps 4 and 5 for some generic spray painting tips that are good to know regardless of what step you are on!

side-dresser-primer

Step 4 and 5: If this is your first time painting something, here are a few of my most helpful tips: 

  • Spend 5 bucks one time on the extra spray paint trigger handle… you can use it forever and will save your finger from getting that very attractive line of spray paint on it (not to mention its way more comfortable).  You can see it on my paint can in the pictures below. WORTH. EVERY. PENNY. 
  • You should always keep the can 6 to 12 inches away from your piece when spraying
  • Start spraying just before your piece of furniture (so the first seconds go into the air) and JUST KEEP MOVING.
  • Your first coat should barely cover the piece… it’ll look splotchy and incomplete. THATS OKAY. You are going to add a second coat.
  • On the second coat, treat it the same as the first coat, keep it moving, and spray lightly to avoid drips
  • If it still isn’t covered or doesn’t look even, do a third light coat.  side-dresser-red

Since I actually did this project pre-blog I don’t have a picture between the two coats, but you get my gist. I used Rustoleum’s Colonial Red spray paint in Semi-gloss.  Its one of my favorite dark red colors.

I didn’t want to go out and buy new hardware for these dressers, but I felt that the wood knobs in the same color looked a little cheesy, so I decided to paint them with a metallic spray paint Rustoleum’s Oil Rubbed Bronze.  I followed the same procedure I listed out above, just this time I didn’t prime since it is paint and primer in one.

side-dresser-knobsbef side-dresser-knobsaft

I haven’t shown this room on the blog yet, but here they are in action in the guest room!

  guest-room-dresser1 guest-room-dresser guest-room-dresser2

Voila! Cute little matching side dressers!

I may be from Texas, but I still don’t love burnt orange

So if you read the House Tour Before post you’ll remember that when I moved into my house this is what my dining room looked like:

dining-room-before1 That’s my front door on the left… I have this weird side entry thing going on so the windows above are facing the front of the house, but the front door is to the side.  Moving on… this wasn’t exactly the color scheme I had in mind for my new house, and since it was absolutely the first thing you saw, I wanted it changed PRONTO.  (although we hadn’t even met at the time I painted this room… I married an Aggie, so even if it had stayed it would be long gone by now!). Just one more before pic so you can fully appreciate the intensity of the orange… and with a peach accent wall to boot!  dining-paint7

So I did what any single girl on a budget in her first house did… I bribed a couple of friends with pizza and beer to come over and help me paint the orange away.  When I explained to my friend what colors I had picked… he looked at me like I was crazy.  Even crazier when we opened the paint can… and it was SO DARK.  But I loved it, and hoped the white chair rail frames would look super crisp and tone down the dark background.  dining-paint6 Partway through the process… you can see we painted the chair rail with the same white as the top because they were a bit yellow-y compared to the ULTRA BRIGHT WHITE paint I picked.  I now know that there are a bajillion (scientific number) shades of white out there… and ultra bright white might not be the best choice, but it looks perfectly fine…. and lesson learned.  dining-paint5 The room already looked a lot bigger with the top half painted white, now to add in the moody Navy color:   dining-paint4 dining-paint3 Fast forward a bit and here is how the room looks now (a bit more styled!): 


dining-room-after


AHHHH much better! And just for comparison… one more before and after:

Dining-Before-and-After