Purging the Clutter Part 2

So a friend pointed out in yesterdays post that I’m not really purging the clutter because i’m not actually throwing out much, just reorganizing all of my things into a usable form; so my apologies if my title was misleading! So here is where we left off… everything pulled out, the closet painted and new shelves hung, so all that was left is organizing it into categories and putting most of it back.

decorcloset9

Whenever I organize an area I try to think about how I am going to use the things inside the closet. For this closet, that’s pretty easy, everything is pretty much in one of three categories: seasonal items, linens and decorating items used throughout the year (i.e. glass jars, candles, mason jars).  So I simply separated everything by its category, breaking the seasonal items down into smaller categories: Valentines, Spring/Easter, Summer, Fall (all of my Christmas stuff is stored in a separate location because I have so much).

decorcloset14

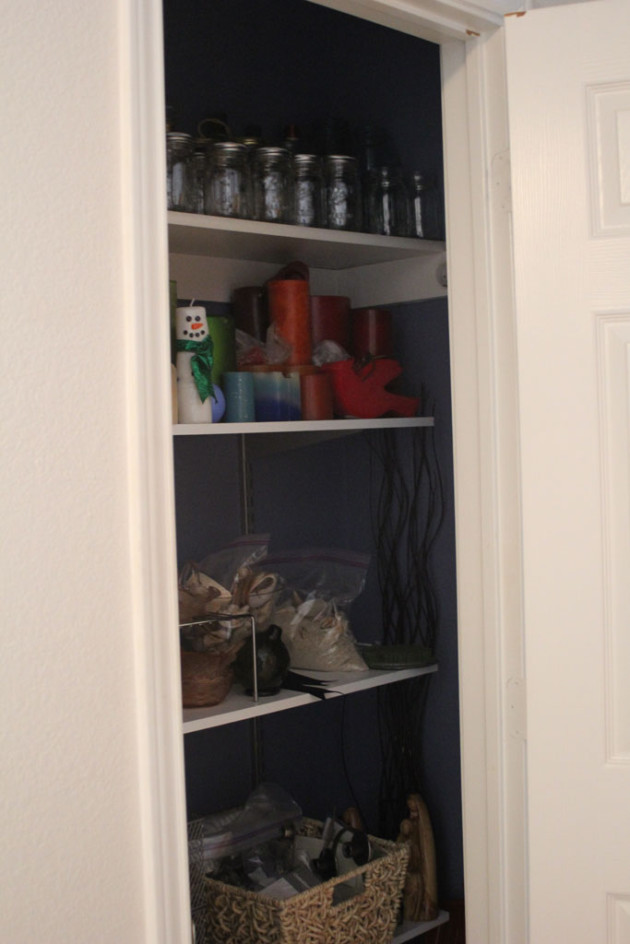
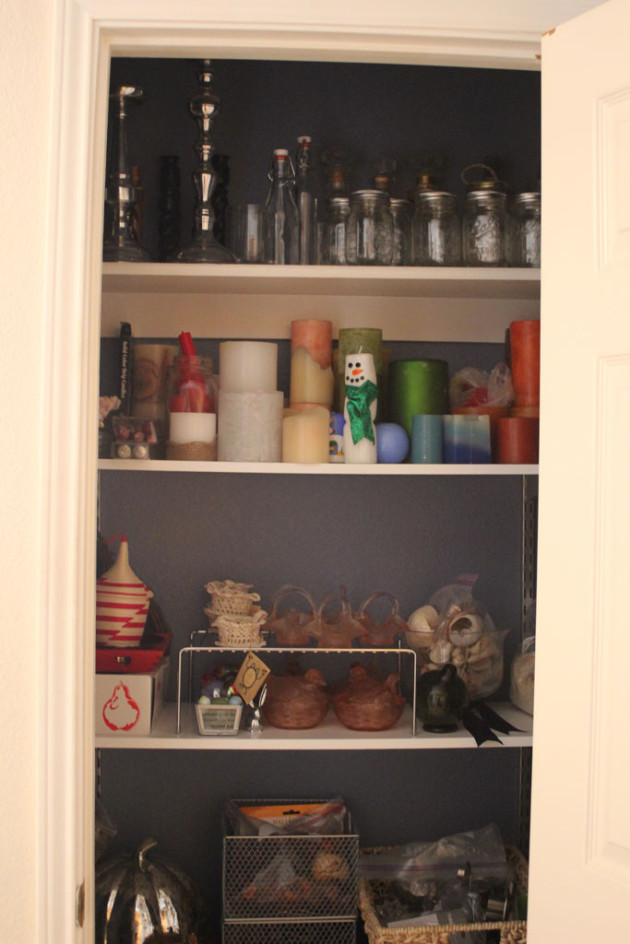
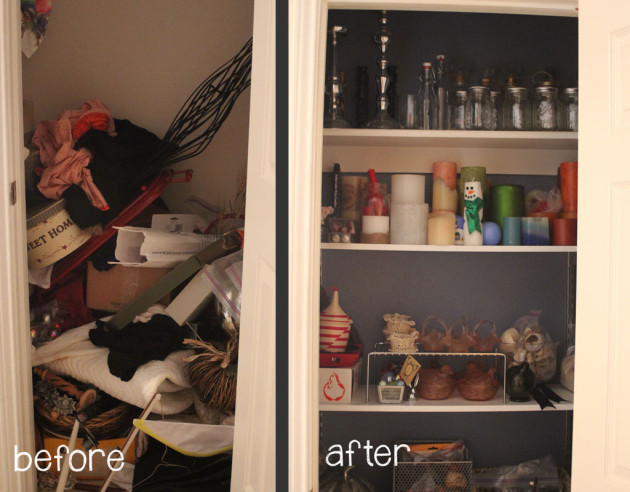
I put any glass bottles, mason jars, and candlesticks on the top shelf, even being as short as I am, I can still reach the top shelf without a step stool, so I put the things I use the most at the front.  The candles were put on the next shelf down, and in color order so I can easily grab whatever color I’m looking for. The only Christmas decor I have in the closet are my candles  since my Christmas storage is in the garage and I couldn’t let my cute little snowman melt in the Texas heat.

decorcloset13


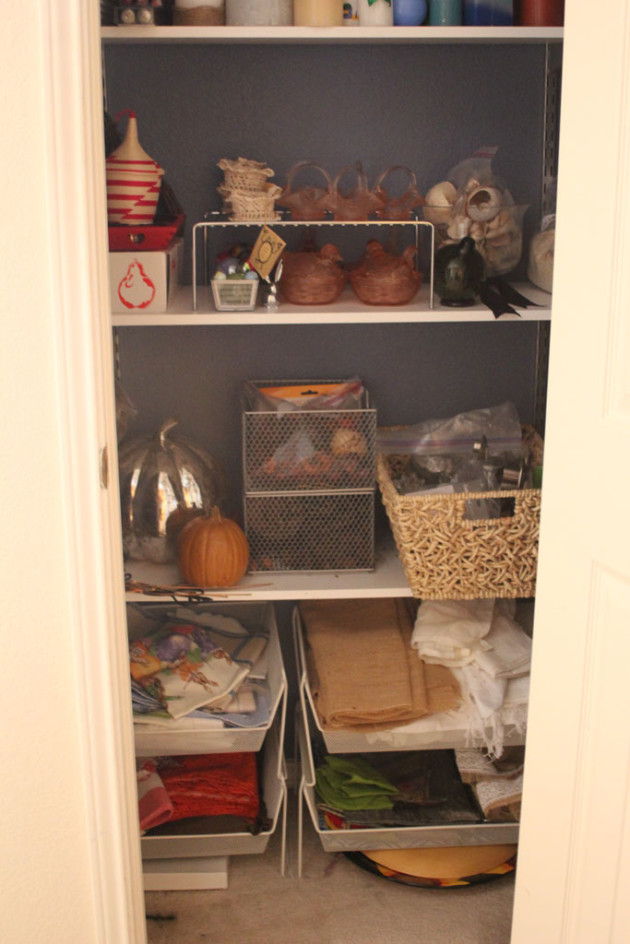
Everything else is stored by category with wire bins corralling the smaller items.  I love the wire bins because they are easy to see through so I can still see what is inside and find what i’m looking for easily. The linens fit into some old stacking white wire bins I had from The Container Store.  And again they are sorted by color: blue/springy, white & burlap, red and finally multicolor.

decorcloset12

And just for fun, one more before and after:

decorclosetbeforeandafter


AHHHH that is way better!!!
Purging the Clutter

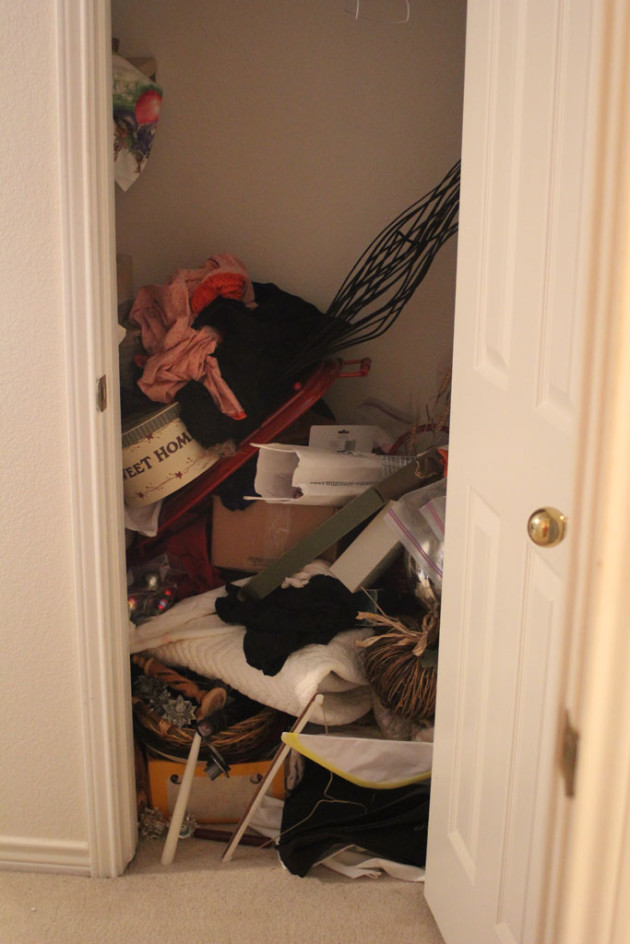
When I told you about my new master closet I told you that I wasn’t the most organized person in the world, and that my college roommates would define my regular cleaning strategy as: shove it all in the closet and slamthedoorreallyfast. And while they still won’t recognize my master closet and its continued cleanliness… here is a picture that they will see and go… ahhh yes that is the MJ we know and (hopefully) love.  Here is the hall closet upstairs where most of my home decor items live (sorry for the blurry pics… its in a hallway with almost 0 light):

decorcloset1

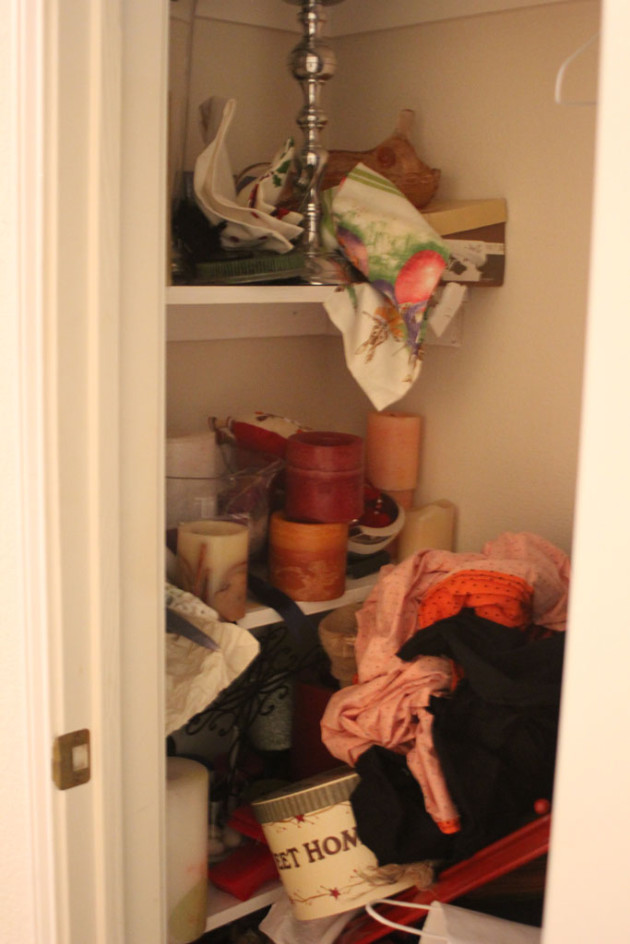
I know you are just itching to pin that image to your lovely spaces board, right??

decorcloset10

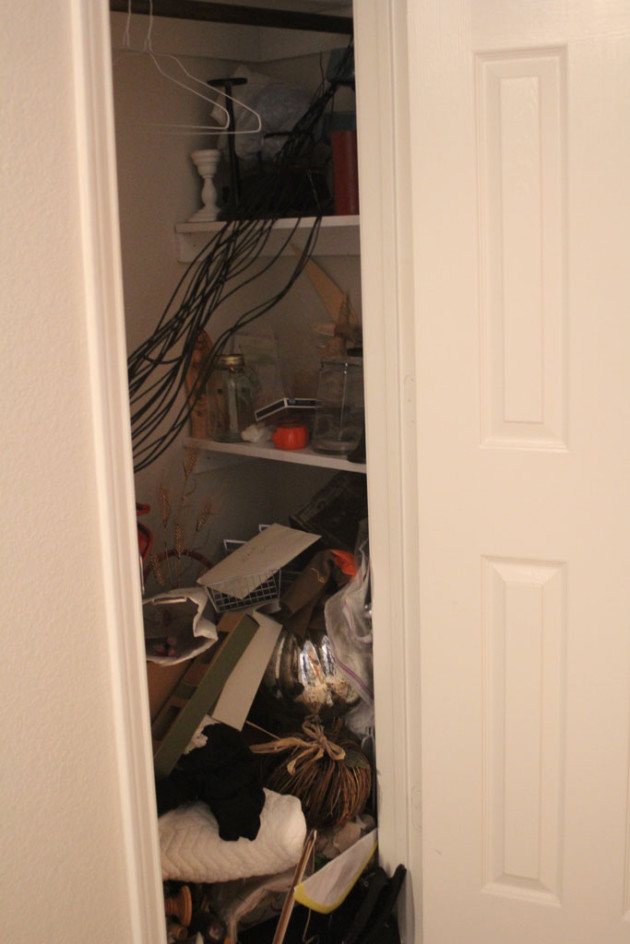
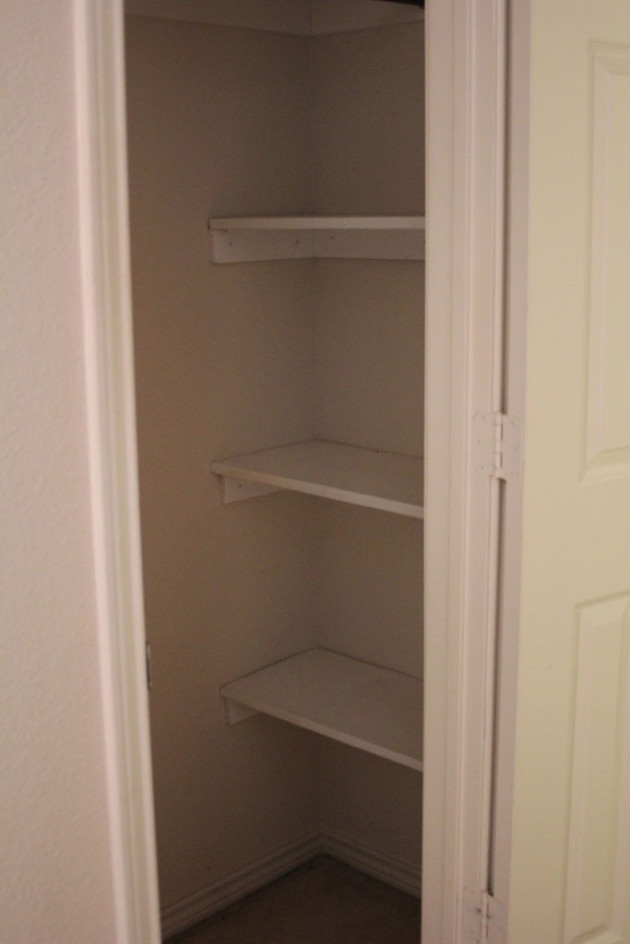
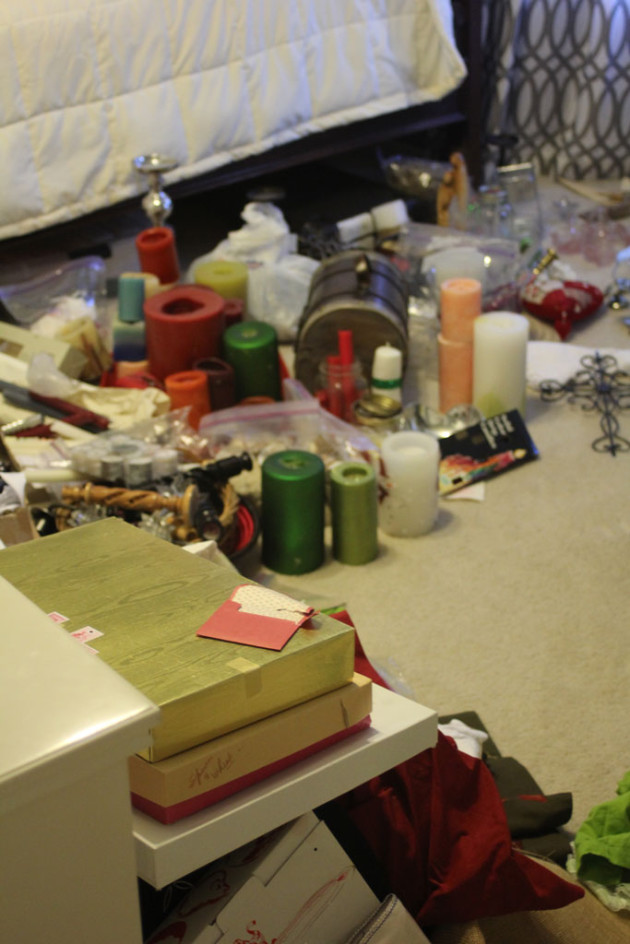
And yes… that is several feet of some of my favorite decor items just shoved onto the floor because I was out of shelf space.  When I first moved into this house, those shelves on the sides were one of my first projects.  I sawed each shelf by hand and hammered each one of the nails the old fashioned way to hang each of those.

decorcloset11


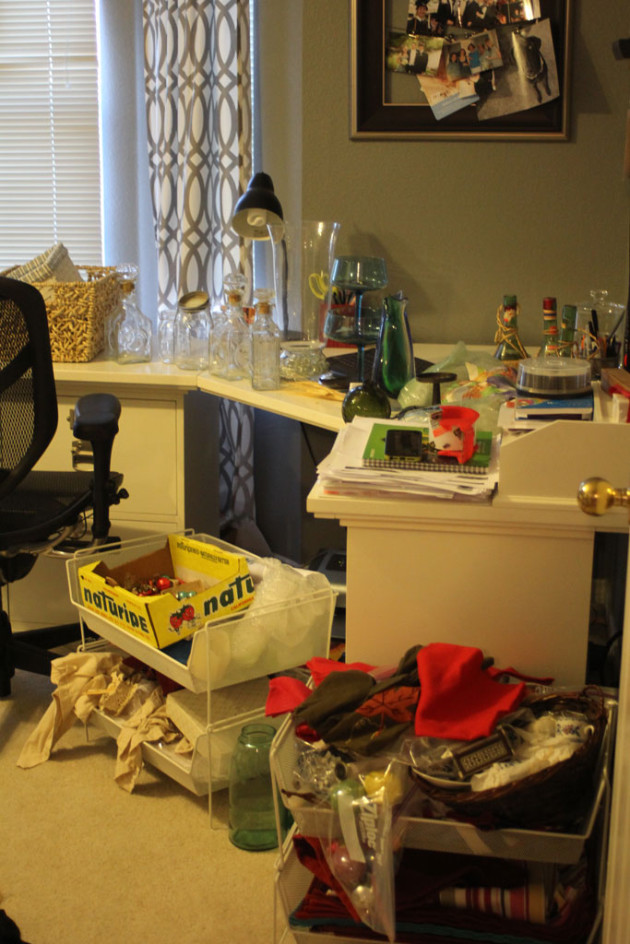
And while it added a ton more shelving in there, it just wasn’t the best use of that space.  I needed to tear them all out and put in shelves running the length of the closet. And so Sunday morning while my husband was at church (don’t worry Mom, I went too… he just goes in several hours before I do), I decided it was time to take back that closet. So I cleared all the stuff out of it, moving it into the office…

decorcloset5

I mean, for not using the space well, I sure managed to fit a TON of stuff in there…

decorcloset6


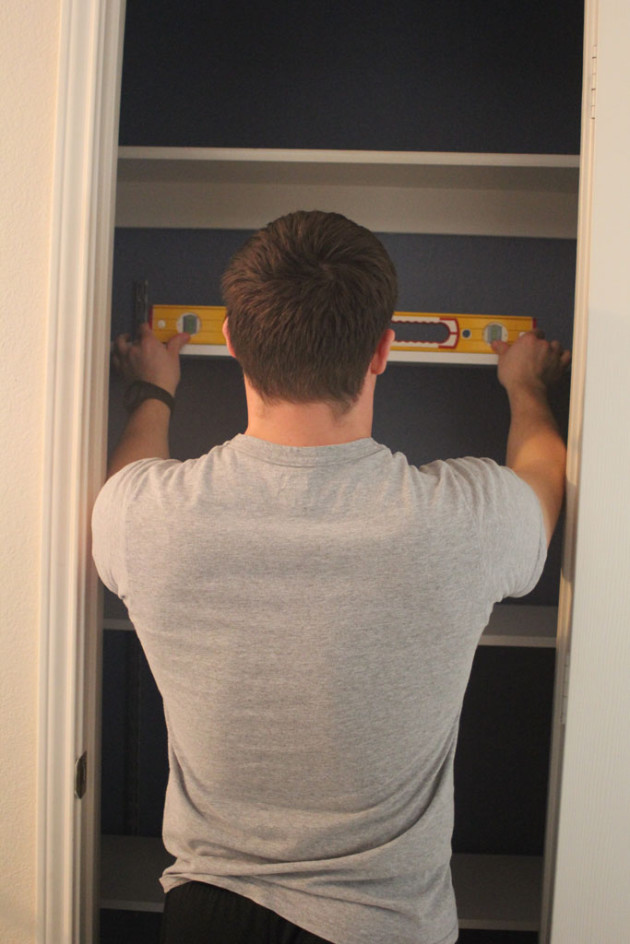
And then I pulled out the shelving.  Since I had hammered in all the supports myself and had learned nothing about angling nails to help them hold better… I pulled each shelf support out with just my hands, no crowbar needed.  But seriously… check out how level I got those with my old $10 target level!

decorcloset8

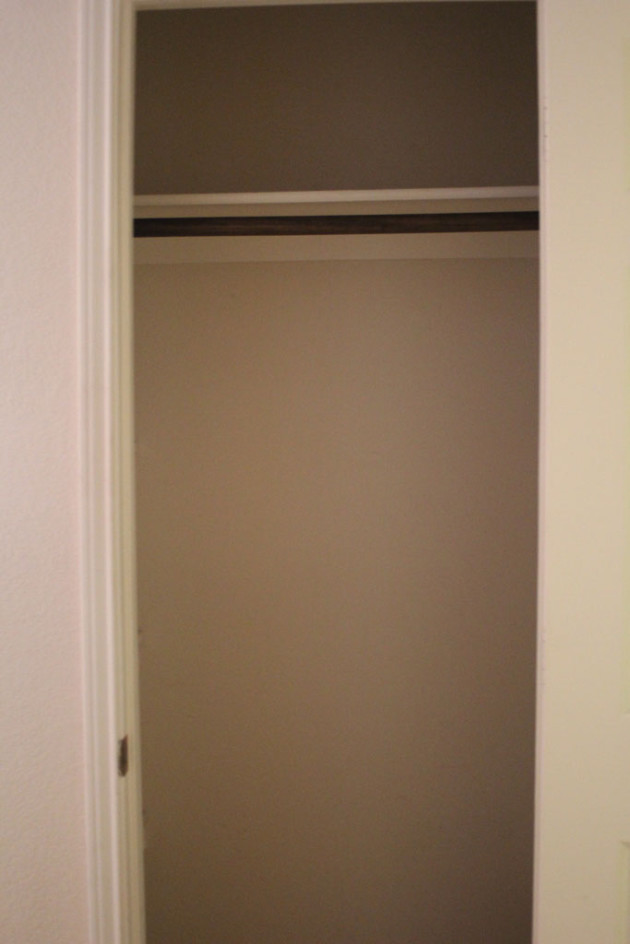
Ahhh a clean slate!

decorcloset7


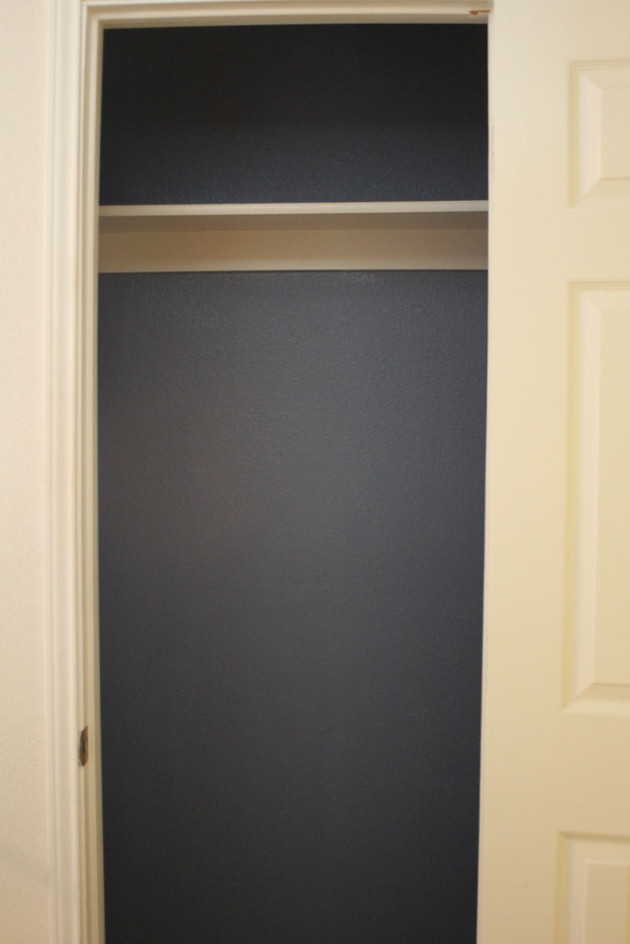
But since I still had 1.5 hours until I needed to be at church and I didn’t have the shelving to add in yet, I decided what this closet really needed was a fresh coat of paint! So I went downstairs, mixed up some leftover paint from mykitchen island/microwave cart  along with some Behr Full Moon and came up with this beauty of a color!

decorcloset4


I left the top shelf and the hardware for the hanging bar but pulled the hanging bar down for now (I’ll store it in the same closet so that it doesn’t get lost) so that if in the future I need more hanging space, this closet can be reverted back to that pretty easily… flexibility for the win.

decorcloset3


I really love that color so I wish it actually had a name, but it was about 50/50 Mood indigo (Behr in Eggshell sheen) and Full Moon. So maybe you could get Mood Indigo at half intensity since Full Moon is pretty much just white?

Now it was time to let the paint dry, and still needed to purchase the shelves.  I ended up purchasing the same shelves that we hung on either side of the tv in the bonus room, but instead of staining my own wood, I decided to go with their pre-made white shelves since they were pretty close to the exact length that I needed and would be ready immediately.  Sometimes when I’m on a roll and have momentum on my side it is best to pay the extra little bit to go ahead and get the project done before I lose some steam. The shelves are Rubbermaid from Home Depot and are in their shelving aisle.

decorcloset2

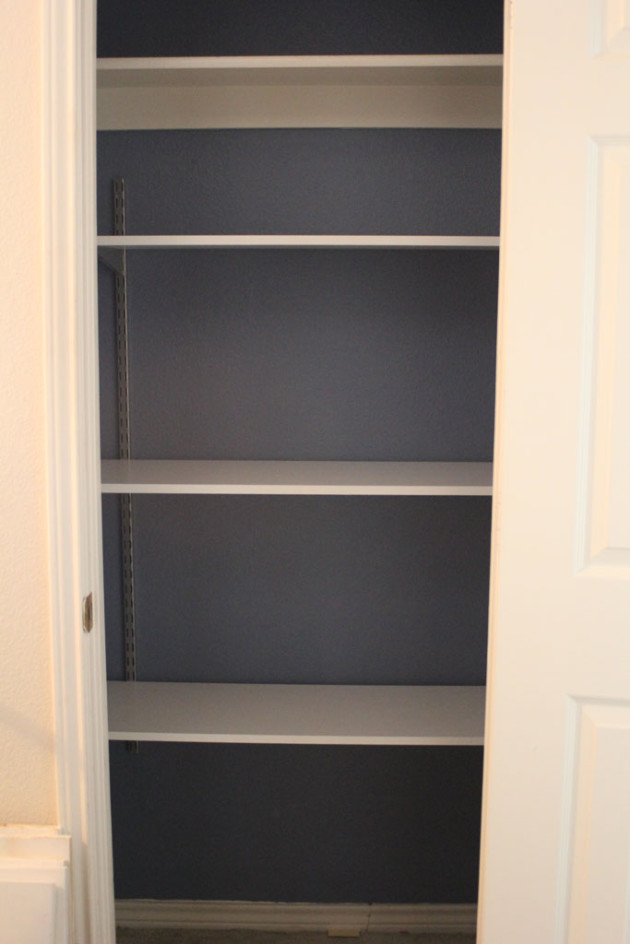
So the husband and I hung the shelves (for me, level shelves almost always require 2 people) Sunday afternoon and here is what they looked like:

decorcloset9


The closet feels about 2x bigger with the shelves in them, and I love how much room is available for storage! Stay tuned tomorrow to see them all loaded back up!

Organized Spaces

By nature I am not a very organized person.  If you believe you inherit most of your traits from your parents either by nature or nurture… then you will understand why I am totally messed up.  My dad is this hyper rational, uber organized person who likes it when everything is in its own place.  We once had a long running battle over the 3 ketchup packets he had me go remove from his clean car because I had left them there… but that’s another story for another day. And my mom thrives in chaos.  Honestly she does her best work when everything is strewn in as many directions as possible (not that she has really tried it any other way…).  Well, I inherited a little bit of both, I love when things are clean and have their own place, but by nature I get everything out at once and throw things where they are convenient not where they belong.  In other words… I drive myself crazy.

But that also means that when I have an organization system that works… it REALLY works.  So since we spent all weekend working on another dining room table (the same as the one in this link but for my brother-in-law and his new wife) but it isn’t done yet, I thought I’d show you a couple of the organized spaces that have really worked for me.

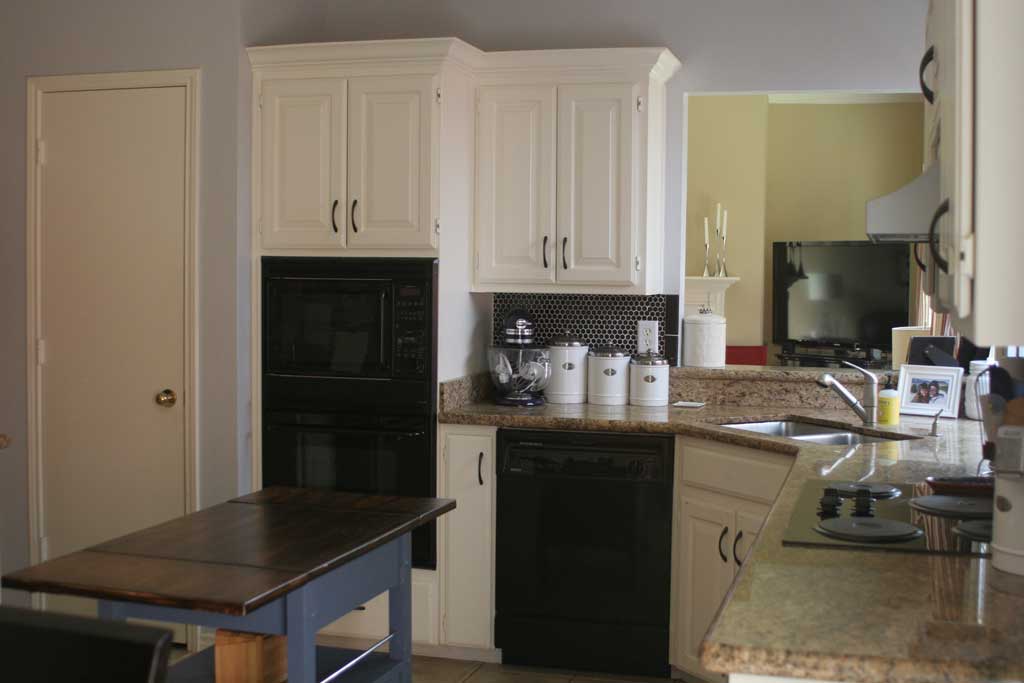
First up… my baking supplies.  I love to bake just about anything but I found that the more I bake things, the more baking things I have to store.  Since they aren’t every day items and I usually use most of them in one chunk of time, the space above our oven/microwave combo fit the bill perfectly.

kitchen-from-sliding-glass-

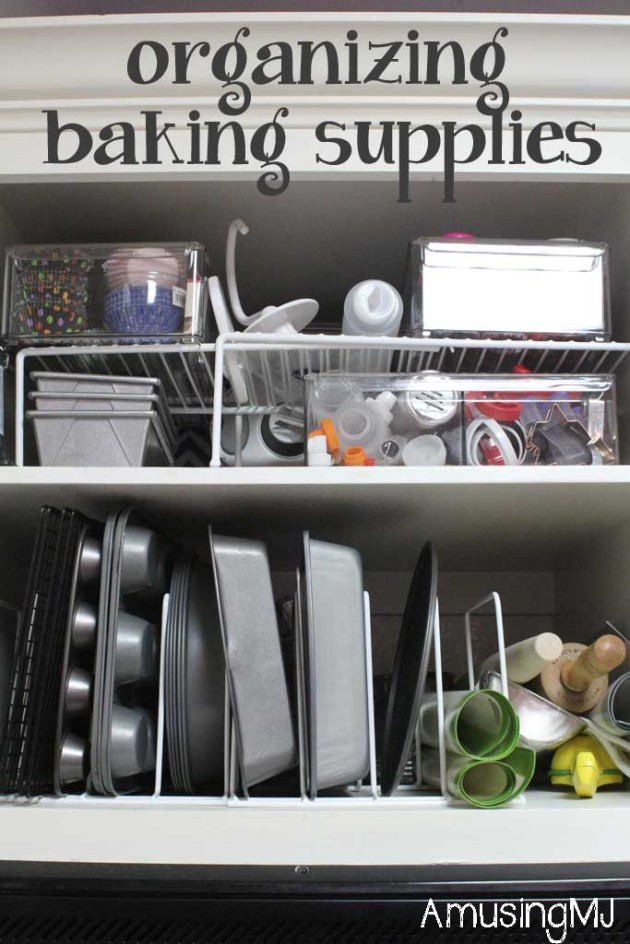
The great thing about this cabinet is that it is huge! Since it is the same depth as our oven, it can hold a lot of things.  The bad part about this cabinet is that is is huge and things EASILY get lost in the abyss.  Before our wedding I was putting things back into this cabinet and several things came crashing down on my head (have I mentioned that I am a bit vertically challenged and therefore this whole cabinet is above my head?) and I had had it with this cabinet.  So I did what any good organizer would do (trust me… I’m still not calling myself a good organizer, but you know… fake it until you make it) and emptied everything out onto my kitchen counters… assessed what I would need and then got in my car and ran to my saving grace, The Container Store.  I picked up some acrylic fridge drawers (they were the right depth), a couple of dividers, and a shelf.  When I got home I divided my goodies into their four bins; mine are: cupcake liners and decorative tops, sprinkles and food coloring, icing containers and cookie gun, and cookie cutters.  I also put my pans vertically in the dividers which means I only have to pull out one (or two) at a time and the rest don’t come crashing down on me.  And the best part of this whole thing? That cabinet has stayed almost exactly the same since I first organized it more than 8 months ago.  I took the picture below this morning without moving a thing… so if you came over today… this cabinet would look exactly like this.  That is what I call an organization win.

organizing1

Next up is another space in our kitchen that needed a little love.  Our medicine cabinet. Seriously whose medicine cabinets don’t need a little love.  It is just me and the husband that live in this house, no little rugrats, so we don’t need a second selection of child friendly medicine.  (Although we do keep it in an upper cabinet so that the younger nieces and nephews can’t get into it).  I just reorganized this one a month or so ago, but we’ve been able to use things in it for the past month and keep it exactly the same way, so I’m hopeful this will be a permanent organizing solution.  Again I picked up some of my favorite acrylic drawers from The Container Store.  I love clear drawers because they make it easy to see what I’m looking for.  I organized ours into categories and dropped them into clear bins and then labeled them with my awesome label maker (nerd alert!). And then put the labels over some washi tape to make them more visible.  This also happens to be where I store my camera bag so that it is easily accessible, so that takes up most of the second shelf.

organizing4


Happy Organizing!