White Mantle

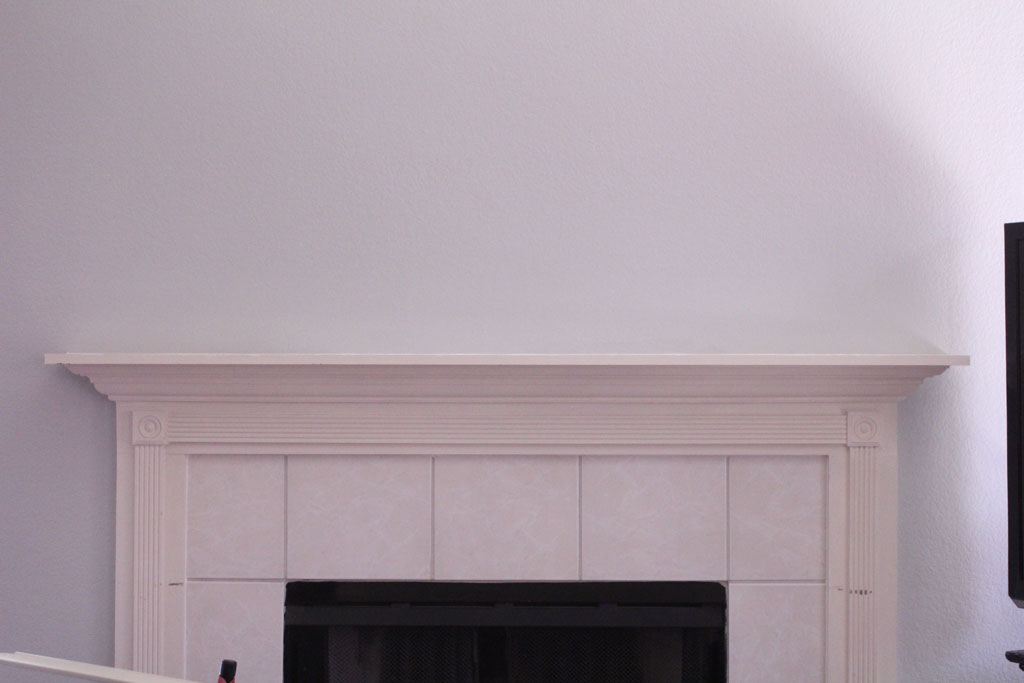
As I mentioned in yesterday’s post, when we painted the living room and hallway, I also decided to paint the fireplace surround.  It was more like: the husband ran to home depot to pick up a light switch cover and this mantle painted badly with flat cream paint drives me CRAZY every time we are watching TV, wonder if I can paint it before he gets home (the answer to that btw is NO).

mantle2

But since we already had everything taken down and moved to the center of the room, I went for it anyway.  I used Behr’s Ultra Bright White (the base color) in Semi-gloss since that is what I had on hand. Since it is trim and I was using glossier paint which tends to show streaks, I used Floetrol as an add in.  Theoretically it makes your paint less likely to leave brush marks.  I’ve had pretty good success with it, so I use it. (That link is for a gallon, I bought a quart a while ago and still haven’t used it all up, so just buy the quart… but that will show you what the bottle looks like).

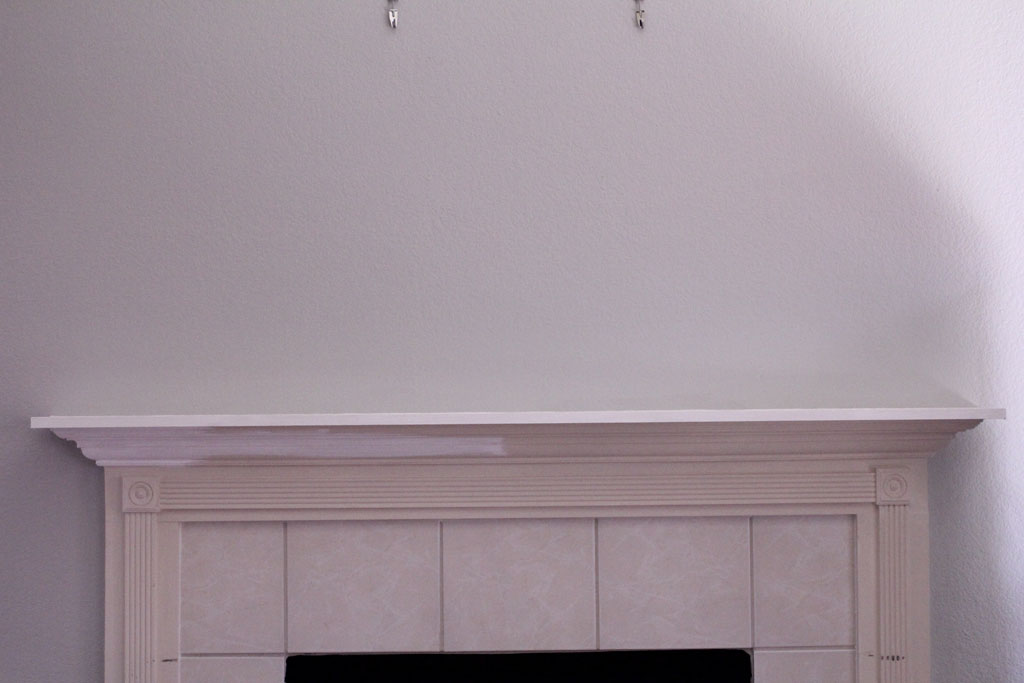
Here is my mantle in the middle of the first coat of paint.  It is amazing to me how NOT WHITE it was.  My baseboards already didn’t match this very well.  They are whiter than this, but not BRIGHT white.

mantle


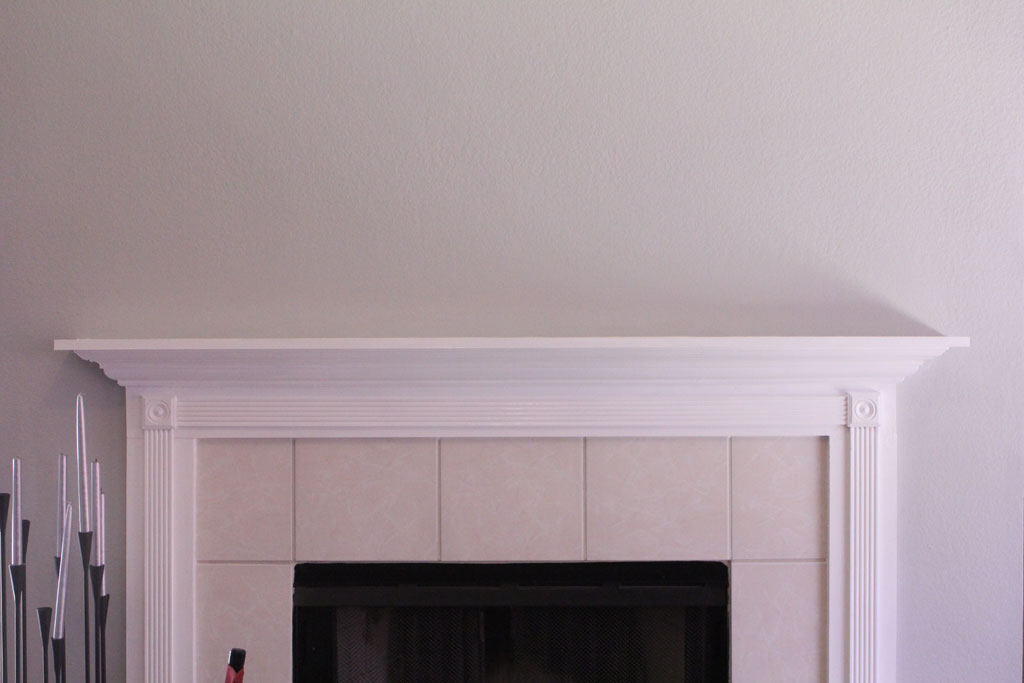
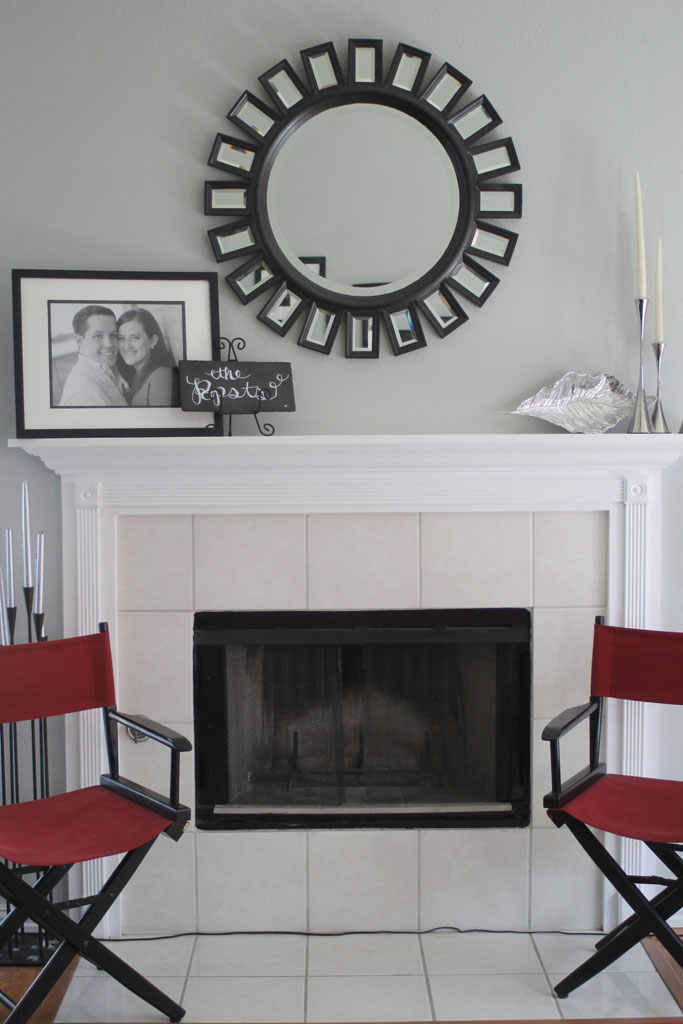
And after two quick coats of paint, the mantle was looking SO FRESH AND SO CLEAN! I like that it made the gray pop a little bit more.  It did bring out the cream in the tile a bit more, but it doesn’t bother me.

mantle1


I think the white makes it look not as tired as before.  SUCCESS.

Living Room Switcheroo

WHOA guys… I’ve been a little MIA lately, but I promise it hasn’t been because I haven’t done any projects lately! In fact quite the opposite! But between finishing up quite a few projects at home and work being crazy busy, I haven’t been able to keep you guys up to date! But I promise that’s going to change this week, get ready for a bunch of update posts!

This weekend the husband and I celebrated our one year wedding anniversary. (If you are nosy like me and want to see all the posts about our wedding, go here) And if you know me, you won’t be surprised to learn that we celebrated by doing a few major house projects!! (We also went to a fancy dinner, so have no fear… I wasn’t a slave driver all weekend).  I decided I wanted to get rid of the beige in our living room and hallway.  I’d been searching high and low for just the perfect gray color when I read Young House Love’s post about their show house and the master bedroom had the perfect color gray that I had been looking for. It is Benjamin Moore’s Stonington Gray.

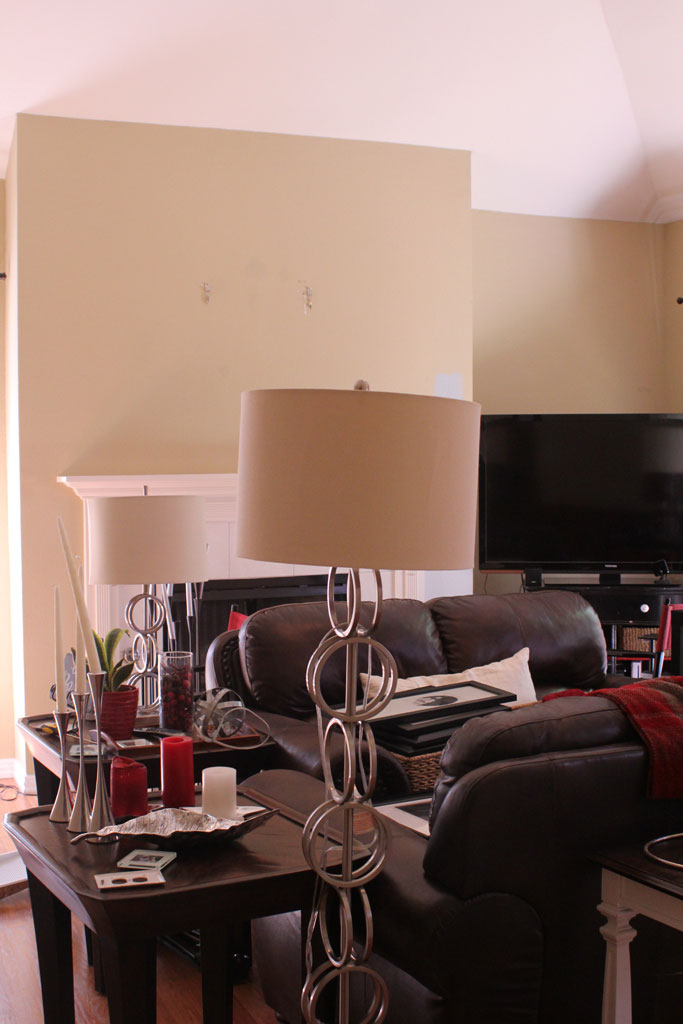
The husband and I tested it out (in several LARGE swatches across our living room walls) and the slightly darker color on the same little test page.  And just to show that I have NO SHAME, I did this right before we hosted our weekly small group at our house.  Meh, they didn’t mind.  Here’s where we left our little living room:

mirror12


So we took all the things off the walls, rolled up the rug and moved the furniture to the middle of the room, and we were ready to paint.  livingroomgray6

We didn’t bother to tape or cover the floors, I do all the edging freehand and the paint if/when it splatters, pops right off the laminate floors, so its not worth the hassle.

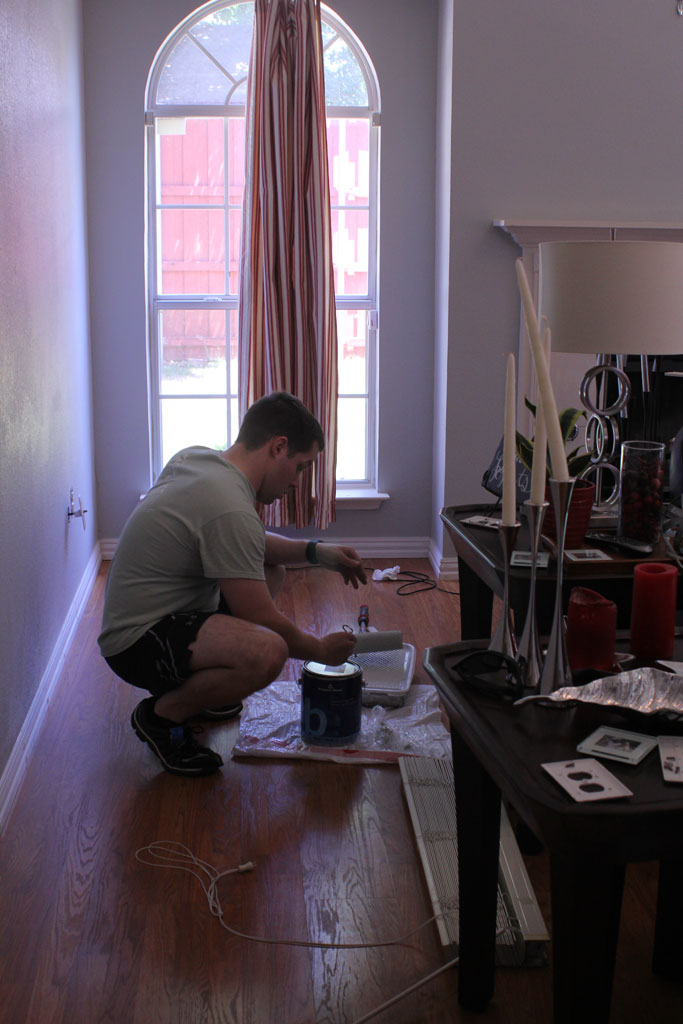
Here is my husband being such a good little minion and helping me paint all day Saturday.

livingroomgray7


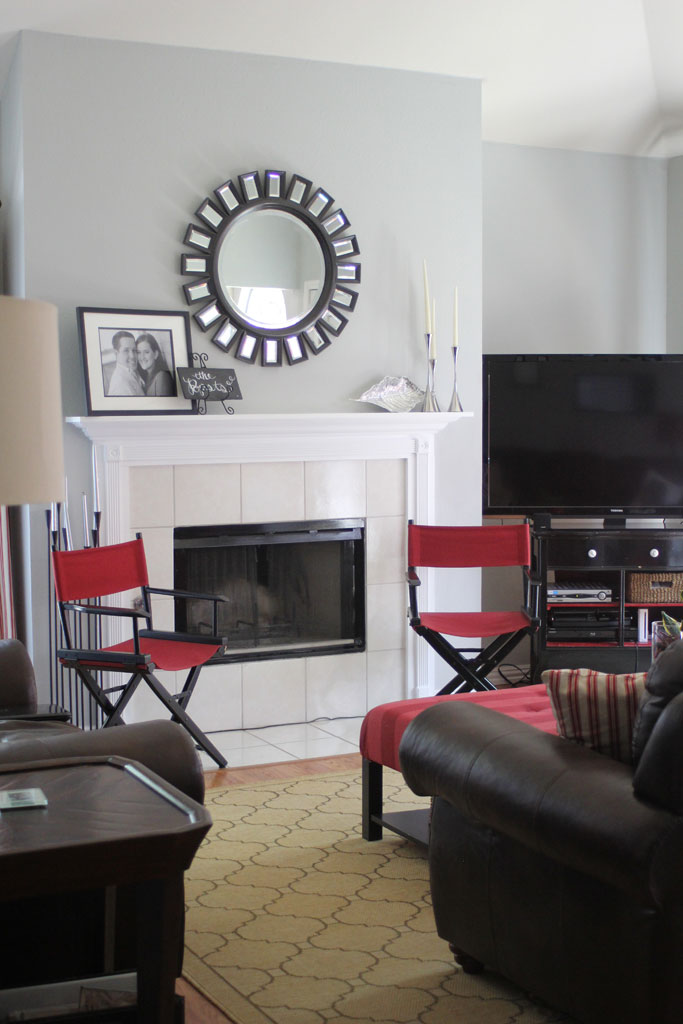
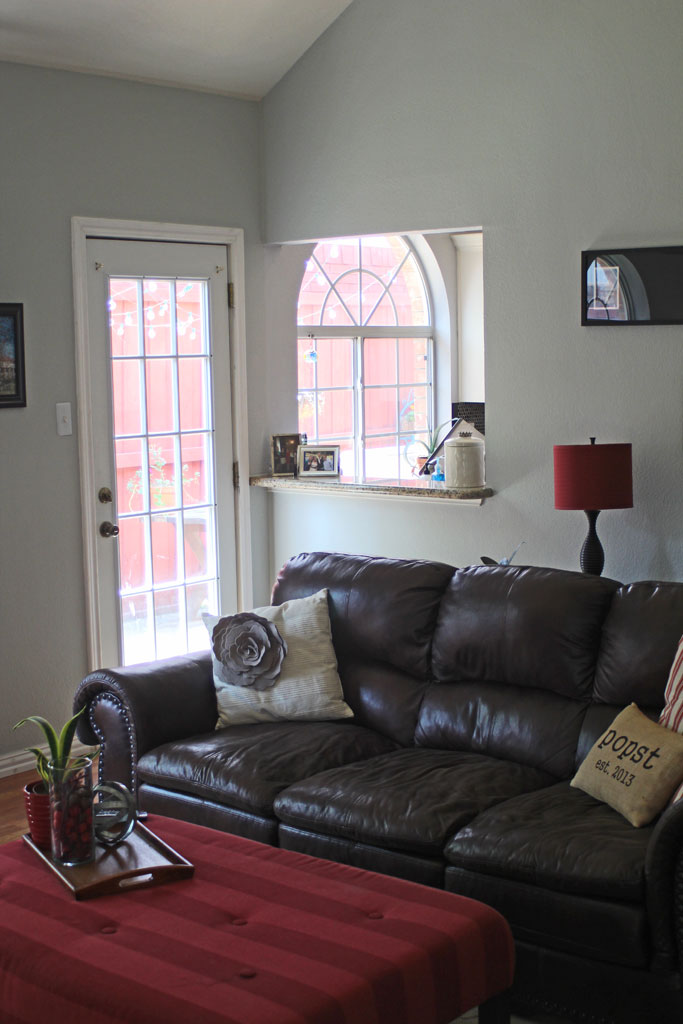
The color is a little off in that picture, but want to see what it looks like now??

livingroomgray4

livingroomgray

livingroomgray2

livingroomgray3


I love how much lighter and brighter it feels in there!! I haven’t decided if I’ll make a few more tweaks to the room without the beige, but I’ll let you know!

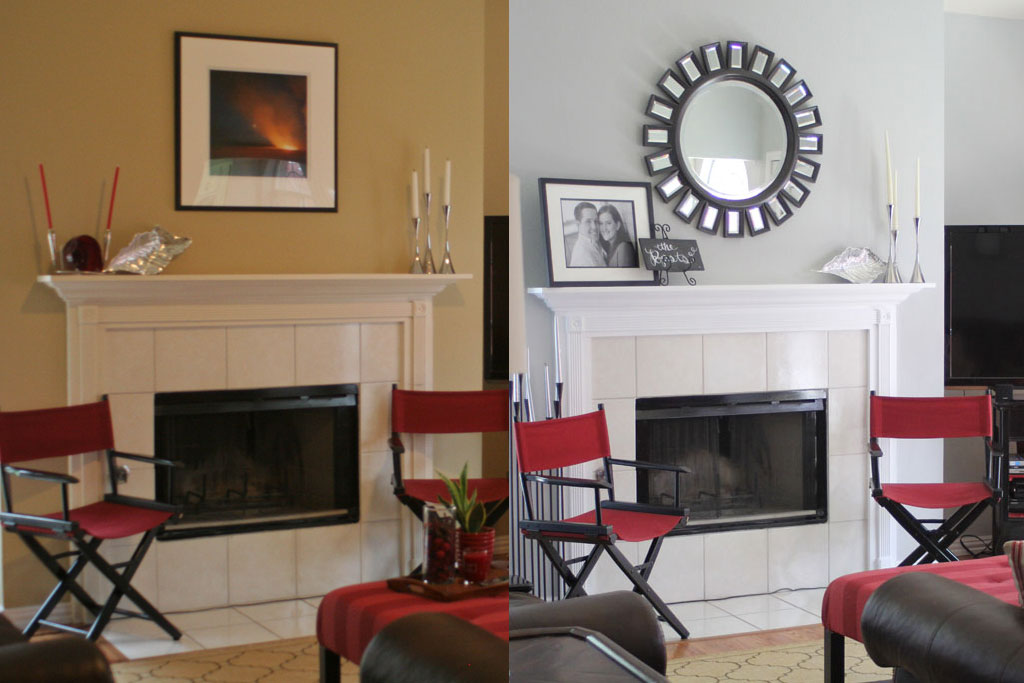
One more before and after:

livingroombeforeandafter


And no your eyes aren’t deceiving you, I also gave the mantle a fresh coat of white paint instead of the beige-y cream flat paint that was on it before. But I’ll post about that later this week!


Mirror, Mirror

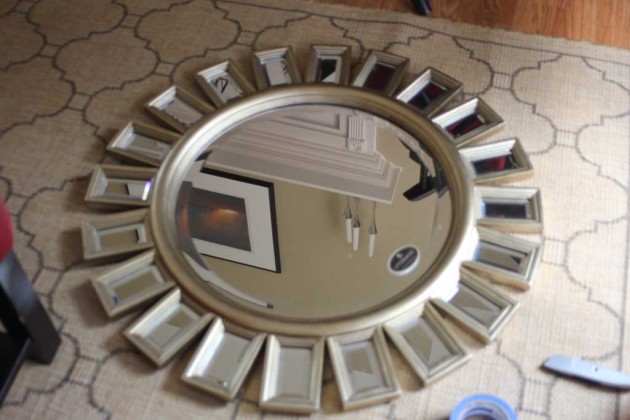
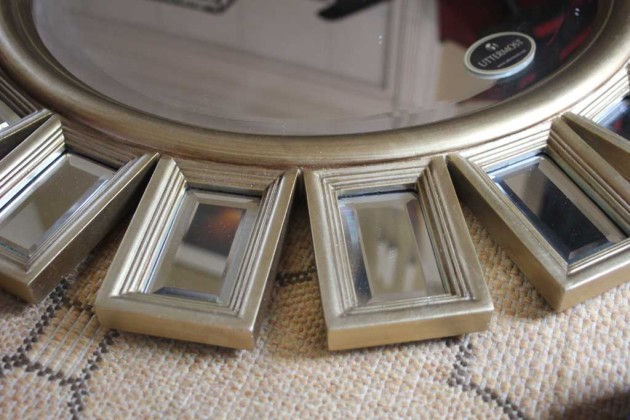
Some friends of mine had an extra mirror at their house that they weren’t going to use, so offered it to me for F-R-E-E and so I jumped on that opportunity! The gold isn’t really my style, but I loved the shape of it! And I knew that with A LOT of painters tape and some spray paint, this baby would look much more my style. (Ignore the blurry picture… apparently my camera thought I wanted a super in focus picture of my living room upside down and I didn’t notice)

mirror

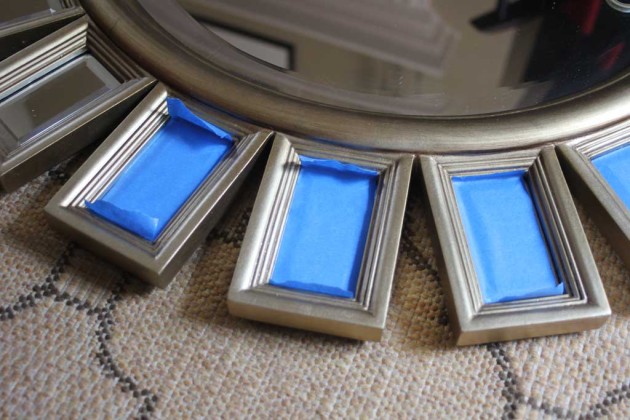
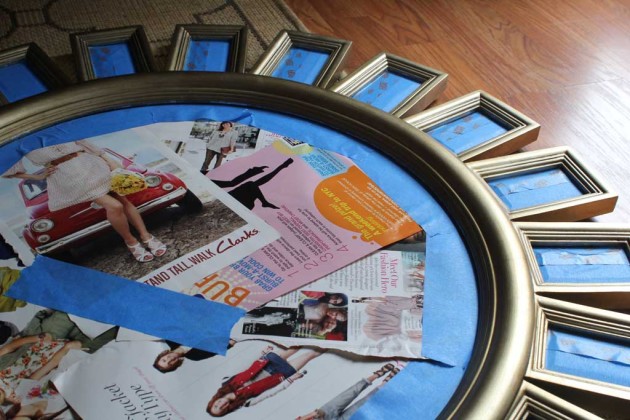
In order to prep this guy for spray paint I needed to cover all of it’s mirrored surfaces with painters tape, so I put on a good TV show and started the process.

mirror1

I found it most efficient to lay the tape down on 6 or seven at a time, being sure to push it into all the crevices.  Each little hole was a little wider than the wide painters tape, so I added another strip of  thinner tape overlapping.

mirror10

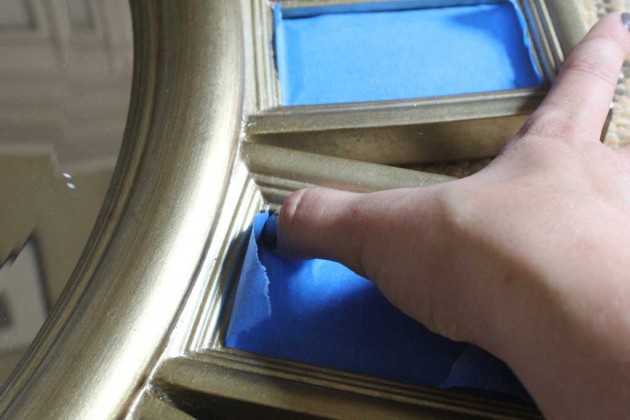
I used my thumb to make sure it was down into the crevice.

mirror3

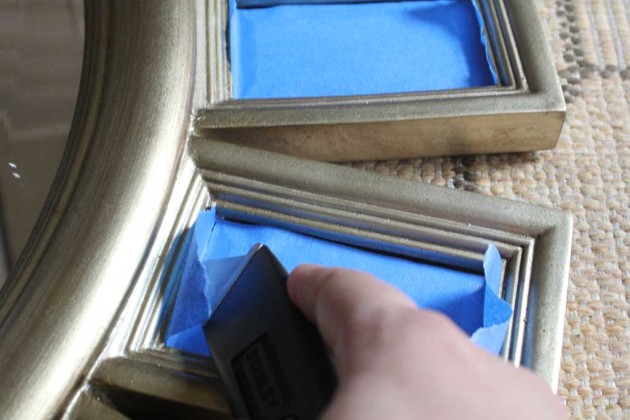
Then I took a utility knife and cut each piece at both ends to cover just the mirrored part but leave all the gold exposed for painting.

mirror9


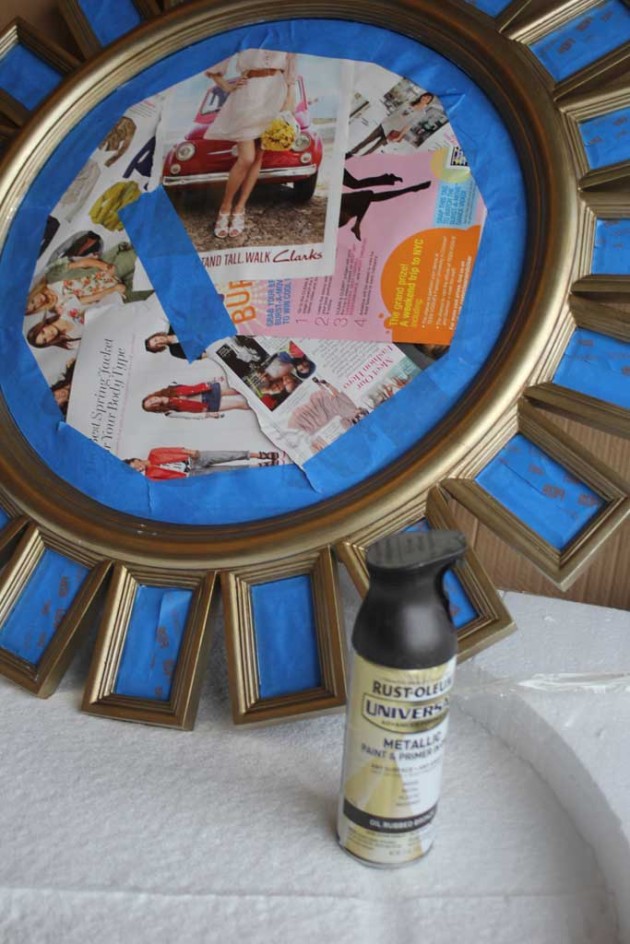
After covering the middle with magazine pages and more painter’s tape, this baby was ready for her color change.

mirror8


I took her outside and I used this spray paint in Carbon Mist. If you look really carefully in the picture below you will see that the can says oil rubbed bronze, well…. about one coat in, I realized I was pretty much out of oil rubbed bronze (and my experience with this paint is that when it gets to the end it gets MUCH splotchier).   mirror7

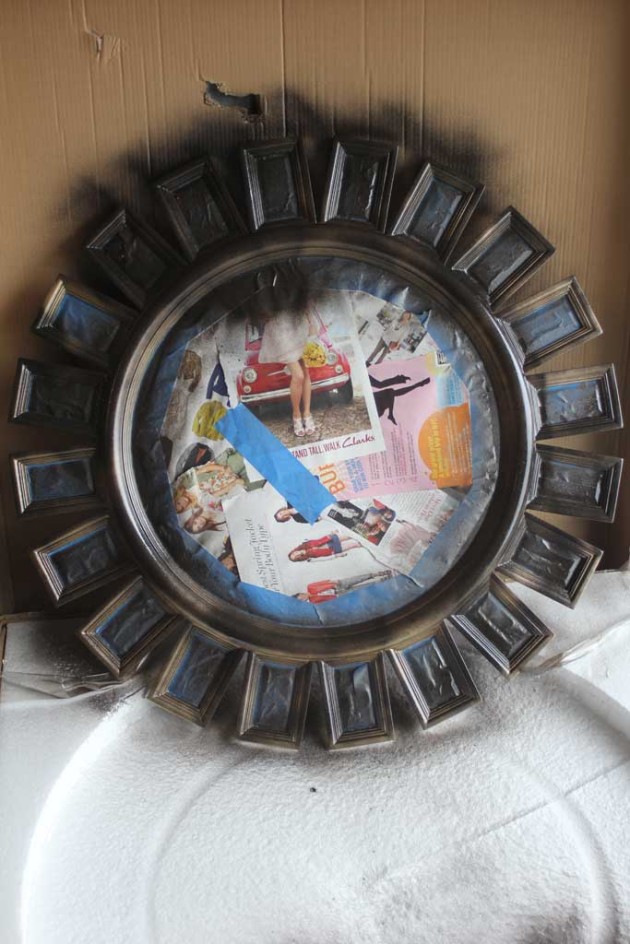
So I made a SUPER FAST trek to HD and decided I’d rather have it a more truer black, so I picked out Carbon mist for the second and third coat of spray paint.  My SUPER FAST trek is because you are supposed to apply the second coat of spray paint within an hour or wait 24. And patience is not a virtue I possess.  1 hour it is! Here is how she looks after one VERY THIN coat of Oil Rubbed Bronze:

mirror6

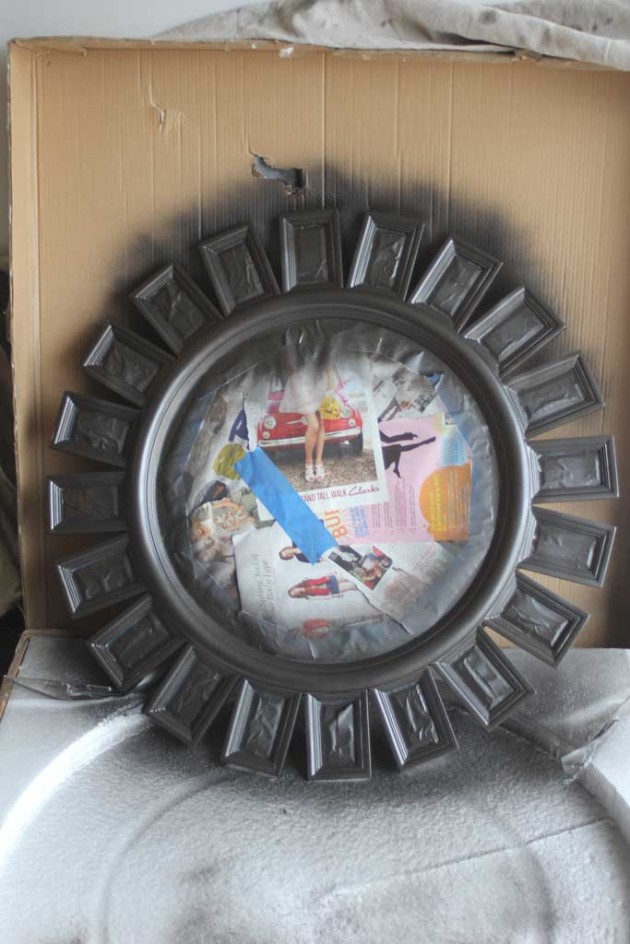
As with all spray painting, each coat should be VERY thin (the above picture shows what almost all of my first coats look like) and you should keep your spray can moving at a moderate pace. This is what it looked like after the second coat, you can see a few spots that need a little more, but for the most part it looks covered and not splotchy:

mirror4

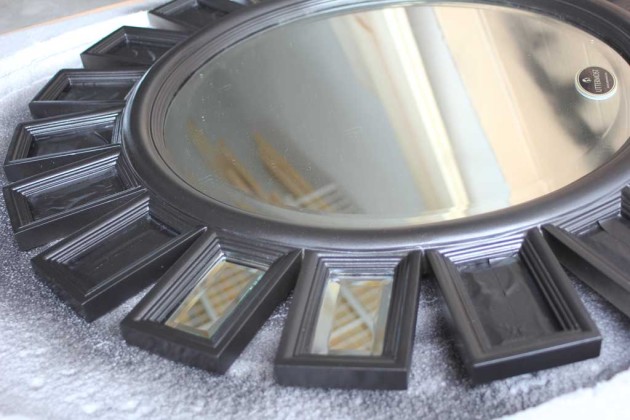
And as soon as I put the third coat on and it dried enough to barely touch, I started pulling the tape up.  I used the knife to help me scrape the tape up from each corner and pulled it the rest of the way off.  Pulling it up before it has dried hard makes it less likely that you pull up some paint with your tape.  Plus its fun to get immediate results!!

mirror5

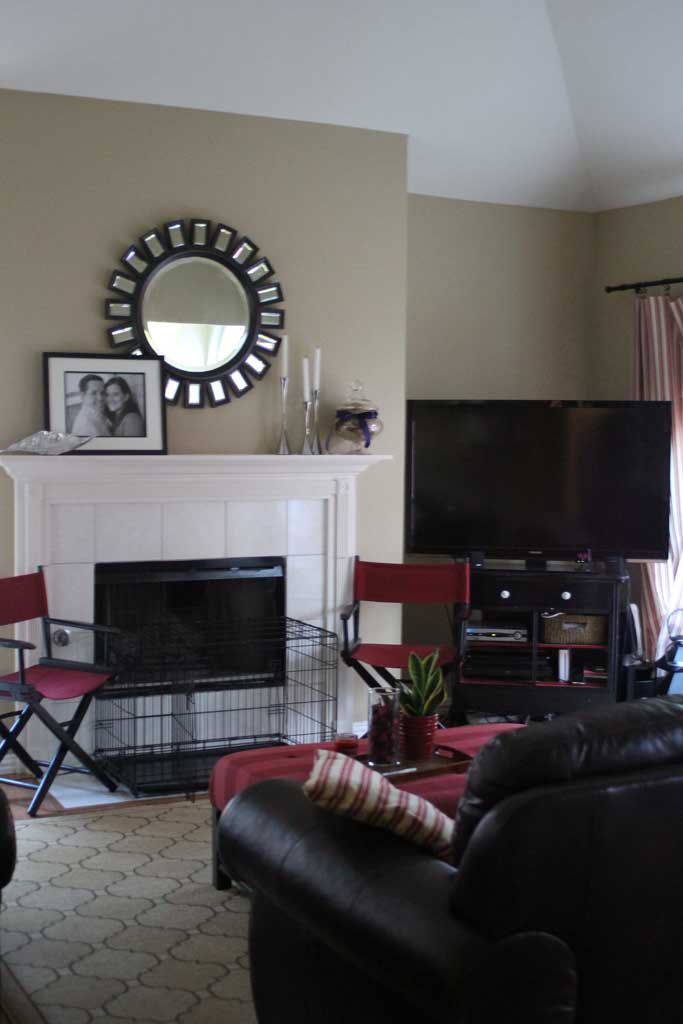
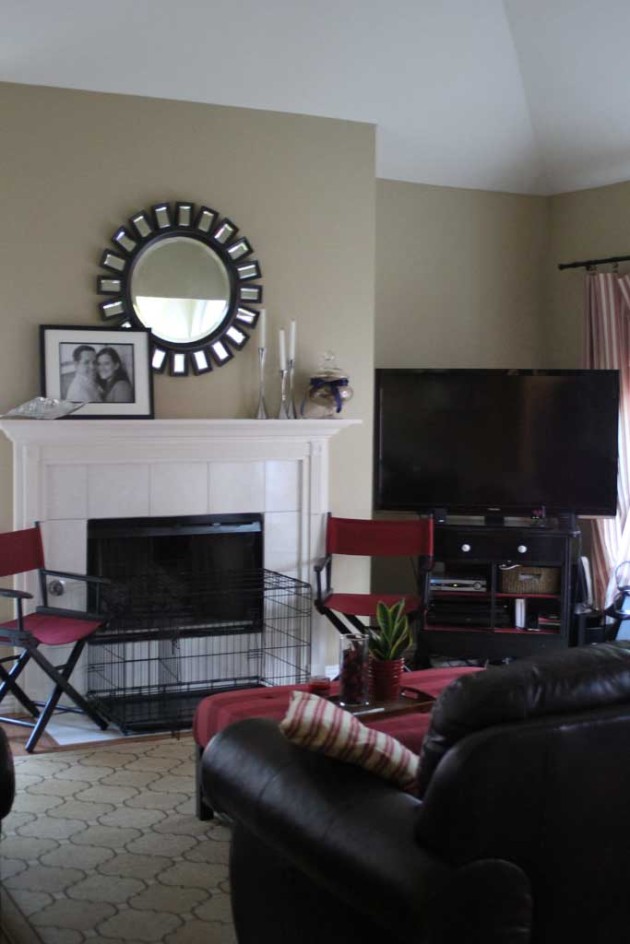
And after I let her dry for a day in the garage, the husband and I hung the mirror above the mantle.  I hadn’t changed the mantle decor since I had moved into the house and had decided the picture that hung there before (see the perfectly in focus picture at the top of this post) would go really well in the foyer, so I thought this would look great above the mantle!

Don’t let the dainty gold from her original state fool you, this beast was HEAVY.  We had a few minor obstacles to successfully hanging it above the fireplace, (the husband hammered his thumb pretty good, and scraped my foot when I fell off the stepladder) but once it was hung it looked GREAT! And I better like it because it isn’t going anywhere for a LONG TIME.

mirror12

Excuse the picture with the dog crate in it… this is real life, and since my nice 70 lbs scared-y cat of a dog is afraid of the sprinklers, her crate can’t be against any windows.  Plus she loves this spot where she gets to watch all the goings on at the house, choosing to be in here 99% of the time, even when she isn’t locked in there. And before you dog lovers start thinking I’m a cruel dog mom… she will get a crate pad when she can go a week without eating it.