Hacking the Lack

**If  you found your way here by way of IkeaHackers, Welcome!!! Check out some more of my favorite projects on my projects page!


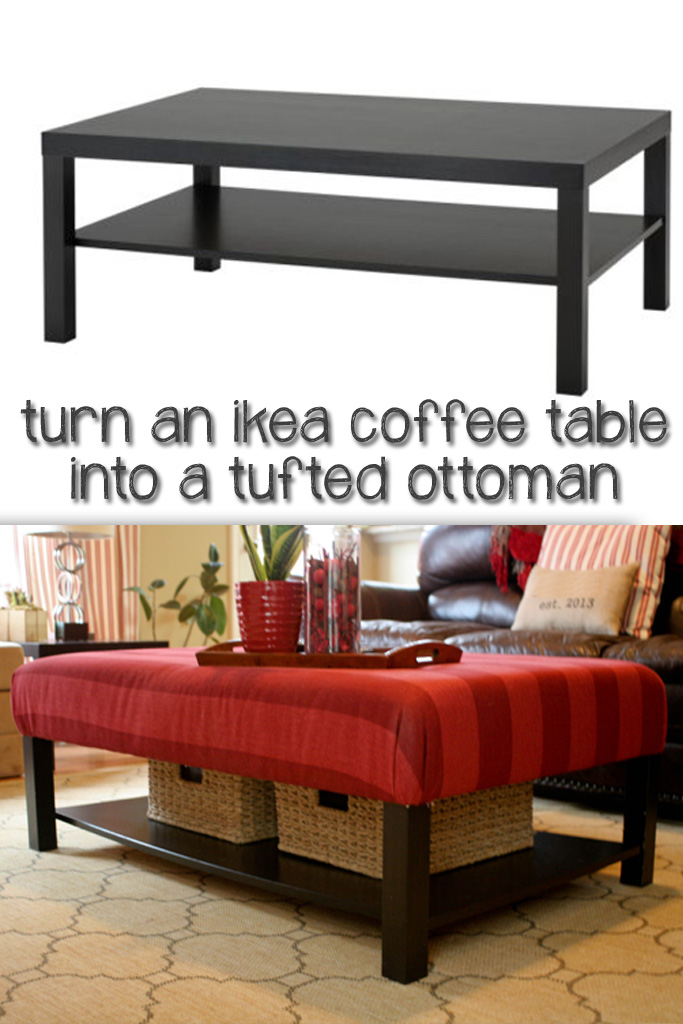
When I moved into my first apartment it was literally less than a mile from IKEA. Since I was a single college grad on a budget, I purchased almost everything I didn’t inherit from there.  You just can’t beat the clean design and did I mention how cheap it was? On that list was a Lack Coffee Table and a couple of Lack side tables.  Seriously a side table for 9.99? Fast forward a few years and I’m slowly but surely replacing some of the cheaper options with a little sturdier stuff, especially since Lexie had turned my coffee table legs into her chew toy when she was a puppy.  (That was actually part of my logic in getting a dog when I did.  I didn’t want her tearing up my nice new furniture, I’d get the dog, then start replacing furniture when she was older… i.e. quit using furniture as teeth sharpeners).

I had my eye on a few tufted ottomans, specifically this one from West Elm:

 Essex Upholstered Ottoman

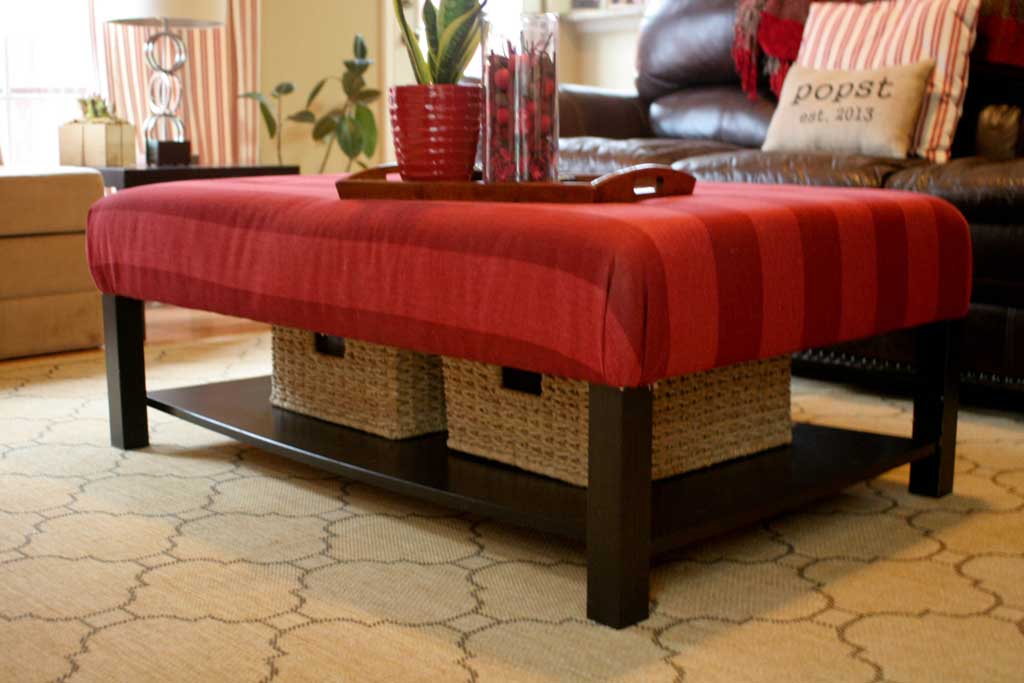
But coming in around $330 before tax seemed pretty steep for a coffee table.  Especially since the one I was replacing was coming in at $40 bucks. So I googled around and found a few blog tutorials on how to tuft your own ottoman. I sort of merged all the ideas together.  I knew I wanted mine to be thick, so I waited until the 5″ foam batting was on sale at JoAnns. If I remember correctly it was about 75 dollars a yard, and I needed two yards.  I got it for 50% off, so for my two yards it was about 75 dollars.  I already had the upholstery fabric on hand, so I just needed to pick up a little quilt batting, an upholstery needle, upholstery thread, and some buttons I could cover with the fabric. I’d say all together the materials cost me around $100 dollars.  (sorry for the awkward from above angle… but these are surprisingly hard to photograph!)  living-room-ottoman-from-to
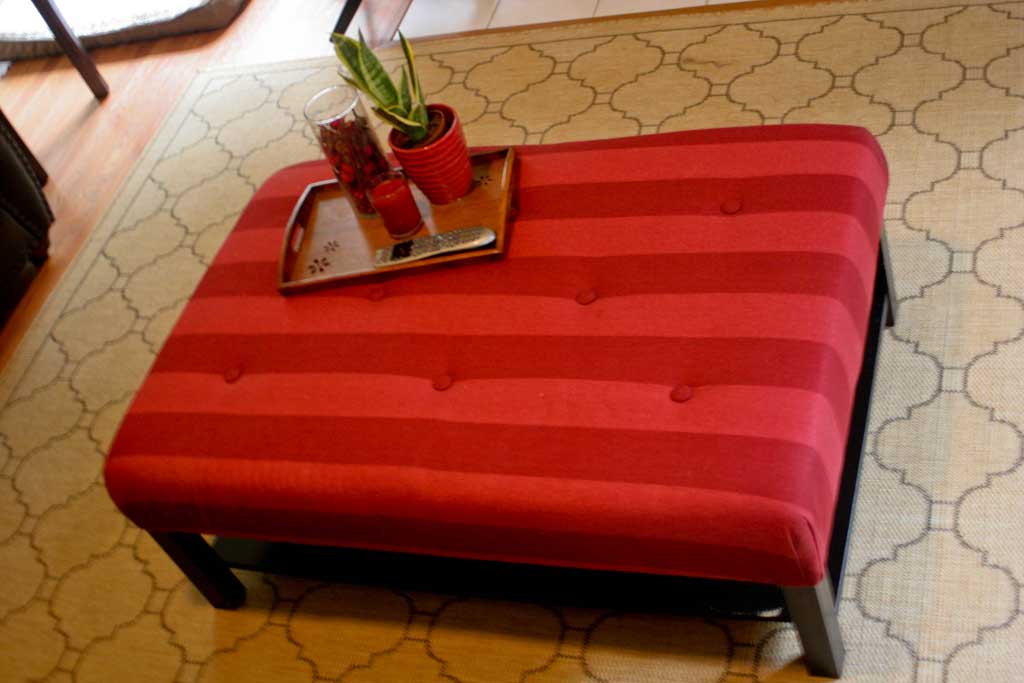
Unfortunately I did all this before I started blogging, but its pretty simple and there are tons of tutorials online, I did similar steps to this tutorial from the DIY Showoff.  I added an extra layer of cotton batting on top of my super thick foam along with the already thicker top of the Lack table made my tufted ottoman have more bulk. I also added the ‘tufts’ after staple gunning my fabric and cotton batting, which I think makes it a little tighter of a fit.
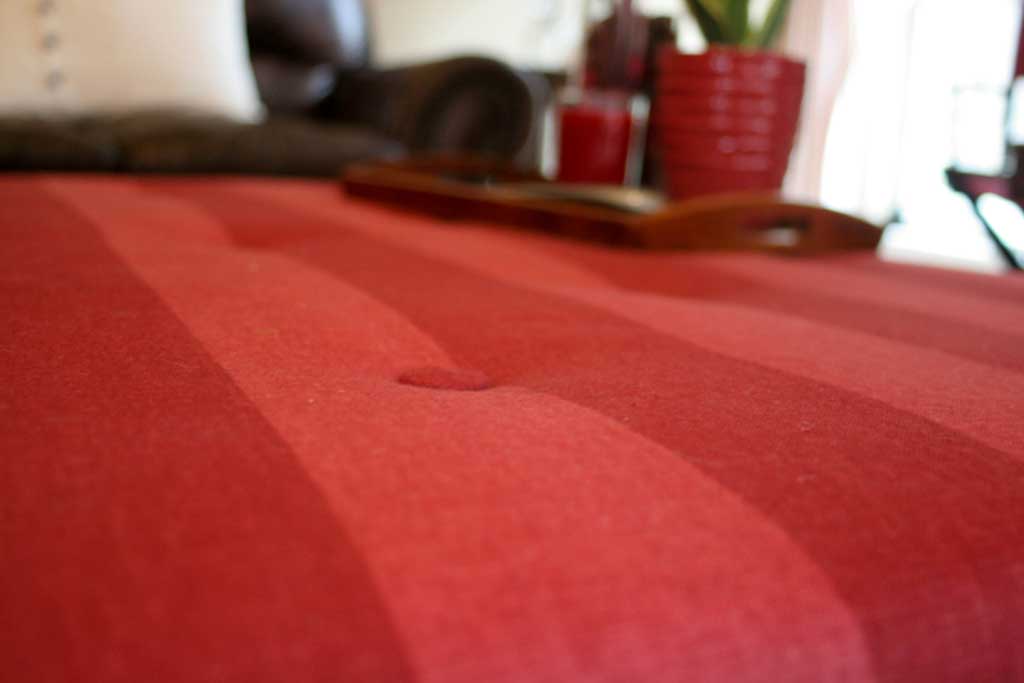
living-room-ottoman-up-clos

Since this made my coffee table disproportionately taller than my couch I took the table legs out to the garage and cut about 4″ off the bottom so that it would rest closer to the ground.  But fortunately the shelf still sits about 1″ off the ground, so I can still store my beloved blankets for tv watching in the baskets below.
living-room-ottoman-from-si

And voila, I had a beautiful tufted ottoman!

vertical-before-and-after-o

Backsplashin’ It Up

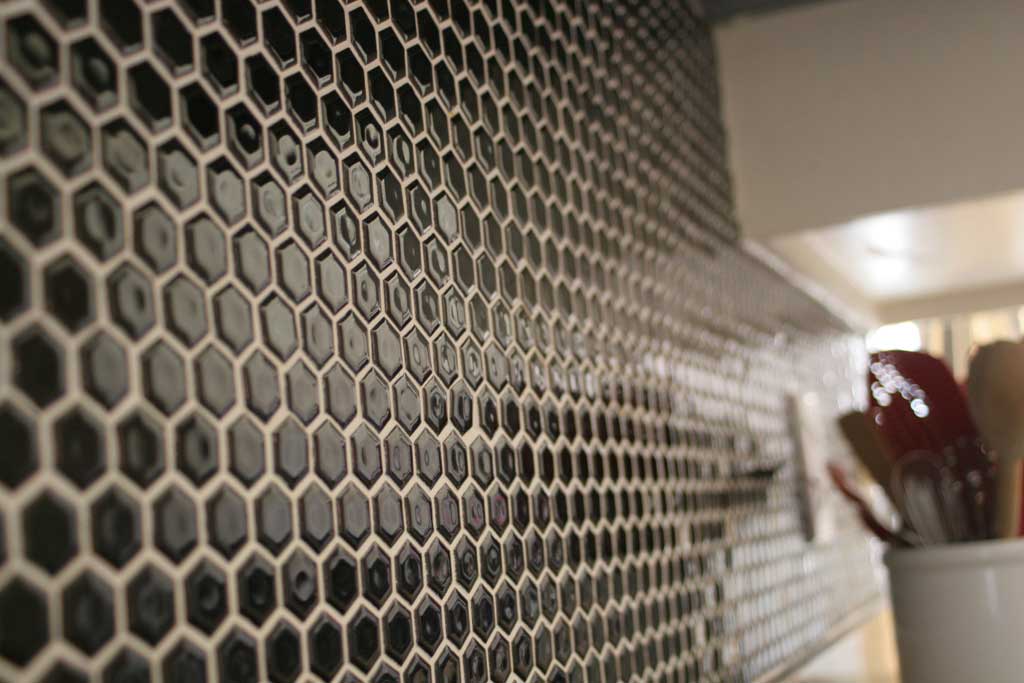
One of the biggest projects we undertook in the kitchen of this house was tiling a backsplash.  I found this black hex tile from The Tile Shop and ordered a box (without even measuring… which I don’t recommend since I have a TON of black hex tile leftover…oh well, I’ll just have to find another project to tile!)

It sat in my garage for about 6 months before I got the nerve to start my first tiling project.  But it turns out, tiling is super easy! The hardest part for us was ‘nipping’ the black hex tiles to fit smoothly around the edges and the outlets.  It was a good thing we had lots of leftover because it took a lot of trial and error to figure out how to do it best.  My best recommendation is to follow this tutorial from Young House Love.  That was our go to way of getting them all cut and laid out to fit.  Is it perfect? Nah… but perfect is boring. And I love how fun the backsplash is and definitely ties the black from the granite counter tops in.

kitchen-backsplash-closeup
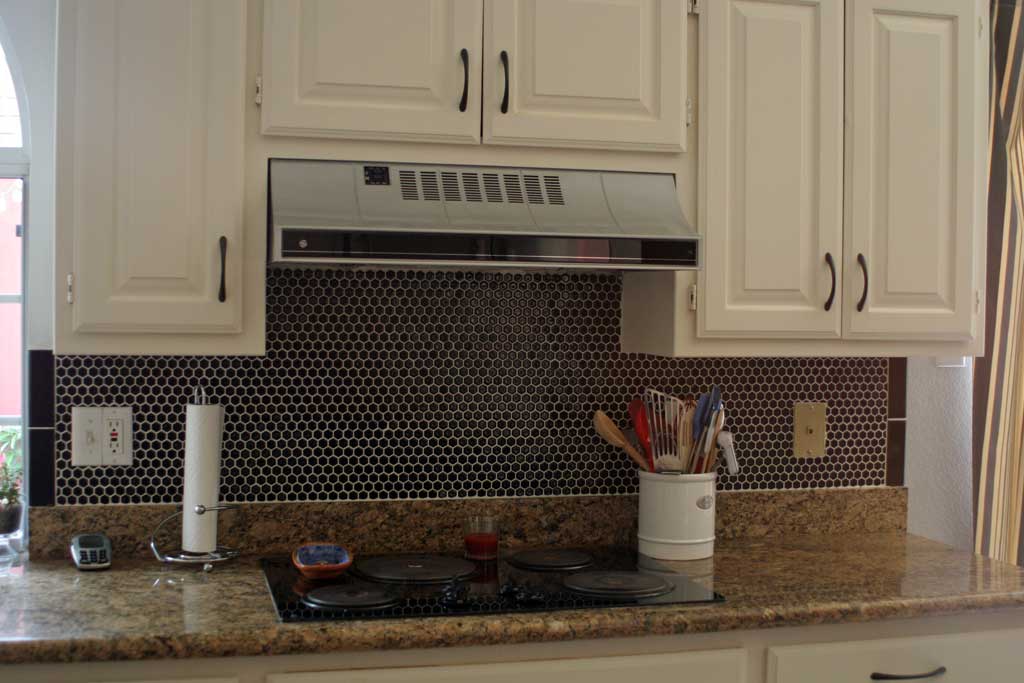
Since we did this before I started blogging, I don’t have any in process shots for ya, but its pretty straightforward.  We used the already mixed thinset since this project didn’t take more than the one little bucket HD sold, then placed our tile up in its 12×12 sheets.  For the parts that didn’t take a full sheet, we laid it out on the floor to get the layout/cut the sheets prior to slathering them up on the wall.  And for the larger portions we staggered the sheets so that you couldn’t tell where one started and the other ended.  Once they were all up, we took a step back to make sure there weren’t any obvious seams or gaps since the thinset was still soft enough to adjust a little here and a little there.   kitchen-backsplash-stove

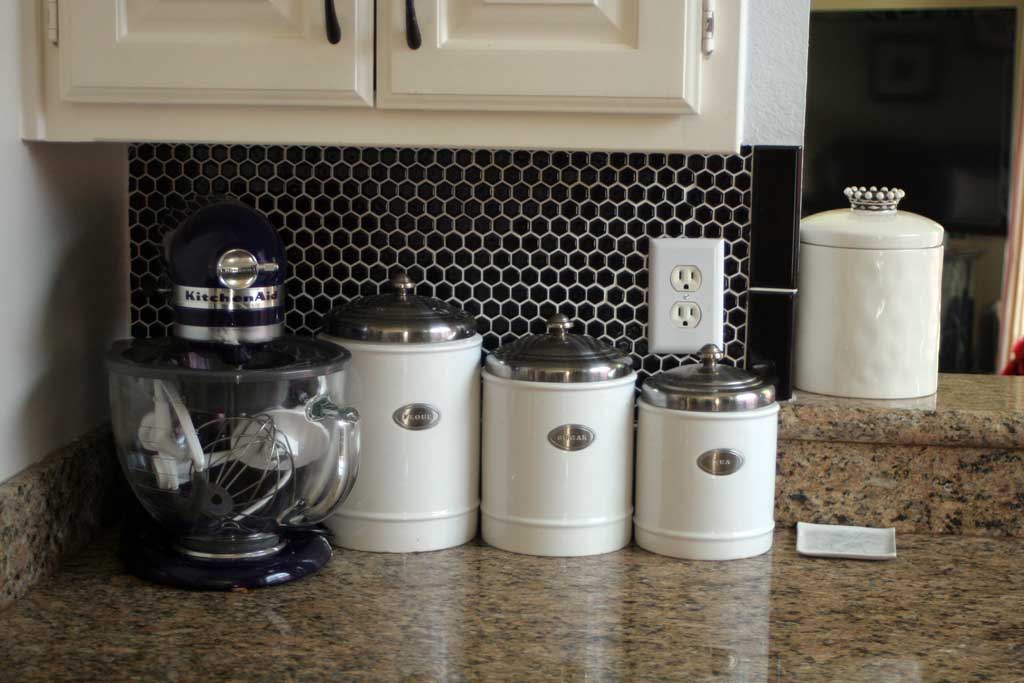
And as you can see there aren’t very many places where is looks uneven, so I was pleased with the results and the process. For the edges we just place black bullnosed subway tile from HD.  I think we ended up needing 8 of them, so they weren’t a big added expense and really provided a great way to mark the edges! kitchen-backsplash-mixer

The Ever-Changing Little Microwave Cart

When I was renting a 1920s house with almost 0 counter space my twin brother gave me his old microwave cart that looked very similar to this one:

313aVdEFcdL._SL500_AA300_.jpg

photo from www.kitchencontraptions.com

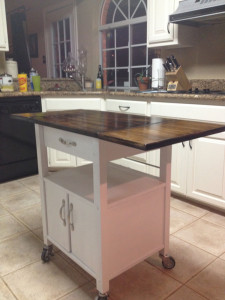
I think he originally bought it from Target for somewhere around $75.  Since that light wood finish didn’t match ANYTHING in my kitchen, I gladly repainted it.  But I wanted it to be a little more exciting than just plain white, so I painted the bottom half white (with Rustoleum’s Semi-Gloss White).  and then sanded and stained the top half using Minwax’s Dark Walnut.   kitchen-cart-before

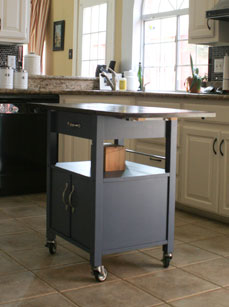
This is what it stayed like for a long time, and there is just something I love about the clean look of white wood with a dark wood top, but once I painted the kitchen a light blue, the stark white of the bottom clashed a bit with the not quite off white of the cabinets.  So I decided I needed something with a little jolt of color thrown in the mix.  I went and bought a quart of paint from Home Depot.  The color is a Behr color, but I can’t for the life of me remember the name or find the old can, when I do, I’ll update you!   kitchen-cart-after I just taped off the wheels and the top and painted the bottom.  It took me maybe 45 minutes of work time (with a few hours of dry time in between).  And I love how fun it looks in the middle of the kitchen.