What’s Going on in My World

So for the last few weeks I have had MAJOR project ADD.  I can’t decide what project to start on, work on, etc.  I think this is probably pretty normal, especially after 3 months of being in a new house.  For the most part everything is unpacked, livable, kind of how we want our house to be.  But on the other hand, there are a lot of things that aren’t as organized or how we want them because we are waiting on something else.  For example: My craft closet (and by extension that bedroom) are a total disaster because I haven’t had time to put a desk in the craft closet, so every time I want to work on a project I drag my sewing machine, embroidery machine, and cutting board onto the desk and floor in that guest room.  Then every time I work at home, I drag them all back into the closet so that I have enough space to work at that desk.  (The pic below is the CLEAN version of that room)
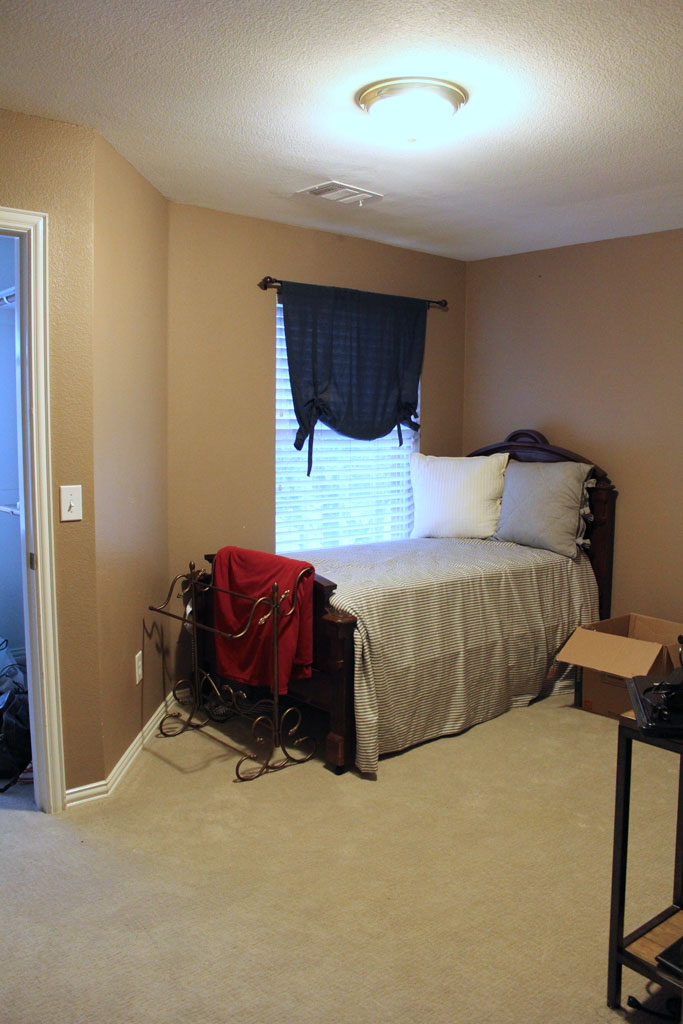
newoffice1

Or as a second example our laundry room is right off of our kitchen, which is very convenient for moving laundry along, but it means when the laundry spills out of that room it is basically at our kitchen table.  And the cheap-o drying rack we have used forever only fits on top of the dryer, which makes it even LESS stable.  I have plans to make (and have bought all the supplies) this guy to hang on the wall but it requires painting the dowels and wooden pieces and its been TOO DANG COLD to paint anything.  So I’m hoping for some time this weekend to get it done.
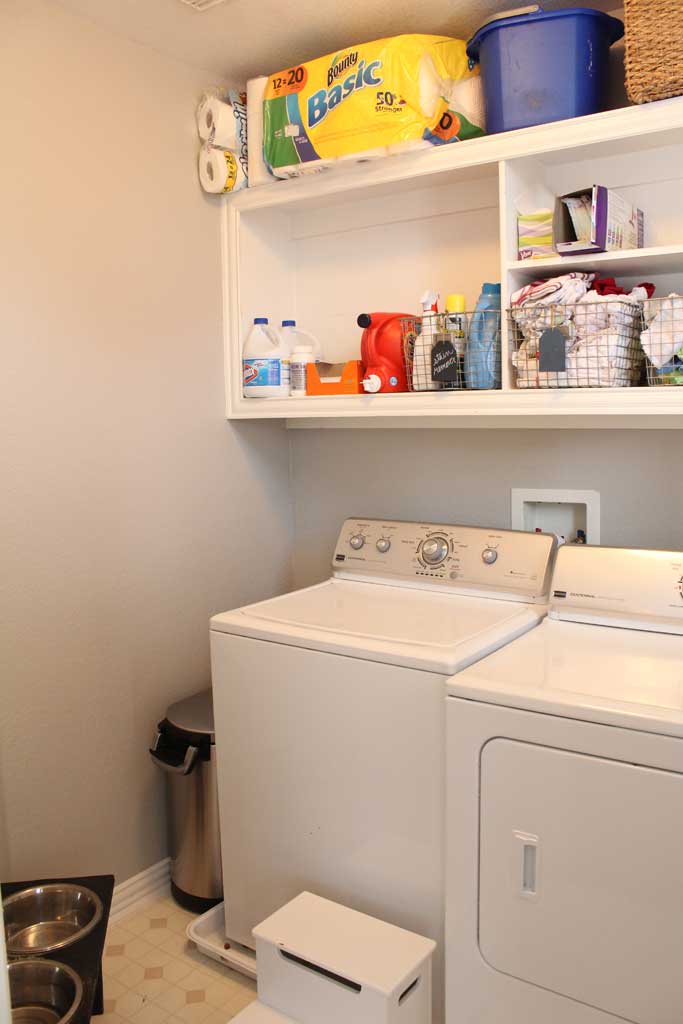
laundryroom

These are what I call snowball projects… it starts with a small thing I want to do, but in order to do the small thing I have to do a bigger thing first, but that requires a bigger project too and pretty soon I’m working on a huge project that I didn’t really intend to.

Like re-doing our guest bathroom.

I got a little stir crazy a few weekends ago and decided it was time to strip the wallpaper in the guest bathroom downstairs (the only truly hideous room in our house) and never having stripped wallpaper before I thought this would be a fun little project.  HA. HA HA.  Two weeks later and several hours long peeling sessions, I’m about halfway done, the bathroom looks FAR worse than it did before and I’ve tried several methods of wallpaper removal–all to no avail at making it any easier.  (these pics were the first session of peeling when we were using the steamer).  Oh and somehow in this process we knocked the tube out of the toilet which made water (fortunately clean water) go all over the floor every time you flushed.  Since we didn’t know this is what we had done and just knew the tank spilled water all over the floor every time we flushed, we called the plumber to come out to fix our problem.  He spent about .2 seconds reconnecting the tube while I sat mortified that I’d called a plumber to fix such an easy problem.  HOME OWNERSHIP for the win.
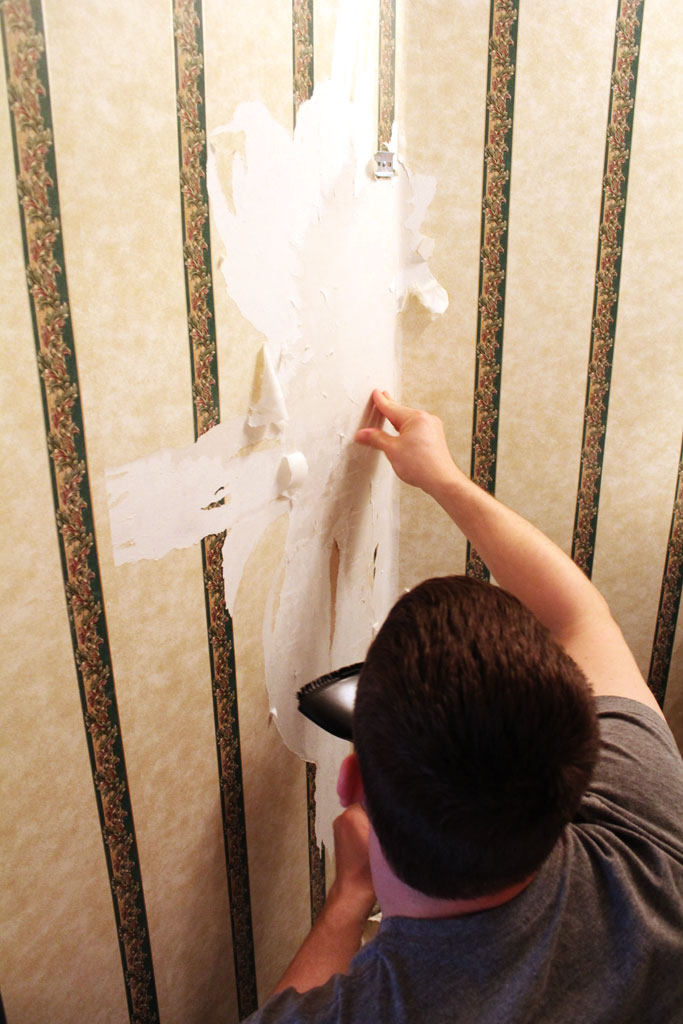
wallpaper1

Apparently if you properly apply wallpaper there will be some barrier between the drywall and the paper, but there definitely was not on ours.  So a few places has pulled off the top layer of drywall paper, so I’ll also be learning how to skim coat a wall before we are able to paint this bad boy.  Fortunately it is a small space… unfortunately I’m STILL not done stripping wallpaper, so I’ll have a full post for you guys on that sometime in the next few weeks (hopefully!!) wallpaper

And in other project ADD, I ordered this bookshelf from World Market (pick up in store so I didn’t have to pay 80 dollars in shipping) since it was a nice large bookshelf in the style we like for 325 dollars with tax and everything!
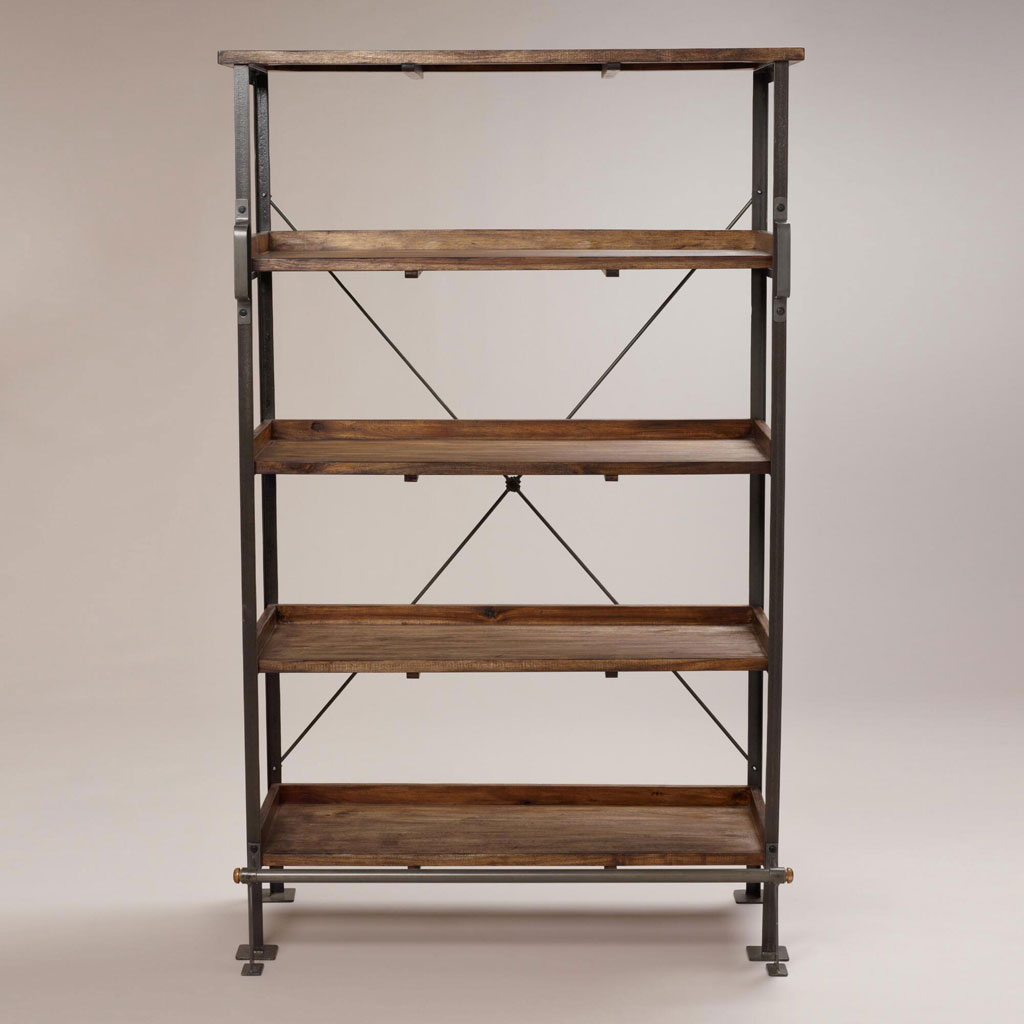
emerson-bookshelf

I got it assembled yesterday, so I’ll snap a few pictures of it and show you what it looks like in our bonus room tomorrow.  I love it!! And it’s still on sale, so snap one up if you like it!

Anyway, this post has been as scattered as my projects have been lately, but that gives you a glimpse into where my head is at these days!! And the good news is we are supposed to have a few more nicer weeks of weather so hopefully I’ll be able to focus and get some projects done now that I can be in the garage again!

Bump Update Week 23

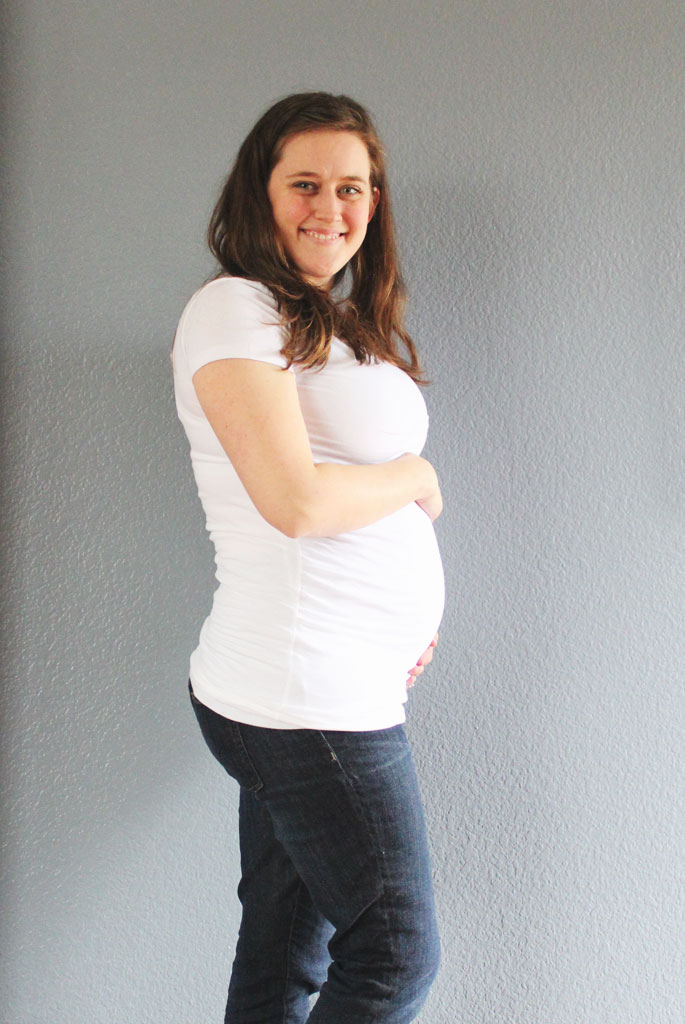
You would be amazed to know how hard it is to remember to take a weekly picture! I somehow forgot on Sunday afternoon (my usual time to take since I’m home during daylight hours), so thanks to daylight savings I had an extra hour yesterday to squeeze one in. (And FYI that is the only good thing that came out of daylight savings this week. Am I the only one having trouble waking up this week?)  But in that one hour, Reese wasn’t home… So this is the best I could manage with me, a small tripod and a chair.

week23


Baby’s Size: She is just over a pound and almost a foot long now! She is mostly just skin and bones right now, but will be starting to fill up the cute little baby rolls very shortly!

Baby’s Progress: Her lungs are busy developing and her taste buds are developing even more as well.  Mostly it is just business as usual and everything is growing strong and more developed.

Weight Gain: This week I gained another 1 lb, so I am up approximately 5 lbs from where I started.  I am definitely starting to feel the toll that a big old belly can take on your body, so its hard for me to mentally imagine what I’ll feel like on week 38 or 39.

Sleep: I’m going to go ahead and blame it on Daylight savings, but sleep in the last few nights has been elusive.  Although it could also be because Lexie decided she would start sleep training us early and decided night before last that she wanted to go play in the rain at 3am.

Milestones: Thanks to my sister-in-law who is an amazing gift giver, I received a care package this week complete with diaper bag and a gift certificate for a Prenatal Massage.  Which I immediately turned around and made an appointment for this last Sunday.  There is just something I love so much about going to a spa and getting a massage.  Definitely not a regular event for me, but it was such a welcome one!! (Although I do have to say… they are VERY gentle with the prenatal massages and I kind of missed the larger woman who went to work on some of my sore muscles during a pre-pregnancy massage… but safety first!)

Favorite clothing item of the week: I’m pretty much living in Gap Maternity T-shirts and Maternity Jeans these days, so I’ll have to go with those this week.  Although I am amazed at how much of my dresses are stretchy enough to fit just fine during pregnancy.  I’m glad I didn’t invest in very many maternity dresses!

Symptoms: My only symptom this week has been a sore back.  I’m trying to focus on standing up straight and maintaining good posture.  I don’t know how women who stand all day for work do it when they are pregnant!

Workout: I went walking with a friend on Saturday morning.  This is my favorite form of exercise; you get to catch up with a friend and are doing something good for your body!! We maybe should have turned around a bit sooner than we did, but it was a beautiful day to be out and so fun to walk around Whiterock Lake!


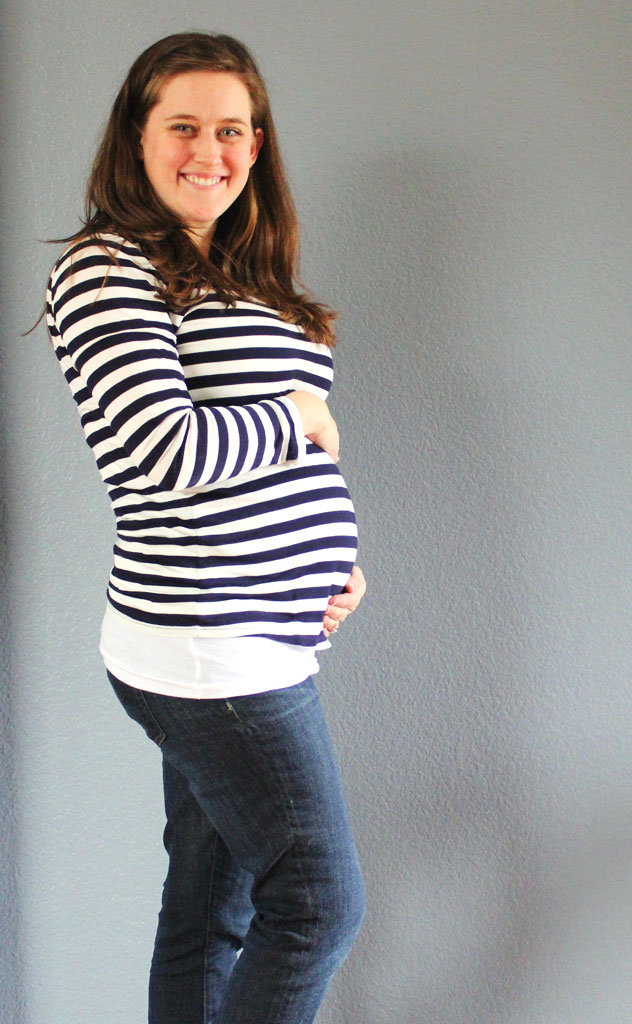
You get a bonus picture this week! As I was taking my picture I was so worried about getting it done before dark and setting up the camera that I totally forgot to change into my white shirt! But of course, its the best picture of the bunch… so I thought I’d share! I like taking them all in the white shirt because it is easy to compare from week to week, but there is something fun about the colorful one!

week23-colors

Crinkle Toy

I realize that this is my 3rd baby related post this week, so apologies for those of you who aren’t really in that phase of life! And apology number two, I really wasn’t sure how this project would turn out, so I didn’t photograph it during daylight hours, so the pictures are pretty terrible, but the project turned out so well that I had to share it!

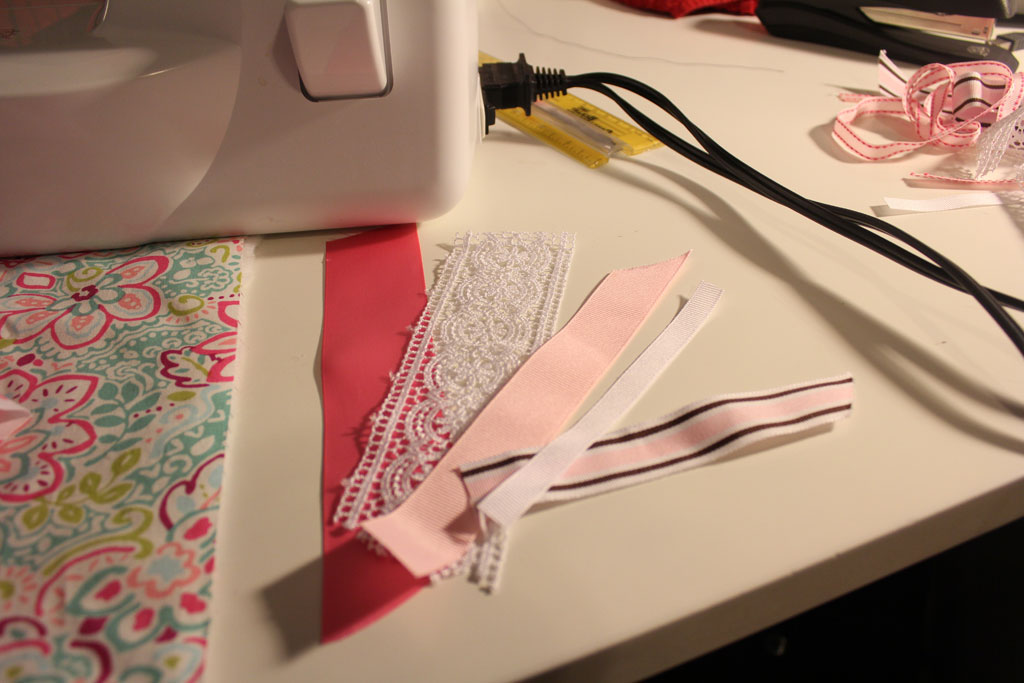
I have seen several toys for young babies with the ribbon pull tabs and always wanted to make one (I have boxes of scrap ribbon that I just knew would be perfect for a project like this… remember me the hoarder? This is why).  I literally made this project with all things I had on hand in my craft scraps and one random kitchen item.  That random kitchen item? A Cheez-It bag.  I had read on a sewing blog sometime a while back (can’t for the life of me remember which one) that to make a child’s toy have that crinkle sound that they love so much to use a cereal bag (washed, of course) on the inside.  So when I decided to make this toy for a friend, I just decided to wrap all the fun things into one toy and add in a crinkle layer.  But since we didn’t have any empty cereal bags, I settle with the recently finished off Cheez-It bag.

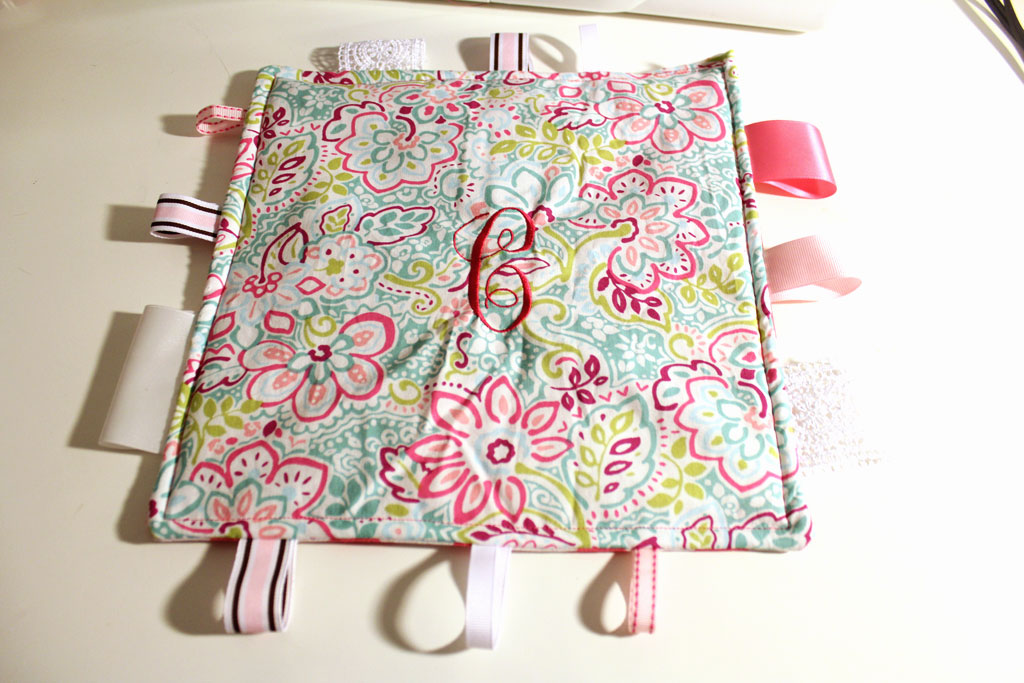
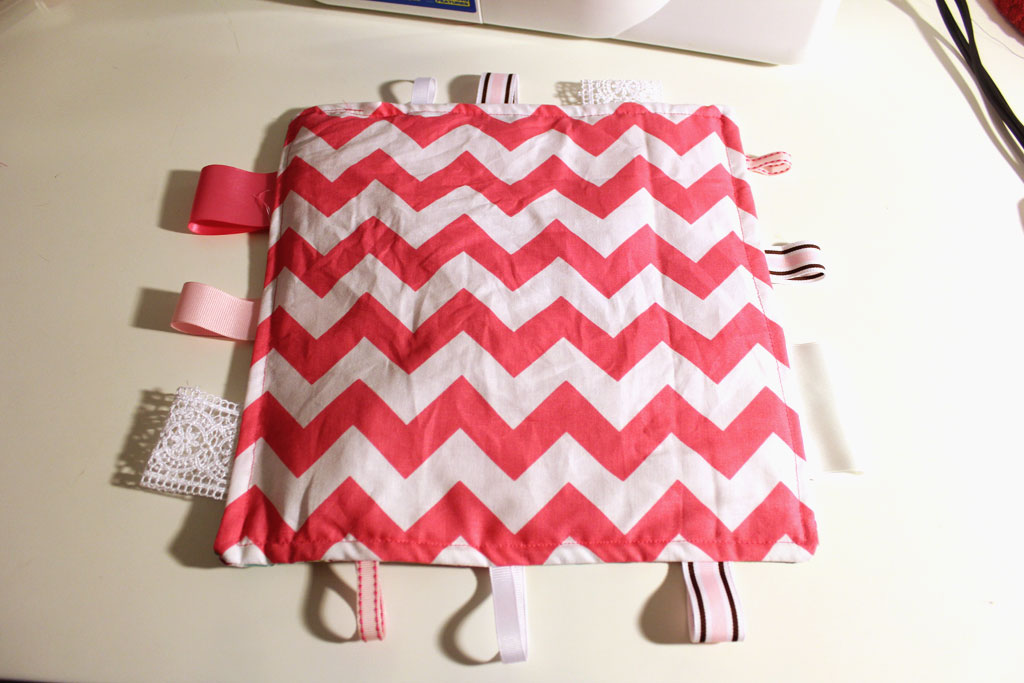
So here is what I made:

crinkletoy4


First I used my embroidery machine to put her initial on, but that is a totally unnecessary step if you don’t have an embroidery machine! My two fabric pieces are 12×12, but depending on what size you want, you can adjust accordingly.

So here’s what you need:

  • two pieces of fabric 12×12
  • an empty and washed cereal bag (or other snack food bag) cut to 12×12  (mine actually wasn’t tall enough to do 12×12 so I just made it 12″ wide)
  • 12 or so pieces of various ribbons approximately 5 inches long
  • one piece of 12×12 batting (optional if you want to make it a little more cushionier)

crinkletoy1

crinkletoy5

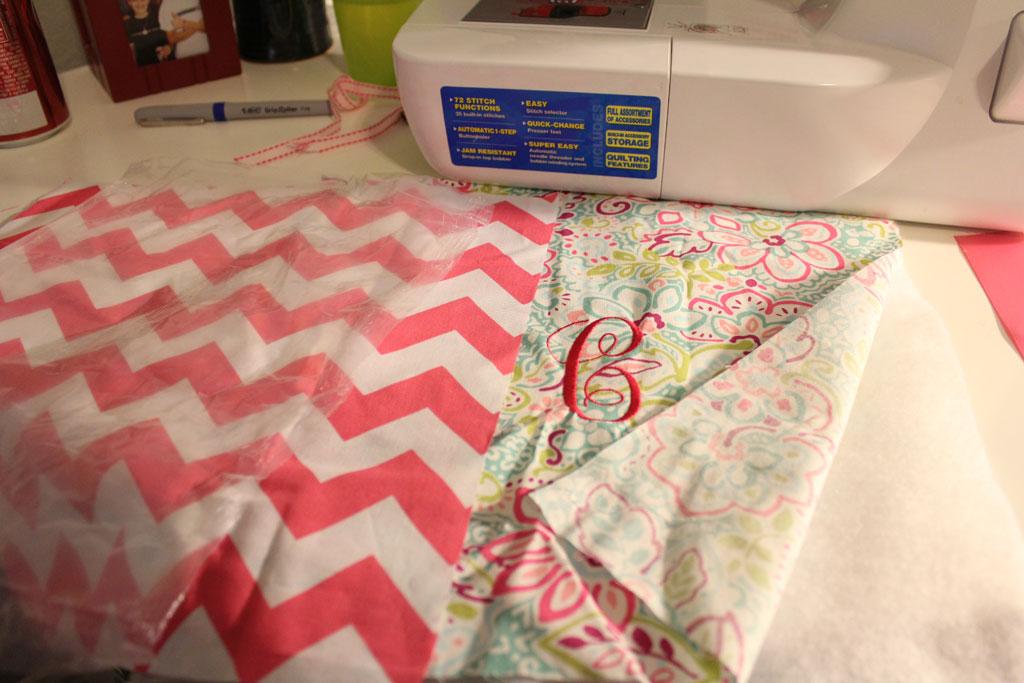
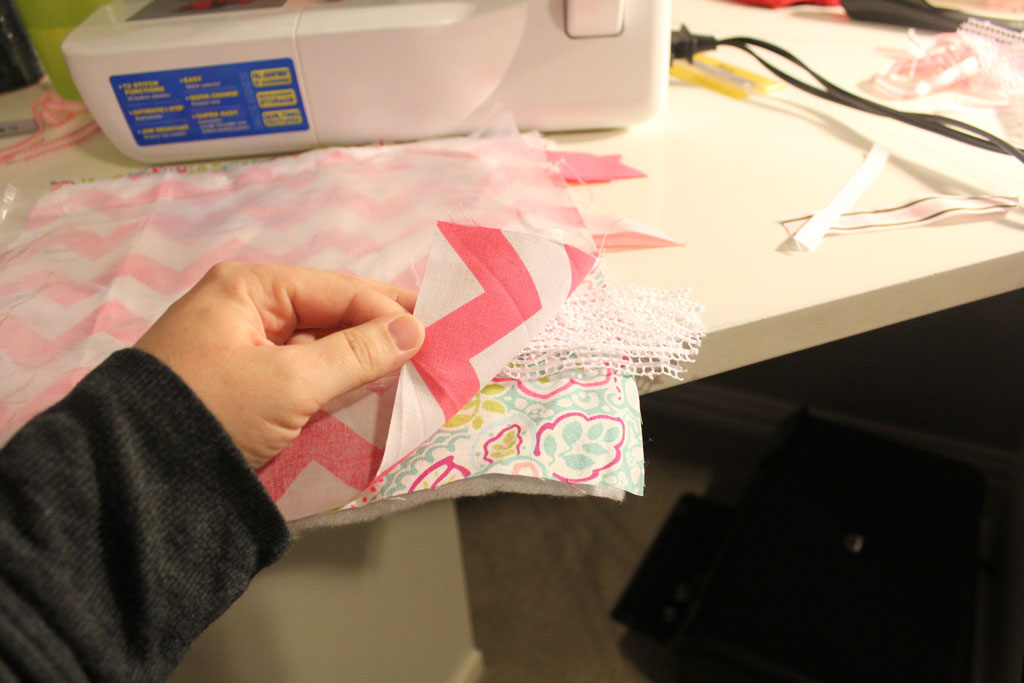
When you lay it out to sew you will have them in this order: batting, fabric 1- right side up, ribbon (folded in half with at least a quarter inch sticking out), fabric 2-right side down, then your cereal bag.  I left a little extra ribbon hanging inside because I wanted to be extra sure there wouldn’t be a loose end come out that the baby could choke on. It would also help if you had pins to pin this together and keep your ribbons in place, but somehow those went MIA in the move and I was sewing this during a snowstorm, so I didn’t leave to go get some… I just decided to go for it.  However I will say, this is DEFINITELY a project pinning would have helped with.

crinkletoy2

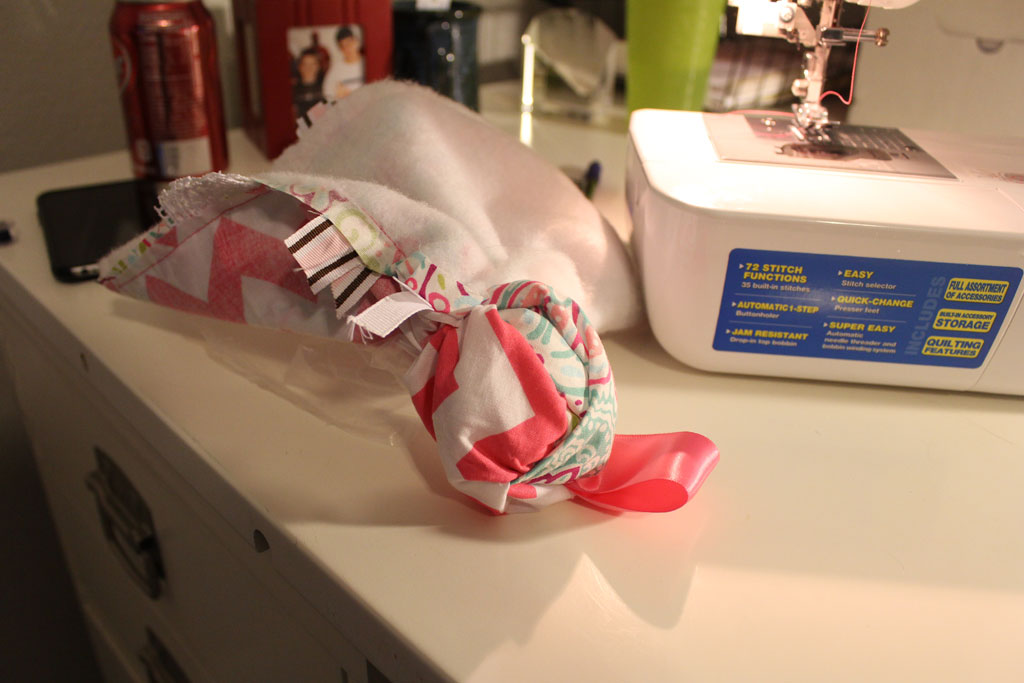
Then just sew a straight stitch down all four sides leaving a small hole for turning.  For square projects like this I start at one corner, backstitching the end, then go to the first corner, leaving my needle in the fabric I lift my presser foot, turn the project 90 degrees and sew the second side, continuing until I get to about 3 inches from the corner on the last side and backstitch again.  Trim your corners and then turn your project right side out.

crinkletoy6

I wasn’t sure what would happen if I ironed the project with the plastic wrapper inside, so I decided to play it safe and leave it un-ironed (melting plastic is not my favorite smell).  But since it is going to a baby I don’t think she’ll care that it isn’t ironed.  To finish it off, I topstitched around the edge.  And now baby C will have lots of little ribbons to grab ahold of and it makes a very satisfying crinkle in the middle! A perfect baby toy! crinkletoy3